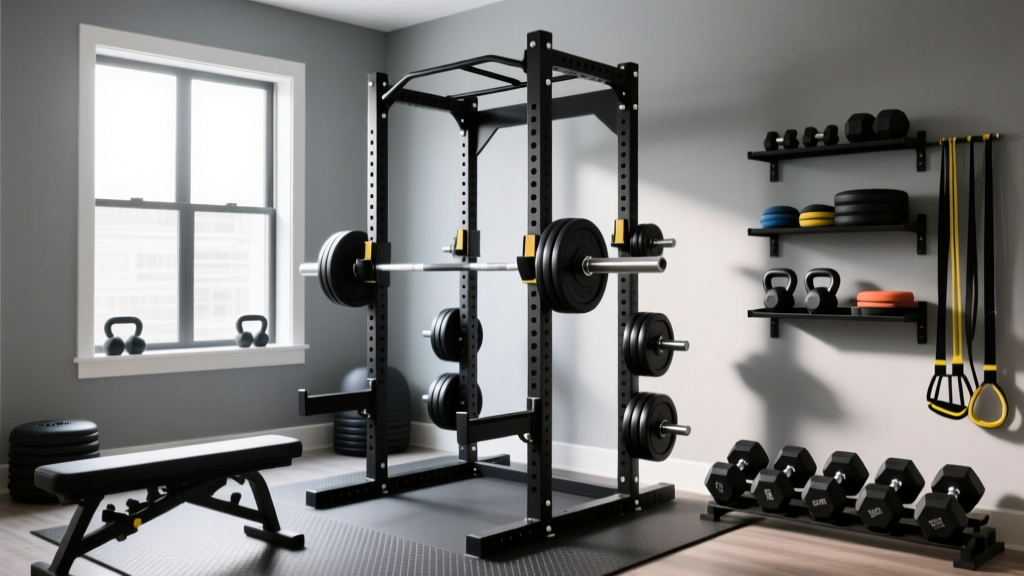
Power Rack vs Squat Rack Setup & Reverse Grip Dumbbell Row
Master your home gym installation with our power rack vs squat rack vs squat stand setup walkthrough, plus space-saving reverse grip dumbbell row tips.

The Foundation: Choosing Your Rack Footprint in 2026
Designing a functional home gym requires more than just buying heavy metal; it demands a strategic approach to spatial planning and structural installation. Whether you are outfitting a two-car garage or a spare bedroom, the decision between a power rack, a squat rack, and a squat stand dictates your floor plan, safety protocols, and exercise versatility. In 2026, the market offers highly engineered options across all three categories, but choosing the right one depends entirely on your ceiling height, floor composition, and the specific free weight movements you prioritize.
| Equipment Type | 2026 Benchmark Model | Avg. Cost | Footprint (W x D) | Primary Advantage |
|---|---|---|---|---|
| Power Rack | Rogue R-3 (90") | $1,150 | 49" x 34" | Full enclosure, heavy kipping, band attachments |
| Squat Rack | Titan T-2 Short Power Rack | $450 | 48" x 24" | Low ceiling clearance, basic barbell work |
| Squat Stand | Rep Fitness SR-4000 | $349 | 48" x 19" (Open) | Max open floor space, 360-degree dumbbell access |
Step-by-Step Installation Walkthrough
A rack is only as safe as its anchor points. According to equipment safety standards outlined by the National Strength and Conditioning Association (NSCA), unanchored racks pose a severe tipping hazard during failed lifts or dynamic movements. Here is the professional-grade installation protocol for securing your rig to a standard concrete garage floor.
Phase 1: Mapping and Drilling
- Positioning: Place the rack exactly where you want it, ensuring a minimum of 18 inches of clearance from any drywall to allow for plate loading and barbell sleeve overhang.
- Marking: Use a carpenter's pencil to mark the center of the base plate holes. Move the rack aside.
- Drilling: Use a rotary hammer drill with a 1/2-inch carbide-tipped masonry bit. Drill to a depth of 3.5 inches to accommodate a 3-inch anchor plus clearance for concrete dust.
- Cleaning: Vacuum the holes thoroughly. Leftover dust reduces the friction and holding power of wedge anchors by up to 40%.
Phase 2: Anchoring and Torquing
For standard 4,000 PSI concrete, 1/2-inch x 3-3/4-inch zinc-plated wedge anchors are the industry standard. Insert the anchor through the base plate, tap it with a hammer until the threads are flush, and tighten with a torque wrench set to 60 ft-lbs.
⚠️ Critical Installation Warning: Never use standard sleeve anchors in older, crumbling, or low-PSI concrete. If your garage floor is degraded, opt for two-part epoxy anchors (like Simpson SET-3G) to prevent catastrophic pull-out failure during heavy rack pulls or kipping pull-ups.Spatial Planning: The Free Weight Zone
Your rack choice directly impacts how you execute free weight movements. A 34-inch deep power rack encloses the lifter, which is excellent for barbell squatting but can feel claustrophobic for expansive dumbbell circuits. Conversely, a squat stand offers an open footprint, allowing you to position a bench at any angle without worrying about striking the uprights with your elbows or dumbbells.
This spatial awareness is crucial when programming unilateral or wide-stance movements. Let us examine how your rack footprint dictates the setup for one of the most effective, yet space-demanding, back builders: the reverse grip dumbbell row.
Executing the Reverse Grip Dumbbell Row in a Compact Rack Zone
The reverse grip dumbbell row (using a supinated, palms-up grip) is a staple for targeting the lower latissimus dorsi and increasing biceps brachii activation. The American Council on Exercise (ACE) notes that the supinated grip allows for a greater range of motion at the elbow joint compared to a pronated grip, making it highly effective for hypertrophy.
Biomechanics and Rack Integration
To perform this movement correctly, you need a flat bench, heavy dumbbells, and significant lateral clearance. When you pull the dumbbell toward your hip, your elbow travels backward and slightly outward.
- In a 24-inch Deep Squat Rack: You will likely need to drag the bench completely outside the rig. Position the bench parallel to the uprights, leaving the interior of the rack open for barbell storage.
- In a 30-inch+ Deep Power Rack: You can keep the bench inside the enclosure. Angle the bench at a 30-degree diagonal to the uprights. This prevents your elbows from clipping the crossmembers during the concentric phase of the row.
- Using a Squat Stand: You have total freedom. Place the bench directly behind the stands, utilizing the open space to drop heavy dumbbells safely onto your rubber flooring without scratching the rack's powder coat.
Step-by-Step Execution
- Sit on the end of a flat bench with a dumbbell in each hand, resting them on your thighs.
- Hinge forward until your torso is nearly parallel to the floor, maintaining a neutral spine.
- Rotate your wrists so your palms face forward (supinated grip).
- Drive your elbows back toward your hips, squeezing the lower lats at the top of the movement.
- Lower the weights under control, ensuring a full stretch at the bottom without rounding your shoulders.
Troubleshooting Common Installation & Clearance Failures
Even with meticulous planning, home gym builders frequently encounter structural and spatial edge cases. Here is how to solve the most common 2026 installation hurdles:
1. The Sloped Garage Floor
Most garage floors feature a 1-to-2-degree slope toward the door for water drainage. If you bolt a power rack directly to a sloped floor, the uprights will lean, causing the crossmembers to bind and the safety straps to sit unevenly. Solution: Use stainless steel shims or stacked fender washers under the downhill base plates before torquing the anchors. Verify plumb with a 4-foot magnetic level.
2. Low Ceiling Clearance
If you have an 84-inch ceiling, a standard 90-inch power rack is impossible. While a short squat rack (72 inches) solves the vertical issue, it limits pull-up variations. Solution: Install a ceiling-mounted pull-up bar bracketed directly into the floor joists above your squat stand, preserving the open vertical space while maintaining functionality.
3. Dumbbell Storage Interference
Storing heavy dumbbells on rack-mounted shelves can block the barbell path or interfere with exercises like the reverse grip dumbbell row if the shelf is mounted too low. Solution: Mount dumbbell storage shelves on the outside of the rear uprights, or invest in a standalone 3-tier dumbbell rack positioned at least 24 inches away from the main rig.
Final Walkthrough Checklist
Before loading your first barbell or picking up your dumbbells, run through this final safety and spatial audit:
- [ ] All base plate anchors are torqued to 60 ft-lbs with no visible concrete spalling.
- [ ] Uprights are perfectly plumb on both the X and Y axes.
- [ ] J-cups and safety spotter arms are set to matching heights and locked with hitch pins.
- [ ] A minimum of 36 inches of lateral clearance is established around the bench for dumbbell rows and presses.
- [ ] Rubber horse-stall mats (minimum 3/4-inch thick) are laid down to protect the concrete from dropped weights.
Choosing between a power rack, squat rack, and squat stand is ultimately a decision about how you interact with your training space. By anchoring your equipment correctly and mapping out the spatial requirements for essential movements like the reverse grip dumbbell row, you build a home gym that is not only incredibly safe but optimized for long-term strength and hypertrophy gains.
More gear to consider
All reviews
EZ vs Straight Bar Care & Upper Back Exercises with Dumbbells

2026 Trends: 10 Pound Dumbbell vs Cast Iron & Comp Kettlebells

Bumper vs Iron Plate Longevity: Maintenance & Dumbbell End Cap Care

Barbell Collar Types Compared: Securing Weights for Dumbbell Sit Ups
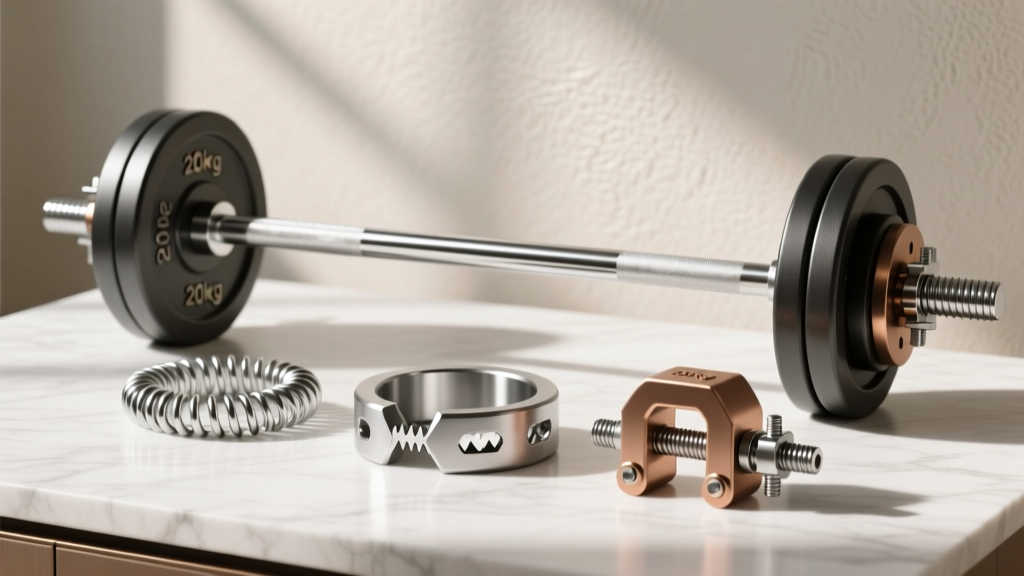
Beyond Dumbbell Exercises for Fat Loss: Barbell Collars Compared
