Power Rack Setup for a Leg Workout: Dumbbells Only Guide
Master your home gym with our power rack vs squat stand guide. Learn installation steps and setup tips optimized for a leg workout dumbbells only routine.

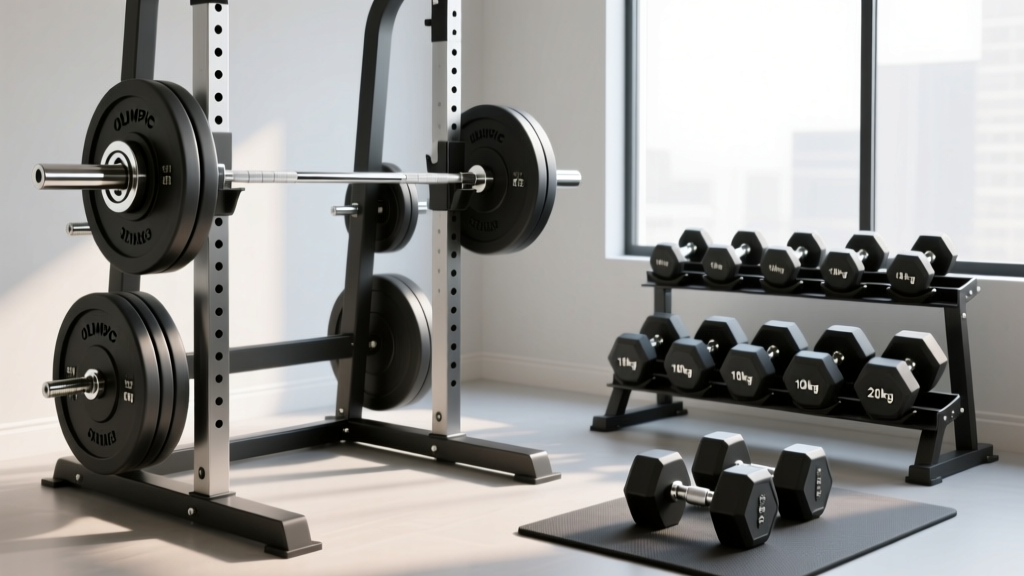
In recent years, a massive shift has occurred in home gym training methodologies. More lifters are transitioning to a leg workout dumbbells only approach to reduce spinal compression, avoid the axial loading of heavy barbell back squats, and target unilateral imbalances. Movements like heavy Bulgarian split squats, dumbbell Romanian deadlifts (RDLs), and goblet squats are now the cornerstone of many lower-body routines. However, even if you are strictly using dumbbells for legs, a robust racking system remains essential for upper body work, pull-up variations, and safely storing heavy 70 to 100-pound hex dumbbells.
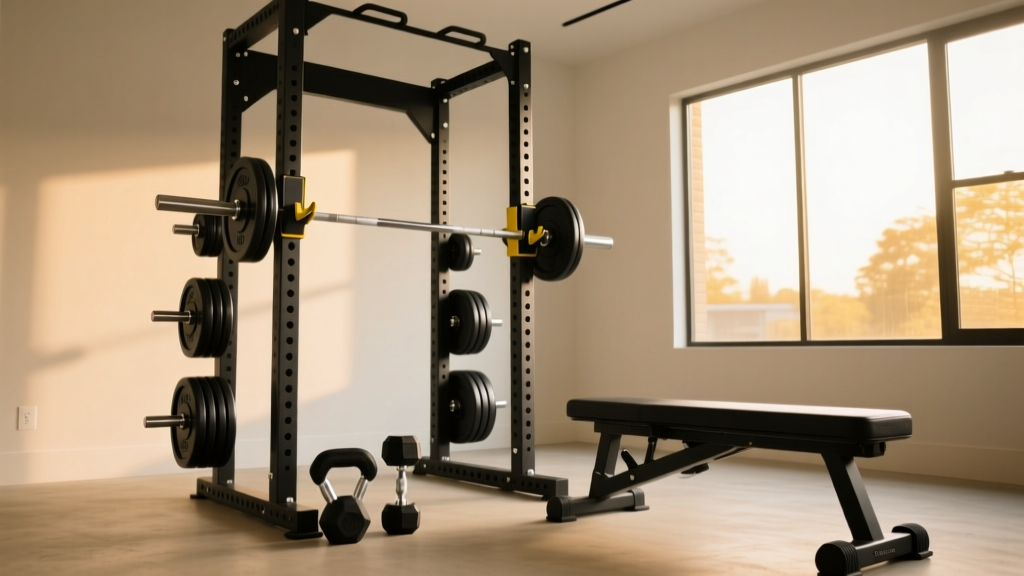
If you are building a home gym in 2026 and prioritize dumbbell training, choosing between a full power rack, a squat rack, and a squat stand dictates your floor plan, budget, and safety. Below, we break down the exact differences, followed by a professional-grade installation walkthrough to ensure your rig is bolted, squared, and ready for heavy unilateral leg work.
Power Rack vs. Squat Rack vs. Squat Stand: The 2026 Comparison
When your primary focus is a leg workout dumbbells only routine, your rack needs to excel at three things: heavy dumbbell storage, providing a stable pull-up bar for core and upper-body accessory work, and offering a safe footprint for dynamic movements like walking lunges. Here is how the three main categories stack up.
| Feature | Full Power Rack (e.g., Rogue RML-390F) | Squat Rack (e.g., Titan T-2 Short) | Squat Stand (e.g., REP PR-1100) |
|---|---|---|---|
| Footprint | 49" x 43" (Standard 3x3) | 48" x 48" (Compact) | 24" x 40" (Minimalist) |
| Steel Gauge | 11-Gauge (3x3" Tubing) | 11-Gauge (2x3" Tubing) | 14-Gauge (2x2" Tubing) |
| Pull-Up Bar | Multi-grip, fully integrated | Straight or multi-grip | Basic straight bar |
| Dumbbell Storage | Excellent (Add-on horns/trays) | Moderate (Rear upright storage) | Poor (High tipping risk) |
| 2026 Price Range | $850 - $1,100 | $550 - $700 | $250 - $350 |
| Anchoring Required? | Highly Recommended | Recommended | Strictly Mandatory |
Which is Best for Dumbbell Leg Training?
According to equipment testing by Garage Gym Reviews, full power racks and squat racks offer vastly superior stability for dumbbell storage. If you are pressing 80-pound dumbbells for RDLs, resting them on the rear storage horns of a squat stand creates a severe tipping hazard. For a dedicated dumbbell-focused gym, a Squat Rack (4-upright design without a full rear crossmember) offers the perfect middle ground: it provides the stability of a power rack but leaves the rear open so you can easily step into the rig for goblet squats or rack pulls.
Pre-Installation: Space Planning and Floor Protection
Before unboxing your 250-pound steel rig, you must prepare the foundation. The National Strength and Conditioning Association (NSCA) emphasizes that facility layout and flooring are critical for shock absorption and equipment longevity.
- Clearance Requirements: Measure your ceiling height. A standard power rack is 84" or 90" tall. You need at least 12 inches of clearance above the pull-up bar to avoid head strikes during muscle-ups or hanging leg raises.
- Floor Protection: Do not place bare steel on bare concrete. Invest in 3/4-inch thick vulcanized rubber horse stall mats (typically 4x6 feet). They cost around $50 to $70 each at local farm supply stores and provide the exact density needed to absorb the impact of dropped heavy dumbbells.
- Layout Strategy: Position the rack at least 24 inches away from any drywall. When performing walking lunges or dumbbell step-ups inside the rack, you will need space to maneuver and bail out safely if a rep fails.
Step-by-Step Installation Walkthrough
Proper assembly ensures your rack remains perfectly square, which is vital for the smooth operation of safety spotter arms and J-cups. Gather your tools: a socket wrench set, a torque wrench, a rubber mallet, a 4-foot carpenter's level, and a hammer drill (if anchoring to concrete).
Step 1: Base Assembly (The 80% Rule)
Lay out the base crossmembers on your rubber matting. Insert the 5/8" or 1" hardware (depending on your brand) and tighten the nuts to roughly 80% of their final torque. Leaving the base slightly loose allows for micro-adjustments when you attach the uprights, preventing the frame from racking (twisting) under tension.
Step 2: Erecting the Uprights
With a spotter, lift the uprights into the base gussets. This is where a second person is mandatory; 11-gauge steel uprights are heavy and awkward. Insert the connecting hardware but, again, leave them at 80% tightness. Use your rubber mallet to gently tap the uprights into perfect alignment if the pre-drilled holes are slightly off-center due to manufacturing tolerances.
Step 3: Squaring the Frame
This is the most critical step. Place your 4-foot level against the front and side uprights. Measure the diagonal distance from the top-left corner to the bottom-right corner, and compare it to the top-right to bottom-left distance. If the measurements match down to the millimeter, your rack is perfectly square. Once squared, use your torque wrench to tighten all base and upright bolts to the manufacturer's specification (typically 75 to 90 ft-lbs for 5/8" hardware).
Step 4: Anchoring to Concrete
Expert Warning: Never rely on the weight of the rack alone to keep it grounded, especially if you plan to use band pegs for accommodating resistance on your dumbbell squats. The upward tension will easily flip an unanchored rack.
If you have a concrete slab, use 3/8" x 3" wedge anchors. Drill a 3/8" hole using a hammer drill, vacuum out the concrete dust (crucial for anchor grip), insert the wedge anchor through the rack's base plate, and tighten with a socket wrench until the collar pulls tight against the steel plate.
Optimizing Your Rack for Dumbbell Leg Workouts
Once your rack is installed, you can tailor it specifically to a leg workout dumbbells only routine. Here are three advanced setup configurations:
Configuration 1: The Step-Up Station
Place a 20-inch or 24-inch plyometric box inside the rack. Set your safety spotter straps (not solid arms) at waist height. If you lose your balance during heavy dumbbell step-ups with 60-pound weights, the straps will catch the dumbbells before they tear your shoulder joints or damage the floor.
Configuration 2: Westside Spacing for Goblet Squats
Ensure your rack features "Westside" hole spacing (1-inch spacing in the lower bench/squat zone). This allows you to set the J-cups at the exact micro-height needed to unrack a heavy 100-pound dumbbell from a seated or kneeling position for Zercher-style or heavy goblet variations without straining your lower back.
Frequently Asked Questions
Can I do a leg workout dumbbells only without a rack?
Yes, you can perform dumbbell lunges, RDLs, and step-ups without a rack. However, as noted by the Mayo Clinic, progressive overload is essential for muscle adaptation. Eventually, you will need to lift heavier dumbbells (70+ lbs), and getting them into position for exercises like dumbbell floor presses or heavy goblet squats safely requires the structural support and storage of a rack.
Do squat stands work for heavy dumbbell storage?
We strongly advise against using squat stands for heavy dumbbell storage. Squat stands have a narrow footprint and a high center of gravity. Loading 80-pound dumbbells onto rear storage horns shifts the center of mass backward, creating a severe tipping hazard that can cause catastrophic injury in a home gym environment.
How much space do I need for dumbbell walking lunges inside a rack?
You need a minimum internal depth of 48 inches to perform walking lunges comfortably. If you are using a compact squat rack, plan to perform reverse lunges instead, which require a smaller footprint and place less sheer stress on the patellar tendon while heavily targeting the glutes and hamstrings.
By selecting the right 4-upright squat rack and following a meticulous installation protocol, you create a safe, highly functional environment that perfectly supports a rigorous, heavy-duty leg workout dumbbells only routine for years to come.
More gear to consider
All reviews
Rubber Hex vs Urethane Dumbbells: Budget & Dumbbell Pendant Necklace

How to Setup for Weight Squats With Dumbbells: 2026 Adjustable Guide

Bumper vs Iron Plates & Best Glute Exercise with Dumbbells
Pulling Exercises with Dumbbells: Adjustable Set Mistakes & Fixes
Olympic vs Standard Setup + 20 Minute Arm Workout with Dumbbells