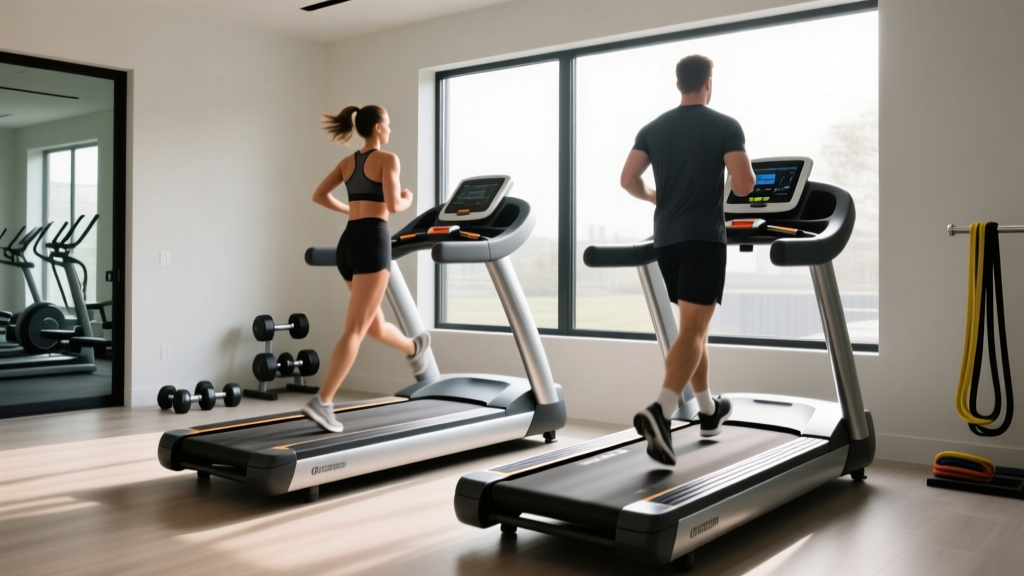
Past the ProForm ProShox 3 Treadmill Manual: Home Stair Climber Guide
Upgrading from a basic treadmill? This beginner-friendly guide covers home stair climber setup, clearance math, and step-by-step workout progression.

If you have spent the last few months walking or jogging on an entry-level machine, you are likely intimately familiar with the ProForm ProShox 3 treadmill manual. That document taught you the basics: how to attach the safety lanyard, how to calibrate the incline, and how to apply silicone lubricant to a friction belt. But as your cardiovascular endurance improves and your fitness goals shift toward higher caloric expenditure and lower-body power, the horizontal treadmill belt often stops providing the stimulus you need.
Transitioning to a home stair climber is one of the most effective upgrades you can make to your cardio routine. However, unlike treadmills, vertical climbers introduce unique spatial, biomechanical, and mechanical challenges. This beginner-friendly, step-by-step guide will walk you through everything you need to know about selecting, installing, and training on a home stair climber in 2026.
The Biomechanical Upgrade: Why Ditch the Treadmill Belt?
While the ProForm ProShox 3 is an excellent tool for building a foundational aerobic base, walking on a flat or slightly inclined surface primarily engages the calves, hamstrings, and quadriceps in a linear motion. Stair climbing fundamentally alters this kinetic chain.
According to the Mayo Clinic, weight-bearing aerobic exercises that force you to lift your body weight against gravity yield superior bone-density and muscular endurance benefits. When you step up vertically, you increase gluteus maximus activation by up to 40% compared to level walking. Furthermore, the Centers for Disease Control and Prevention (CDC) notes that vigorous-intensity activities like continuous stair climbing can fulfill weekly aerobic requirements in half the time of moderate walking.
Sizing Your Space: The Ceiling Clearance Formula
The number one reason home stair climbers are returned or abandoned in the first month is improper spatial planning. Unlike folding treadmills that can be pushed against a wall, vertical climbers require strict overhead clearance.
⚠️ CRITICAL CLEARANCE WARNING:To calculate your minimum ceiling height, use this formula: User Height + 15 inches (for pedal steppers) OR User Height + 20 inches (for escalator climbers). If you are 6'0" (72 inches), you need a minimum ceiling height of 87 to 92 inches. Standard 8-foot ceilings (96 inches) are usually safe, but basement drop ceilings (often 84 inches) will result in severe head-strikes at the top of the pedal stroke.
2026 Home Stair Climber Market: Steppers vs. Escalators
When shopping for a machine, you will encounter two distinct categories. Understanding the difference is vital for matching your budget and space constraints.
| Machine Type | Top 2026 Model | Price Range | Footprint & Power |
|---|---|---|---|
| Mini Pedal Stepper | Sunny Health & Fitness SF-S902 | $70 - $120 | 1.5 sq ft / No outlet (battery/hydraulic) |
| Pedestal Climber | Bowflex StairMaster (or similar hydraulic arm) | $1,800 - $2,500 | 4 x 3 ft / Standard 120V outlet |
| Escalator Climber | StairMaster SM3 / NordicTrack CLM9.9 | $2,800 - $4,500+ | 6 x 3 ft / Dedicated 15A circuit required |
Step-by-Step Installation & Calibration
If you have opted for a full-sized pedestal or escalator climber, the assembly process is vastly different from unfolding a treadmill. Follow these steps to ensure a safe setup:
- Unbox in the Target Room: Escalator climbers often weigh between 250 and 350 lbs fully assembled. Disassemble the box and carry the frame, mast, and step assembly into the room separately to avoid damaging door frames.
- Level the Stabilizer Feet: Use a carpenter's level on the bottom step. Uneven floors will cause the internal chain or hydraulic pistons to bind, leading to premature motor failure and voided warranties.
- Connect the Optical Sensors: Unlike the simple magnetic safety key on your old ProForm treadmill, modern climbers use optical encoders to track step speed. Ensure the wiring harness clicks firmly into the console mast before tightening the final bolts.
- Perform the Dry-Run Calibration: Power on the machine and select 'Manual Mode'. Step on the bottom stair and apply slow, deliberate pressure. The console should register your step rate (SPM) within 2 seconds. If it lags, recalibrate via the hidden engineering menu (usually accessed by holding 'Incline Up' and 'Speed Down' simultaneously).
Your First 30 Days: A Beginner's Step-by-Step Protocol
Jumping onto a stair climber and attempting a 30-minute session on day one is a guaranteed path to severe delayed onset muscle soreness (DOMS) and Achilles tendon strain. The American Heart Association recommends gradually increasing vigorous activity duration. Use this 4-week progression framework:
Week 1: Neuromuscular Adaptation
- Duration: 10 minutes per session, 3 days a week.
- Pace: 30-40 Steps Per Minute (SPM).
- Focus: Do not lean heavily on the handrails. Support only 10% of your body weight with your arms to ensure your glutes and quads absorb the load.
Week 2: Building Aerobic Capacity
- Duration: 15 minutes per session, 3 days a week.
- Pace: 45-55 SPM.
- Focus: Full foot placement. Avoid stepping only on your toes, which shifts the burden entirely to the calves and increases the risk of plantar fasciitis.
Week 3: Introducing Intervals
- Duration: 20 minutes total.
- Protocol: 3 minutes warm-up (40 SPM), followed by 4 cycles of [1 minute fast (70 SPM) / 2 minutes recovery (45 SPM)], and a 2-minute cool down.
Week 4: Endurance & Resistance
- Duration: 25 minutes continuous.
- Protocol: Maintain a steady 60 SPM. If your machine has resistance levels (common on hydraulic pedestal models), increase the resistance by 2 levels to simulate climbing steep stadium stairs.
Pro-Tip from the Experts: Many beginners grip the side rails and 'hang' over the console, effectively turning a vertical climb into a flat, leaning march. This reduces caloric expenditure by up to 20%. If you feel you must grip the rails tightly to keep up, lower the step speed immediately.
Maintenance: What Your Old Treadmill Manual Didn't Cover
You can put the ProForm ProShox 3 treadmill manual back in the drawer; stair climbers require an entirely different maintenance regimen. Because you are generating massive downward force on pivoting steps rather than a continuous rolling belt, wear and tear manifests differently.
- Chain and Sprocket Lubrication (Escalator Models): Every 90 days, remove the lower shroud and apply a dry PTFE (Teflon) lubricant to the drive chain. Never use wet WD-40 or silicone spray, as these will attract dust and create a grinding paste that destroys the sprocket teeth.
- Sweat Corrosion on Step Edges: The grooved rubber treads on the steps trap sweat and skin cells. Wipe down the steps with a mildly alkaline cleaner (pH 8-9) weekly to prevent the rubber from degrading and becoming slippery.
- Hydraulic Cylinder Bleeding (Mini/Pedestal Models): If you notice the steps 'sinking' when you stand still on the machine, air has entered the hydraulic lines. Consult your manufacturer's guide for the specific bleed-valve sequence to purge trapped air bubbles.
- Optical Sensor Dusting: Use a can of compressed air to blow out the sensor housing near the flywheel every 6 months. Accumulated dust is the leading cause of 'Error 1' or 'Speed Sensor' console faults.
Final Thoughts on Your Cardio Evolution
Upgrading your home gym from a basic walking treadmill to a dedicated stair climber is a commitment to higher-intensity, joint-friendly cardiovascular training. By respecting the spatial requirements, following a structured beginner progression, and maintaining the mechanical drive systems properly, your new machine will serve as the cornerstone of your fitness routine for years to come. Step up, stand tall, and leave the flat belt behind.
More gear to consider
All reviews
Curved vs Motorized Treadmills: Converting Treadmill MPH to Pace

Horizon T101 Treadmill Manual Motor HP vs. Sole F63 Comparison

NordicTrack T9 Treadmill Review vs Walking Pads (2026 Guide)
Cybex 625T Treadmill vs Walking Pad: 2026 Comparison
ProForm Treadmill Incline Stuck? 2026 Walking Pad Comparison & Review