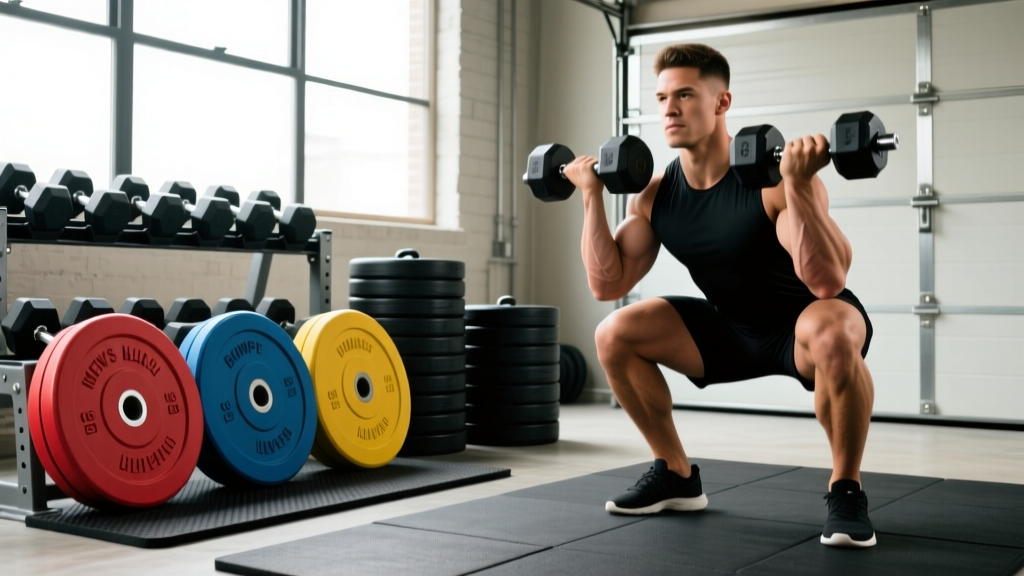
Power Rack vs Squat Rack vs Squat Stand: Dumbbell Rows for Lats
Compare power racks, squat racks, and squat stands to find the perfect home gym setup for heavy back training and dumbbell rows for lats.

The Home Gym Dilemma: Choosing Your Anchor Point
When building a home gym, beginners often obsess over barbells and benches, completely overlooking the structural anchor of their training space: the rack. If your goal is to build a wide, thick back, your rack choice directly impacts your ability to train safely and effectively. While most associate racks solely with squatting, they are the ultimate utility stations for heavy pulling movements. Today, we are breaking down the power rack vs squat rack vs squat stand debate, specifically through the lens of back training, and providing a step-by-step guide to mastering dumbbell rows for lats using your chosen equipment.
According to Cleveland Clinic's guidelines on back strengthening, building the latissimus dorsi requires progressive overload and proper stabilization. A flimsy setup won't cut it when you are hoisting 100-pound dumbbells. Let's walk through exactly how to choose your rack and set it up for maximum lat hypertrophy.
Step 1: Decoding the Big Three Racks
Before you can execute heavy rows, you need to understand the structural differences between the three main rack categories available in 2026. Each has distinct footprints, price points, and stability profiles.
1. The Power Rack (Full Cage)
A power rack features four vertical uprights connected by crossmembers, creating a fully enclosed 'cage.' Models like the Rogue R-3 or Titian T-3 Power Rack offer unparalleled stability. Because they are fully braced, you can safely lean against the uprights, attach heavy band pegs, and store massive dumbbells on integrated horns without any risk of tipping.
2. The Squat Rack (Half Rack)
Half racks, such as the Rep Fitness PR-4000, feature two main front uprights and a rear stabilizer base. They offer a more open feel and save floor space while still providing a sturdy pull-up bar and ample weight storage. They are exceptionally stable for unilateral bracing, provided they are bolted to a platform or heavily loaded with plate storage on the rear base.
3. The Squat Stand
Squat stands are two independent, freestanding uprights (e.g., Rogue S-Series or budget-friendly Amazon Basics stands). They are cheap and highly portable but lack structural cross-bracing. Warning: Never use a squat stand as a physical bracing point for heavy dumbbell rows, as the lateral force can easily tip the stand onto your foot or head.
Equipment Comparison Matrix (2026 Market Data)
| Equipment Type | Avg. Price Range | Typical Footprint | Stability for Lat Rows | Best For... |
|---|---|---|---|---|
| Power Rack | $600 - $1,800+ | 24 to 45 sq ft | Excellent (Can brace against uprights) | Dedicated garage gyms, heavy lifters |
| Squat Rack (Half) | $450 - $1,200 | 15 to 28 sq ft | Very Good (Rear base prevents tipping) | Low-ceiling spaces, open-concept gyms |
| Squat Stand | $150 - $350 | 10 to 14 sq ft | Poor (Strictly for storage, not bracing) | Apartments, tight budgets, travelers |
Step 2: Setting Up Your Rack for Back Day
Once you have selected your rack, it is time to optimize it for pulling movements. As highlighted in Barbend's comprehensive guide to power rack safety and construction, proper accessory placement is vital for safety and workflow.
- Clear the Base: Remove any barbell from the J-cups. You need the interior floor space of the rack to stand and swing heavy dumbbells into position.
- Utilize Band Pegs: If your power rack or half rack has bottom band pegs, loop a resistance band around the base and attach it to a lat-belt or handle for straight-arm pulldowns to pre-exhaust the lats.
- Dumbbell Storage: Store your heavy dumbbells (50 lbs+) on the rack's front horns or rear plate-storage pegs (if using a half-rack) to keep them within arm's reach, minimizing lower-back strain from picking them up off the floor repeatedly.
⚠️ Beginner Safety Callout
If you are using a Squat Stand, you must perform your dumbbell rows braced against a flat bench, not the stand itself. The lateral force generated by pulling a 90 lb dumbbell to your hip will easily overcome the friction of a freestanding squat stand's base, causing a catastrophic tip-over.
Step 3: Step-by-Step Guide to Dumbbell Rows for Lats
The dumbbell row is a staple, but most beginners pull with their biceps and rhomboids, completely missing the lats. To bias the latissimus dorsi, we must manipulate the biomechanics of the pull. According to the exercise database at ExRx.net, the latissimus dorsi functions primarily in shoulder extension and adduction. Here is how to execute the movement perfectly using your rack setup.
The Rack-Braced Lat Row Technique
Instead of using a flat bench, use the sturdy upright of your Power Rack or Half Rack as your bracing point. This allows for a deeper stretch and accommodates a wider stance.
- The Setup: Stand inside your rack facing the right upright. Grab the upright with your left hand at chest height. Hinge at the hips until your torso is nearly parallel to the floor. Your legs should form a wide, athletic base.
- The Grip: Grab the dumbbell with your right hand using a neutral grip (palm facing your body). This aligns the elbow path with the lat fibers.
- The Pull (Crucial Step): Do not pull the dumbbell straight up to your chest. Instead, drag the dumbbell back toward your hip pocket. Think about driving your elbow down and back, as if you are trying to elbow someone standing behind you.
- The Stretch: Lower the weight under control. Allow your right shoulder blade to protract (reach forward) at the bottom of the movement, feeling a deep stretch in the lat. Let the arm hang dead for one second before initiating the next rep.
- The Tempo: Use a 2-1-2 tempo. Two seconds down, one second pause at the stretch, two seconds pulling to the hip.
Pro-Tip for Lat Isolation: Keep your chest puffed out and your spine neutral. If you find your torso twisting upward to move the weight, the dumbbell is too heavy. The lats respond best to a deep stretch and a hard contraction, not momentum.
Edge Cases & Troubleshooting Your Setup
Even with the best equipment, beginners run into specific failure modes. Here is how to troubleshoot them:
Problem: Grip Fatigue Before Lat Failure
The Fix: Your lats are much stronger than your forearms. If your grip gives out at rep 6 but your lats could do 12, invest in a pair of lifting straps (like Versa Gripps or standard cotton figure-8 straps). Loop the strap around the dumbbell handle and your wrist. This removes the forearm bottleneck and allows you to take the lats to true muscular failure.
Problem: Ceiling Height Restrictions
The Fix: Many basements have ceilings under 84 inches. A standard 90-inch power rack will scrape the ceiling during pull-ups. In this scenario, opt for a Short Power Rack (usually 72 or 84 inches tall) or a Squat Stand. You will sacrifice the high pull-up bar, but you can still use the rack for heavy dumbbell storage and anchor points for banded lat work.
Problem: Dumbbells Are Too Light for Progressive Overload
The Fix: Once you can row 100 lb dumbbells for 3 sets of 12, it is time to transition. Utilize your rack's barbell hooks to perform Meadows Rows or Pendlay Rows. You can also use the rack's lat-tower attachment (if purchased) for heavy cable pulldowns to continue the progressive overload cycle.
Frequently Asked Questions
Can I do dumbbell rows if I only have a squat stand?
Yes, but you must brace your non-working hand on a sturdy flat bench or your own knee. Never pull against or lean your body weight on a freestanding squat stand, as the lateral torque will cause it to tip over.
Is a half rack better than a power rack for back training?
A half rack offers more open space, which some lifters prefer for exercises like heavy barbell rows or Pendlay rows where the barbell path might hit the safety straps of a full cage. However, a full power rack offers superior weight storage and safety for solo lifters.
How often should I train my lats with dumbbell rows?
For optimal hypertrophy, aim to train your back 2 times per week. Incorporate 3 to 4 sets of 8-12 reps of rack-braced dumbbell rows per session, ensuring you are taking the final set close to muscular failure.
Final Verdict
Choosing between a power rack, squat rack, and squat stand ultimately comes down to your budget, space, and ceiling height. However, if your primary goal is heavy, safe, and effective back training featuring intense dumbbell rows for lats, a Half Rack or Power Rack is a non-negotiable investment. They provide the structural integrity required to brace against, store heavy implements, and anchor bands, transforming your home gym from a simple storage space into a true muscle-building laboratory.
More gear to consider
All reviews
Dumbbell Press to Bench Press Conversion: Power Rack vs Squat Stand

Barbell Setup Guide: Weight, Knurling & Gym Ball Dumbbell Exercises
Olympic vs Standard Plates: Building the World's Heaviest Dumbbell
Beyond the Dumbbell Rear Delt Fly: 2026 Kettlebell Trends

Budgeting Loadable Dumbbells for Squat Exercises With Dumbbells