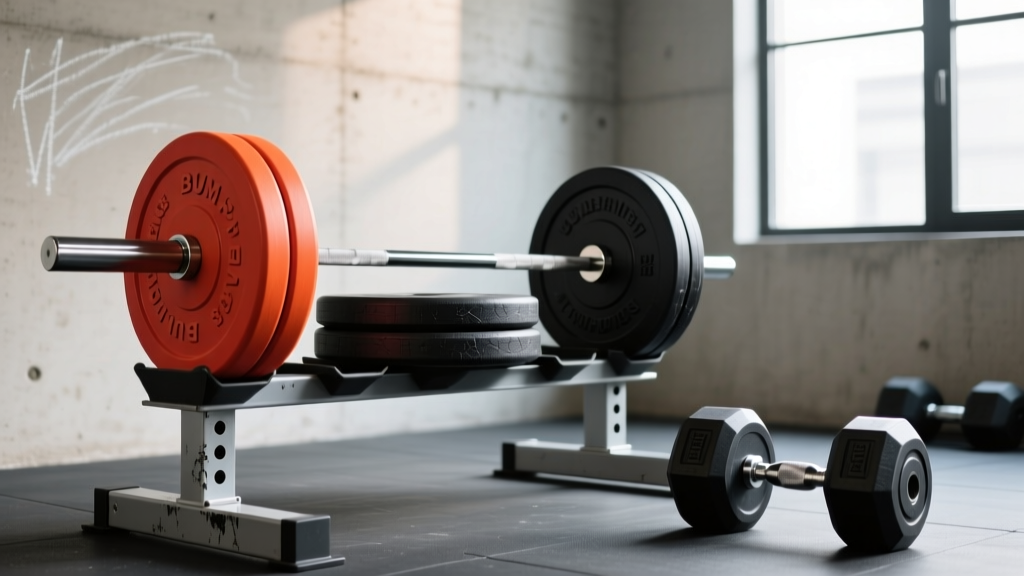
Power Rack vs Squat Rack vs Squat Stand & EZ Dumbbell Curl Guide
Compare power racks, squat racks, and squat stands for your home gym. Plus, master the biomechanics of the EZ dumbbell curl with our step-by-step guide.

The Foundation: Power Rack vs. Squat Rack vs. Squat Stand
Building a functional home gym in 2026 requires making critical decisions about your primary lifting station. Whether you are aiming to hit a new one-rep max on the back squat or safely isolate your biceps, the equipment you choose dictates your safety and progress. For beginners, the terminology can be confusing. What exactly separates a power rack from a squat rack or a squat stand? The difference lies in upright count, footprint depth, and integrated safety mechanisms.
| Equipment Type | Uprights & Footprint | Avg. Price Range | Safety Profile | Best For |
|---|---|---|---|---|
| Power Rack | 4 Uprights (e.g., 30" x 24") | $700 - $1,200 | Maximum (Enclosed safeties) | Heavy solo squats, bench press, rack pulls |
| Squat Rack | 2 Uprights + Crossbar (24" x 20") | $400 - $700 | Moderate (Requires spotter arms) | Garage gyms with low ceilings, Olympic lifts |
| Squat Stand | 2 Independent Uprights (Minimal) | $250 - $450 | Low (High tipping risk if unanchored) | Small spaces, strict budget, light-to-moderate loads |
Deep Dive: The Power Rack Advantage
A true power rack, such as the industry-standard Rogue RML-390F (priced around $995), features four 11-gauge steel uprights and a 3x3-inch tubing profile. The defining feature is the enclosed interior, allowing you to set safety straps or pin-pipe safeties at any height. If you fail a rep, the barbell drops safely inside the cage. This makes it the undisputed champion for solo lifters pushing their limits.
The Squat Stand Reality Check
Squat stands, like the Rep Fitness SR-1000 (approximately $299), consist of two independent metal posts with J-cups. While they save massive amounts of floor space, they introduce a severe failure mode: forward tipping. If you re-rack a heavy barbell slightly too high or push it forward aggressively, the center of gravity shifts past the base, and the stand will tip. Never use squat stands without bolting them to a concrete floor or attaching heavy rear spotter arms with weight plates loaded on the back.
Step-by-Step: Selecting and Anchoring Your Rack
Follow this beginner-friendly workflow to ensure your rack is safe and properly integrated into your space.
- Measure Ceiling Clearance: Standard power racks are 84" to 93" tall. Ensure you have at least 6" of clearance above the pull-up bar to avoid drywall damage during kipping or strict pull-ups.
- Check Depth Requirements: If you plan on bench pressing inside the rack, you need a minimum interior depth of 24" (preferably 30") to accommodate a standard flat bench and your body mechanics.
- Anchor to the Floor: For squat stands and 24" deep squat racks, use 3/8" concrete wedge anchors if drilling into a slab. If on rubber mats over wood, use lag bolts into the floor joists.
- Set Safety Heights: Perform an empty-bar dry run. Set your safety straps exactly one inch below your lowest squat depth or bench press chest-touch point.
The Terminology Trap: What is an "EZ Dumbbell Curl"?
As you stock your new home gym with dumbbells and benches, you will inevitably begin programming isolation movements. Many beginners search for the "EZ dumbbell curl," but this phrase represents a fundamental biomechanical conflation.
Expert Insight: There is no such thing as an "EZ dumbbell." The EZ bar is a specialized barbell featuring 45-degree and 60-degree angled grips designed to reduce wrist valgus and varus stress. When lifters search for an "EZ dumbbell curl," they are actually looking for a way to replicate the joint-friendly, semi-supinated grip of an EZ bar using independent dumbbells.
To achieve the "EZ effect" with dumbbells, you must utilize a semi-supinated (45-degree) grip or a neutral hammer grip. This avoids the extreme supination required by standard straight-bar or fully supinated dumbbell curls, which can aggravate the medial epicondyle and wrist flexors.
Step-by-Step Execution: The Semi-Supinated "EZ" Dumbbell Curl
Using a pair of rubber hex dumbbells (typically $1.50 to $2.00 per pound in 2026), follow these steps to execute the joint-friendly curl variation.
Step 1: Stance and Core Bracing
Stand with your feet shoulder-width apart. Squeeze your glutes and brace your core as if preparing for a light punch to the stomach. This pelvic tilt prevents the lower back from hyperextending to compensate for heavy loads.
Step 2: The 45-Degree Grip Setup
Hold the dumbbells at your sides. Instead of turning your palms completely forward (supinated), rotate your wrists so your palms face your thighs at a 45-degree angle. Your thumbs should be pointing slightly forward and upward. This mimics the primary inner grip of a standard EZ-curl bar.
Step 3: The Concentric Phase (The Lift)
Keeping your elbows pinned to your ribcage, curl the weights upward. Do not allow the elbows to drift forward. The movement should take exactly 1 second. Squeeze the biceps at the top of the movement, stopping just short of vertical to maintain constant tension on the muscle belly.
Step 4: The Eccentric Phase (The Lowering)
Lower the dumbbells slowly over a count of 3 seconds. The eccentric phase causes the most micro-tearing in the muscle fibers, which is essential for hypertrophy. Stop just short of full elbow lockout to protect the distal biceps tendon.
⚠️ Safety Warning: Avoid the "Cheat Curl" SwingBeginners often use hip momentum to swing the dumbbells up. This transfers the load from the biceps brachii to the anterior deltoid and lumbar spine. If you must swing the weight, the load is too heavy. Drop the weight by 15-20% and strictly control the 3-second eccentric.
Joint Health and Injury Prevention
The primary reason lifters seek out "EZ" variations is to avoid the joint pain associated with straight-bar supinated curls. According to the Mayo Clinic, repetitive stress on tendons—especially when the wrist is locked in extreme supination under heavy loads—frequently leads to tendinitis in the elbow and wrist flexors. By adopting the 45-degree semi-supinated dumbbell curl, you align the radius and ulna bones more naturally, distributing the mechanical tension across the brachioradialis and the biceps brachii simultaneously.
Furthermore, the American Council on Exercise (ACE) emphasizes that maintaining a fixed elbow position against the torso is the most critical factor in isolating the elbow flexors. Whether you are using a $1,000 power rack for heavy squats or standing in the corner of your garage with a pair of 35 lb hex dumbbells, strict form and biomechanical awareness are the true drivers of long-term, injury-free gains.
Frequently Asked Questions
Can I do dumbbell curls inside a power rack?
Yes, but it is largely unnecessary unless you are utilizing a cable lat-pulldown attachment mounted to the rack. Standing in the open space of your gym allows for better mirror feedback and natural arm tracking. However, the power rack remains the safest place to store your dumbbells on attached saddle racks between sets.
Are squat stands safe for beginners?
Only if properly anchored. If you are renting a space and cannot drill into the concrete, a squat stand is a liability for heavy squats. In that scenario, invest in a flat-foot power rack (which relies on its massive 30" x 24" base and heavy steel weight to remain stable) rather than a freestanding squat stand.
More gear to consider
All reviews
Best Neoprene Dumbbells for Incline Dumbbell Flyes (2026)

Best Loadable Dumbbells for Dumbbell Exercises to Tone Arms (2026)

Rubber Hex vs Urethane: Chest and Tricep Workout with Dumbbells
Barbell Collar Types: Secure Gear for Single Leg Dumbbell RDLs
Dumbbells Five Below vs Loadable Plates: 2026 Market Analysis