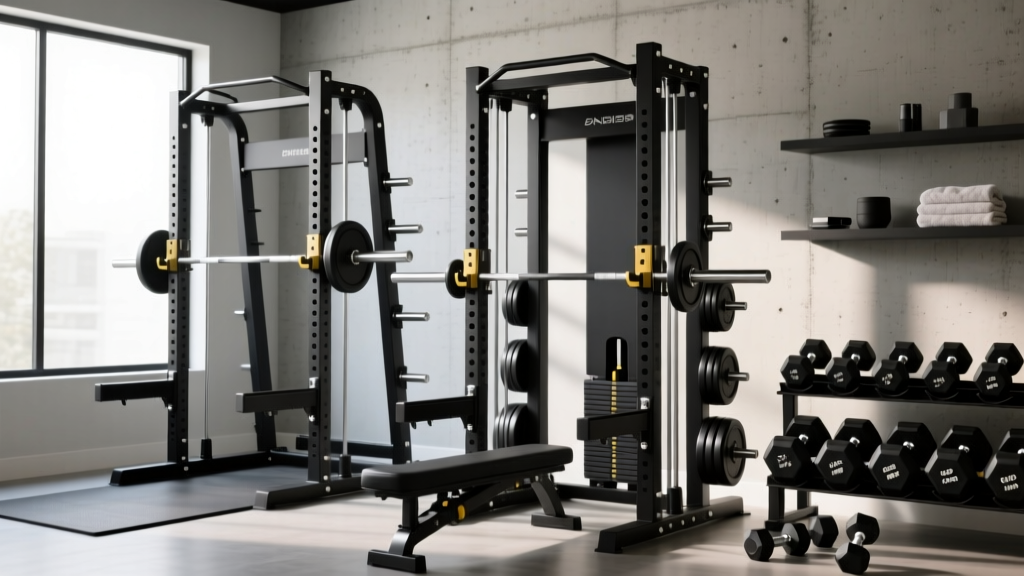
Power Rack vs Squat Stand: Setup for Dumbbell Workout Squats
Compare power racks, squat racks, and stands. Learn the complete installation walkthrough to safely perform heavy dumbbell workout squats at home.

Beyond the Barbell: Designing a Rack for Total-Body Versatility
When building a versatile home gym in 2026, most buyers hyper-focus on barbell metrics like rack pull height and safety pin spacing. However, if your programming heavily features dumbbell workout squats—such as heavy goblet squats, dual-dumbbell front squats, or Bulgarian split squats using the uprights for balance—your choice of rig and its installation footprint dictate your safety, spatial efficiency, and long-term progress. A rack is not just a barbell holder; it is the structural anchor of your training space.
Choosing between a full power rack, a half squat rack, and minimalist squat stands requires a nuanced understanding of your floor plan, subfloor composition, and exercise mechanics. Below, we break down the exact specifications, spatial requirements, and a professional-grade installation walkthrough to ensure your setup can handle extreme loads, whether you are moving a 500lb barbell or failing a 150lb dumbbell front squat.
The Core Contenders: Footprint and Clearance Metrics
Before unboxing hardware, you must map your available space. Dumbbell workout squats require significant lateral clearance to prevent striking the uprights during the eccentric phase of offset or split-stance movements. Here is how the three primary rack categories compare for a multi-modal home gym.
| Rack Type | Reference Model (2026) | Footprint (L x W) | Avg. Price Range | Best Application |
|---|---|---|---|---|
| Power Rack | Rogue R-3 (90" Uprights) | 90" x 34" | $1,100 - $1,400 | Heavy barbell lifts, kipping, integrated dumbbell storage |
| Squat Rack (Half) | Titan T-2 Short Power Rack | 48" x 48" | $400 - $550 | Low ceilings, moderate dumbbell clearance, budget builds |
| Squat Stand | REP Fitness PR-1100 | 48" x 48" (w/ arms) | $280 - $350 | Minimalist spaces, strict barbell work, outdoor setups |
Step-by-Step Installation Walkthrough
According to structural guidelines referenced by the National Strength and Conditioning Association (NSCA), equipment stability is the first line of defense against training injuries. A wobbly rack compromises your confidence during heavy squats. Follow this exact installation protocol for a permanent, commercial-grade setup.
Phase 1: Subfloor Assessment and Anchoring Prep
Never anchor a rack directly into OSB or standard plywood subfloors; the pull-out strength is insufficient for dynamic loading. You need a solid concrete slab or a reinforced platform.
- Locate the Joists: If building over a wood subfloor, use a stud finder to map the floor joists. You will need to bolt the rack directly into these joists using 1/2" x 4" lag shields.
- Concrete Drilling: For concrete slabs, use a rotary hammer drill with a 1/2" carbide-tipped masonry bit (if using 3/8" wedge anchors). Drill to a depth of 3.5 inches to allow for dust clearance.
- Vacuum the Holes: This is the most skipped step. Use a shop-vac to remove concrete dust from the holes. Residual dust reduces the friction and holding power of wedge anchors by up to 40%.
Phase 2: Frame Assembly and Squaring
Do not fully tighten any bolts during the initial assembly. Leave all 5/8" structural bolts finger-tight.
- Assemble the base crossmembers first. Ensure the laser-cut numbering on the uprights faces inward for consistent J-cup height alignment.
- Attach the uprights to the base. Use a 48-inch machinist level to verify plumb on both the X and Y axes.
- Install the top crossmembers and any rear stabilizers.
- The Squaring Test: Measure diagonally from the bottom-left corner to the top-right corner, and compare it to the bottom-right to top-left measurement. If the measurements differ by more than 1/8", loosen the base bolts, shift the frame until the diagonals match perfectly, and re-tighten.
Phase 3: Final Torque and Anchoring
Using a calibrated torque wrench, tighten all structural hardware. Most 11-gauge steel racks (like those detailed in Rogue Fitness engineering specs) require 75 to 85 ft-lbs of torque on 5/8" Grade 5 or Grade 8 bolts. Once the frame is torqued, drop your wedge anchors through the base feet, thread the nuts, and tighten until 3-4 threads are visible above the nut, expanding the wedge into the concrete.
Configuring Your Rig for Dumbbell Workout Squats
With the rack physically secured, the next step is optimizing the accessories for dumbbell movements. Dumbbell workout squats demand different safety configurations than barbell back squats.
Strap Safeties vs. Pin-Pipe Safeties
For barbell squats, steel pin-pipe safeties are standard. However, if you are performing heavy dumbbell goblet squats or dumbbell front squats to technical failure, strap safeties (such as heavy-duty nylon infinity straps) are highly recommended. When you bail on a dumbbell squat, the weights fall independently. Steel pipes can cause severe damage to the knurling or chrome of expensive urethane or iron dumbbells upon impact. Heavy-duty straps absorb the shock, protect your equipment, and allow for a quieter, safer bail-out.
Optimizing J-Cup and Storage Placement
When executing Bulgarian split squats, the rear foot is often elevated on a bench, while the front working leg requires clearance. Position your J-cups on the exterior of the uprights (if your rack supports sandwich-style J-cups) to maximize the internal width of the cage. Furthermore, integrate a vertical dumbbell storage tray on the rear crossmember. This keeps heavy 50lb+ dumbbells off the floor, reducing tripping hazards during high-fatigue dumbbell squat drop-sets.
Warning: The Lateral Bail-Out ZoneWhen performing unilateral dumbbell workout squats near the rack, always leave a minimum of 24 inches of lateral clearance outside the uprights. If you lose your balance during a heavy walking lunge or split squat, you need an unobstructed 'bail-out zone' to drop the dumbbells safely without striking the steel uprights or your own shins.
Common Installation Failure Modes to Avoid
- Uneven Concrete Slabs: Garage floors are rarely perfectly level. If one upright sits 1/4" lower than the other, tightening the top crossmembers will induce a permanent torsional twist in the steel. Use hardened steel shims under the base feet to level the rack before driving the wedge anchors.
- Over-torquing Nylon Lock Nuts: If your rack uses nylon insert lock nuts instead of standard hex nuts, be aware that excessive torque can melt the nylon insert due to friction heat, rendering the lock useless. Stick strictly to the manufacturer's torque specifications.
- Ignoring UHMW Plastic Liners: Ensure the UHMW plastic protective liners are installed on all J-cups and safeties. Dropping a 100lb dumbbell onto bare steel J-cups during a fatigued clean-to-squat transition will chip the dumbbell and degrade the rack's finish, leading to oxidation.
Final Pre-Workout Safety Checklist
Before loading your first set of dumbbell workout squats, run through this 60-second verification protocol:
- [ ] All 5/8" structural bolts are torqued to 75+ ft-lbs.
- [ ] Wedge anchors show 3-4 exposed threads and do not spin when struck with a rubber mallet.
- [ ] Strap safeties are set exactly one hole below the lowest point of your squat depth.
- [ ] Lateral bail-out zones are clear of plates, benches, and flooring transitions.
- [ ] Dumbbell storage trays are secured with safety pins to prevent sliding during dynamic movements.
Building a home gym is a financial and spatial investment. By selecting the correct rack architecture and executing a meticulous, level installation, you create a training environment that safely supports everything from maximal barbell lifts to the most demanding, high-volume dumbbell workout squats in your programming.
More gear to consider
All reviews
EZ vs Straight Bar Care & The Standing Alternating Dumbbell Curl
EZ Curl Bar vs Straight Bar: Pairing with the Dumbbell Incline Flye
Power Rack vs Squat Stand: American Barbell Dumbbell Layout Mistakes
Top Dumbbell Racks for Your Dumbbell Curls Setup (2026)
Bumper vs Iron Plates: Layouts & CrossFit Exercises with Dumbbells
