How Much Does a NordicTrack Treadmill Weigh vs Rowing Machines?
Wondering how much a NordicTrack treadmill weighs? We compare treadmill footprints to rowing machines and provide a beginner's step-by-step rowing guide.

The Heavy Truth: NordicTrack Treadmill Weights Explained
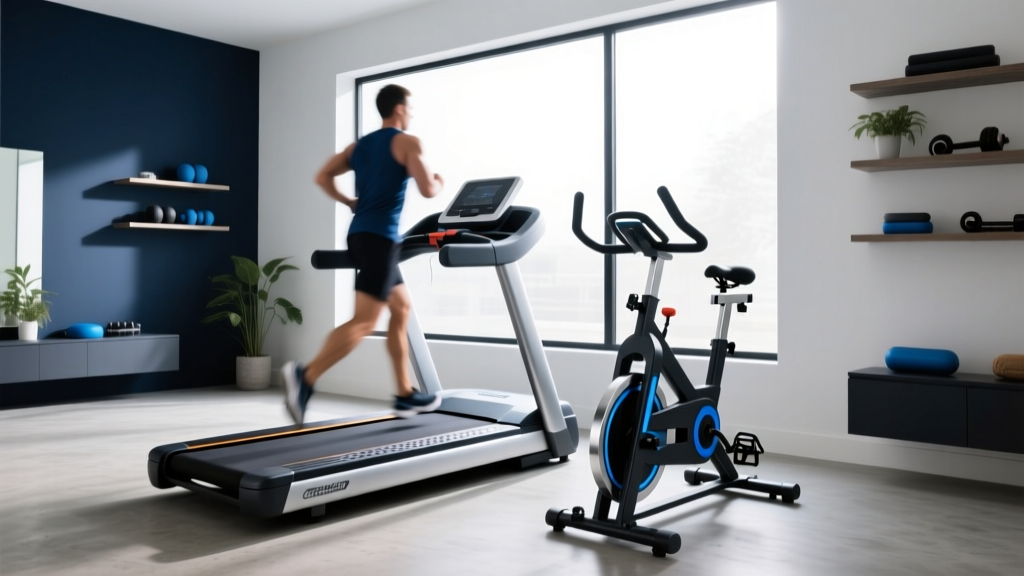
When outfitting a home gym, structural limits and floor space are primary concerns. If you have been searching for how much a NordicTrack treadmill weighs, you are likely worried about moving a massive machine or stressing your floor joists. The flagship NordicTrack Commercial 1750 weighs a staggering 340 pounds (154 kg), while the heavier Commercial 2450 tips the scales at 360 pounds. For many beginners, this sheer mass—combined with a 70-inch length and 35-inch width—makes treadmills impractical for apartments, second-story rooms, or compact spaces.
⚠️ Floor Joist Warning: Standard residential floor joists are typically rated for 40 pounds per square foot (live load). A 360-lb treadmill concentrated on four small feet, combined with the dynamic impact force of a running user, can exceed safe structural limits on older homes or upper floors.Treadmills vs. Rowing Machines: Weight & Space Comparison Matrix
This is where the rowing machine (ergometer) enters the chat. Offering a superior full-body cardiovascular stimulus without the 300+ pound footprint, rowers are the ultimate space-saving cardio solution. Below, we break down the exact weight, dimension, and 2026 pricing differences to help you decide.
| Machine Model | Type | Weight | Dimensions (LxW) | Approx. 2026 Price |
|---|---|---|---|---|
| NordicTrack Commercial 1750 | Treadmill | 340 lbs | 70" x 35" | $2,799 |
| NordicTrack Commercial 2450 | Treadmill | 360 lbs | 74" x 36" | $3,299 |
| Concept2 RowErg | Air Rower | 57 lbs | 96" x 24" (Stores Vertically) | $1,200 |
| Hydrow | Magnetic Rower | 145 lbs | 86" x 25" | $2,495 |
| NordicTrack RW900 | Magnetic Rower | 104 lbs | 86" x 22" | $1,699 |
As the data shows, a Concept2 RowErg weighs nearly 300 pounds less than a standard NordicTrack treadmill and can be separated into two pieces and stored vertically in a closet. But how do you choose the right rower, and more importantly, how do you use it without injuring your lower back? Let's dive into our beginner-friendly step-by-step guide.
The Beginner’s Step-by-Step Rowing Machine Buying Guide
Step 1: Choose Your Resistance Type
- Air Resistance (e.g., Concept2 RowErg): Uses a flywheel with fan blades. The harder you pull, the more resistance it generates. Noise level: 70-75 dB (similar to a vacuum cleaner). Best for serious athletes, data nerds, and CrossFit.
- Magnetic Resistance (e.g., Hydrow, NordicTrack RW900): Uses electromagnets to create drag. Noise level: 45-50 dB (whisper quiet). Best for apartment dwellers and interactive screen enthusiasts.
- Water Resistance (e.g., WaterRower): Uses a paddle spinning in a tank of water. Noise level: 55 dB (soothing whoosh). Best for aesthetic home gyms and organic feel.
Step 2: Understand the Damper Setting (Crucial for Beginners)
The most common beginner mistake on air rowers is setting the side damper lever to 10. According to Concept2's official training resources, a damper setting of 10 is like riding a bicycle in the heaviest gear—it will exhaust your lower back before your cardiovascular system gets a true workout. For 90% of beginners, a damper setting between 3 and 5 (which yields a drag factor of 110-130 on the PM5 monitor) accurately mimics the drag of a real sleek boat on water.
Step 3: Check Rail Length and Footprint
If you are taller than 6'2", ensure the rower has a standard or extended rail. The Concept2 RowErg accommodates up to a 38-inch inseam on the standard rail. Magnetic rowers like the Hydrow have fixed rail lengths, so always measure your inseam against the manufacturer's specifications before purchasing.
Mastering the Erg: A 4-Step Technique Guide for Beginners
Rowing is not an arm exercise; it is a powerful posterior-chain movement. According to Harvard Health Publishing, rowing recruits 86% of the body's muscles. To harness this power safely, you must sequence the stroke correctly. Memorize this power ratio: 60% Legs, 20% Core, 20% Arms.
The 4 Phases of the Rowing Stroke
- 1. The Catch (The Setup): Slide forward until your shins are perfectly vertical. Keep your arms straight, shoulders relaxed, and hinge slightly forward from the hips (think 11 o'clock on a clock face). Your heels may lift slightly.
- 2. The Drive (The Power): This is a leg press, not a bicep curl. Push explosively through your feet. Do not bend your arms yet. Once your legs are about 75% extended, swing your torso back to 1 o'clock. Finally, pull the handle to your lower ribs with your arms.
- 3. The Finish (The Hold): Your legs are fully extended (but not locked), your core is braced, and the handle is resting lightly against your sternum/lower ribs. Your elbows should be tucked at a 45-degree angle, not flared out.
- 4. The Recovery (The Return): Reverse the sequence exactly. Extend your arms straight out first, hinge your torso forward past your knees (11 o'clock), and only then bend your knees to slide back to the Catch.
Step 5: Foot Placement and Strap Mechanics
Beginners often strap their feet in too tightly or at the wrong height. The strap should cross exactly at the crease where your toes meet your foot (the ball of the foot). This allows for proper ankle flexion at the Catch. If you strap too high (mid-foot), you will restrict your ankle mobility and compensate by rounding your lower back. Furthermore, you do not need to ratchet the straps to the point of cutting off circulation; a snug fit that prevents the foot from lifting off the footplate during the Recovery is sufficient.
Step 6: App Integration and Tracking in 2026
Modern rowing is highly connected. If you choose the Concept2 RowErg, the included PM5 monitor features Bluetooth connectivity that pairs seamlessly with the free ErgData app or third-party platforms like Zwift and EXR. For those who prefer guided, studio-style classes, the Hydrow offers an immersive 24-inch HD screen with live-on-the-water instruction, though it requires a monthly subscription. The NordicTrack RW900 integrates with iFIT, providing global scenic rows and automatic magnetic resistance adjustments controlled by the instructor.
Troubleshooting Common Beginner Form Failures
| Error Name | What It Looks Like | The Fix |
|---|---|---|
| Shooting the Slide | Your hips rise and legs push back, but the handle doesn't move. Your torso angle stays frozen. | Ensure your shoulders and hips move together during the first half of the Drive. Engage your lats at the Catch. |
| Chicken Winging | Elbows flare straight out to the sides at the Finish. | Keep your elbows tucked in, brushing your ribcage as you pull the handle in. Aim for a 45-degree angle. |
| Early Arm Pull | Bending the elbows before the legs have begun to push. | Think of your arms as hooks. Let the leg drive create the tension before the arms engage. |
| Slamming the Seat | Rushing the Recovery and crashing into the front bumper. | The Recovery should take twice as long as the Drive. Use a 1-count drive, 2-count recovery rhythm. |
Final Verdict: Save Your Floor and Your Joints
If you are questioning how much a NordicTrack treadmill weighs because your home gym is on an upper floor, or you simply lack the 35-square-foot footprint required for safe treadmill use, pivoting to a rowing machine is a brilliant alternative. A 57-pound Concept2 RowErg or a 145-pound Hydrow delivers elite cardiovascular conditioning, builds functional posterior strength, and stores away in minutes. Start with the damper at 4, master the leg-drive sequence, and you will never miss the heavy, joint-pounding treadmill again.
More gear to consider
All reviews
Don't Be The Guy on the Treadmill Commercial: Beginner Rowing Guide
Stair Climber Guide: Bypassing a ProForm Treadmill Incline Problem

Standard Treadmill Dimensions vs Folding Models: 2026 Budget Guide

Under Desk Treadmill Review: Care Tips & 3.0 HP Treadmill Myths

Treadmill Belt Maintenance vs Fitness Tracker Elliptical Costs