NordicTrack Treadmill Customer Service & Rowing Machine Setup Guide
Frustrated by NordicTrack treadmill customer service? Discover our complete rowing machine buying guide, setup walkthrough, and technique masterclass.

The 2026 Fitness Pivot: Why Runners Are Abandoning High-Tech Treadmills
If you have spent any time on home fitness forums in 2026, you have likely seen the recurring debates surrounding NordicTrack treadmill customer service. While NordicTrack manufactures some of the most feature-rich treadmills on the market, such as the X22i and the T Series, the reality of owning a highly complex, motorized machine often involves long wait times for replacement incline lift motors, console screen glitches, and mandatory iFit subscription tethering. When a $2,500 treadmill throws an 'E1' incline error code, users frequently find themselves waiting three to six weeks for specialized parts and technician dispatches.
This high-maintenance ecosystem has triggered a massive pivot toward self-sufficient, mechanically reliable cardio equipment. Enter the rowing machine. Rowers offer a superior full-body cardiovascular workout, require a fraction of the floor space, and bypass the fragile electronics that plague modern treadmills. Below, we provide a comprehensive rowing machine buying guide, a complete setup and installation walkthrough, and a biomechanical technique masterclass to get you rowing efficiently from day one.
Rowing Machine Buying Guide: The 2026 Market Leaders
Unlike treadmills that rely on continuous horsepower (CHP) motors and complex deck cushioning, rowing machines are categorized by their resistance mechanism: air, magnetic, or water. Here is how the top contenders stack up for home use this year.
| Model | Resistance Type | Price Range | Best For | Maintenance Level |
|---|---|---|---|---|
| Concept2 RowErg | Air | $990 | Purists, CrossFitters, Data Nerds | Low (Chain oiling) |
| Hydrow Arc | Electromagnetic | $1,495 | Interactive Classes, Quiet Spaces | Very Low |
| NordicTrack RW900 | Magnetic | $1,199 | iFit Ecosystem Loyalists | Medium |
| WaterRower Natural | Water | $1,599 | Aesthetics, Zen Ambience | Medium (Water purification) |
Complete Setup and Installation Walkthrough
One of the greatest advantages of switching from a treadmill to a rower is the installation process. While a NordicTrack treadmill requires a two-person crew, heavy lifting, and hours of calibration, a premium rowing machine can be assembled in under 30 minutes. Here is the step-by-step walkthrough for assembling the industry-standard Concept2 RowErg.
Step 1: Unboxing and Rail Alignment
Do not use a box cutter to slice open the tape; you risk scratching the aluminum monorail. Pull the staples and fold the cardboard down. You will find the front leg assembly, the rear leg, the seat, and the hardware kit. Slide the monorail out of the box and place it on a soft surface to prevent scuffing the track.
Step 2: Attaching the Front and Rear Legs
- Rear Leg: Align the rear leg with the holes at the end of the monorail. Insert the two 14mm hex-head bolts. Use the included 10mm hex wrench to tighten them. Torque specification: 15 ft-lbs.
- Front Leg: Slide the front leg assembly onto the rail. Insert the two 10mm hex-head bolts and the two 10mm carriage bolts. Tighten securely. Ensure the leveling feet are screwed all the way in for now; you will adjust them later for stability.
Step 3: Chain and Monitor Arm Inspection
Unlike treadmills that require belt lubrication with 100% silicone, the rower chain requires purified mineral oil. Out of the box, the chain is pre-lubricated. However, inspect the monitor arm hinge. Tighten the 5mm hex bolt on the monitor arm pivot just enough so the arm holds its position when tapped, but still allows for smooth adjustment.
Step 4: Leveling the Machine
Place the assembled rower on your workout floor. Sit on the seat and slide back and forth. If the machine rocks, adjust the threaded leveling feet on the front and rear legs until the frame is completely flush with the floor. A rocking rower will cause premature wear on the seat rollers.
Mastering the Rowing Technique: A Biomechanical Guide
Assembling the machine is only half the battle. Rowing is a highly technical movement. According to the American Council on Exercise (ACE), improper rowing form is the leading cause of lower back pain in beginners. To row safely and efficiently, you must understand the four phases of the stroke.
1. The Catch (The Starting Position)
Shins should be vertical (or as close to vertical as your ankle mobility allows). Your torso should be hinged forward at roughly an 11 o'clock angle. Arms are fully extended, lats engaged, and core braced. The damper setting should be between 3 and 5.
The Damper Myth: Most beginners set the damper lever to 10, assuming it equates to a 'better' workout. This is incorrect. A setting of 10 mimics dragging a heavy, slow rowboat through the water. A setting of 3 to 5 yields a drag factor of 100-130, which accurately mimics the feel of a sleek racing shell gliding over water. You generate power through your leg drive, not by choking the airflow.
2. The Drive (The Power Phase)
The power distribution of a proper rowing stroke is 60% legs, 20% core, and 20% arms.
- Legs: Push explosively through your heels. Your arms remain straight, and your torso angle does not change until the legs are nearly fully extended.
- Core: As the legs approach full extension, swing your torso from the 11 o'clock position to the 1 o'clock position.
- Arms: Finally, pull the handle to your lower ribs (just below the chest), keeping your elbows tucked in.
3. The Finish
Legs are fully extended (without locking the knees), torso is leaned back slightly (1 o'clock), and the handle is resting at the lower ribs. This position should last only a fraction of a second before initiating the recovery.
4. The Recovery (The Return)
The recovery is the exact reverse of the drive and should take twice as long.
- Arms: Extend your arms fully away from the body.
- Core: Hinge forward from the hips, returning the torso to the 11 o'clock angle.
- Legs: Once the handle has cleared your knees, bend your knees and slide the seat forward back to the Catch position.
Troubleshooting Common Form Faults
Even with a perfect setup, bad habits can creep in. Use this diagnostic matrix to correct your technique.
| Fault | Symptom | Correction |
|---|---|---|
| Shooting the Slide | Hips rise before the handle moves; lower back strain. | Engage lats at the catch. Think about 'hanging' on the handle before pushing the legs. |
| Early Arm Bend | Biceps fatigue quickly; power leaks from the kinetic chain. | Keep arms completely straight like ropes until the legs are 80% extended. |
| Over-Compressing | Heels lift off the footplate; shins go past vertical. | Stop the slide when shins are vertical. Work on ankle dorsiflexion mobility separately. |
Final Verdict: Reclaiming Your Fitness Independence
Dealing with delayed NordicTrack treadmill customer service responses and proprietary software lockouts can completely derail your fitness consistency. By pivoting to a rowing machine, you are investing in biomechanical efficiency, full-body conditioning, and equipment reliability. Whether you choose the indestructible Concept2 RowErg or the immersive Hydrow Arc, mastering the setup and the four phases of the rowing stroke will provide you with a lifetime of high-yield, low-impact cardiovascular training. For further reading on stroke mechanics and pacing strategies, consult the official Concept2 Technique Guide to refine your drag factor and split times.
More gear to consider
All reviews
Is Stair Stepper or Treadmill Better? 2026 Air vs Assault Bike Trends
Air Bike vs Assault Bike Space Guide: ProForm 745 CS Treadmill Fit
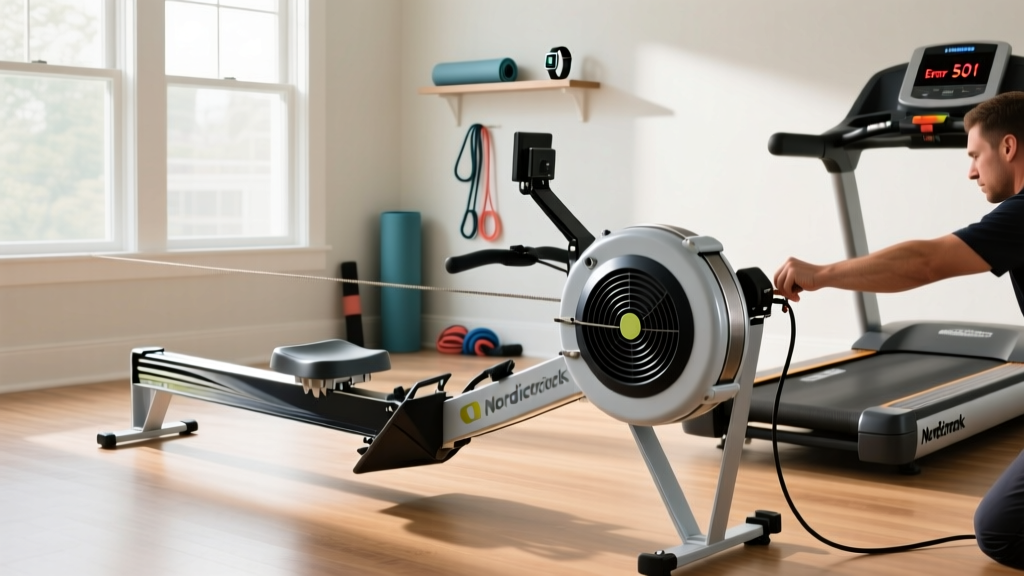
Rowing Machine Buying Guide: Technique & Fix NordicTrack Treadmill

How to Choose a Treadmill or Rowing Machine: Setup Guide
16 Incline on Treadmill: 2026 Compact Portable Cardio Market Trends