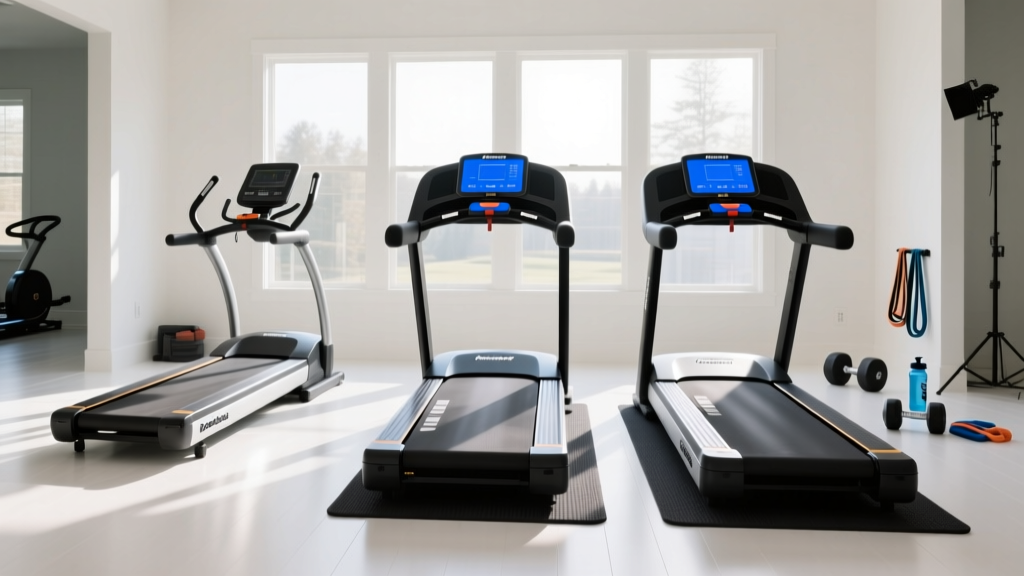
Nordic Track T6 5S Treadmill Setup: Motorized vs Curved Guide
Master your Nordic Track T6 5S treadmill setup. We compare motorized vs curved manual treadmill installation, space needs, and calibration steps.

The Installation Reality: Motorized vs. Curved Manual Treadmills
Choosing between a motorized machine and a curved manual treadmill fundamentally changes your home gym's spatial, electrical, and structural requirements. While curved manual treadmills (like the AssaultRunner Elite or TrueForm) have surged in popularity for their self-powered, high-calorie-burn mechanics, traditional motorized models remain the gold standard for guided, incline-based training. If you have opted for the Nordic Track T6 5S treadmill, you are investing in a reliable 2.6 CHP motorized system that requires a vastly different installation protocol than a slat-belt manual runner.
This comprehensive walkthrough will guide you through the exact unboxing, assembly, and calibration process for your NordicTrack T6.5S, while continuously contrasting these steps with the setup realities of curved manual treadmills. Understanding these differences is critical to avoiding structural damage, electrical faults, and premature motor burnout in 2026's modern home gym environments.
Pre-Installation: Space, Power, and Flooring Matrix
Before unboxing the 135-pound shipping carton, you must prepare the installation zone. The physical footprint is only half the battle; overhead clearance and electrical draw are where most DIY installations fail.
⚠️ CRITICAL ELECTRICAL WARNING: According to Consumer Reports treadmill safety guidelines, motorized treadmills must be plugged into a dedicated 120-volt, 15-amp circuit. Never use a GFCI (Ground Fault Circuit Interrupter) outlet or an extension cord. The initial startup surge of the T6.5S motor can trip GFCI breakers or cause voltage drops that fry the lower control board.Spatial & Environmental Comparison
| Requirement | NordicTrack T6.5S (Motorized) | Curved Manual (e.g., TrueForm) |
|---|---|---|
| Footprint (L x W) | 70.5' x 27' | 70' x 33' (Wider stance base) |
| Ceiling Clearance | User Height + 6 inches | User Height + 12 inches |
| Power Source | Dedicated 120V / 15A Outlet | None (100% Human Powered) |
| Flooring Requirement | 3/4' Rubber Mat (Vibration dampening) | Standard Gym Flooring (High friction) |
Expert Insight on Overhead Clearance: Research published by the American Council on Exercise (ACE) highlights that curved manual treadmills alter natural biomechanics, forcing runners into a more upright, forefoot-strike posture that elevates the head and shoulders. Consequently, curved treadmills require significantly more overhead clearance than the motorized Nordic Track T6 5S treadmill, where the 18' x 50' belt encourages a standard, slightly forward-leaning stride.
Step-by-Step Assembly: Nordic Track T6 5S Treadmill
Unlike curved treadmills, which arrive 90% pre-assembled due to their welded steel chassis and pre-tensioned slat belts, motorized treadmills require precise mechanical and electrical integration. Follow these exact steps to avoid voiding your warranty.
- Base Positioning and Leveling: With the help of a second person, stand the main frame upright. Before attaching the uprights, adjust the rear leveling feet. Use a carpenter's level across the deck. An unlevel deck causes the 2.6 CHP motor to overwork, leading to premature belt fraying on the left or right edge.
- Upright Installation (Torque Specifics): Insert the four main upright bolts. Do not fully tighten them yet. Thread them to 80% tightness. This allows the frame to flex slightly when you attach the crossbar. Once the crossbar is seated, torque all four bolts to exactly 45 Nm (Newton-meters) using a torque wrench.
- Data Cable Routing (The #1 Failure Point): Feed the console data cable down the right upright. Stop: Ensure the cable is routed on the outside of the metal bracket, not pinched against the inner frame. Pinched cables cause 'Error 1' or 'Error 2' console failures within the first month of use.
- Console Attachment: Connect the pin connector. You should feel a distinct 'click'. Secure the console with the provided M8 bolts. Do not overtighten, as the plastic housing can crack under excessive pressure.
Calibration and Software Setup
Curved manual treadmills require zero software calibration; your legs dictate the speed and incline. The NordicTrack T6.5S, however, relies on digital sensors that must be synchronized with the iFIT operating system.
Incline Calibration Protocol
Out of the box, the incline motor may not recognize its absolute zero or maximum 10% gradient. To calibrate:
- Press and hold the 'Stop' and 'Speed Up' buttons simultaneously for 5 seconds.
- The machine will enter Engineering Mode. Press 'Start' to begin the auto-calibration sequence.
- The deck will rise to 10%, pause, and lower to 0%. Do not step on the belt during this process.
- Once complete, the console will beep and return to the home screen.
2026 iFIT OS Note: Modern NordicTrack firmware requires a stable 2.4GHz Wi-Fi connection for initial activation. If your router uses a combined 2.4GHz/5GHz SSID, the T6.5S console may fail to connect. Temporarily separate your network bands via your router settings to complete the setup, as detailed on the official NordicTrack Support portal.
Maintenance Matrix: Motorized vs. Curved Slat Belts
The setup is only day one. Long-term maintenance diverges wildly between motorized decks and curved slat tracks.
| Maintenance Task | NordicTrack T6.5S (Motorized) | Curved Manual Treadmill |
|---|---|---|
| Belt Lubrication | 100% Silicone spray every 150 miles. | Never. Slat belts run on sealed bearings. |
| Belt Tensioning | Adjust rear roller bolts (1/4 turn) if slipping. | Adjust front tensioner bar (requires specialized tools). |
| Debris Removal | Vacuum under the motor hood every 3 months. | Wipe slats with damp microfiber cloth weekly. |
| Component Failure Risk | Lower control board, drive motor, speed sensor. | Slat wheel bearings, handlebar grip wear. |
Troubleshooting Common Installation Errors
Even with meticulous assembly, motorized treadmills can throw error codes during the first power-on. Here is how to diagnose the most common setup-related faults on the T6.5S:
Error 1: Speed Sensor Misalignment
Symptom: The belt starts, runs for 3 seconds, stops abruptly, and the console displays 'Error 1'.
Cause: During assembly, the speed sensor (located near the front roller on the right side) was bumped or the magnet on the pulley is too far away.
Fix: Unplug the machine. Remove the motor hood (6 Phillips-head screws). Locate the small black sensor pointing at the front roller pulley. Ensure the gap between the sensor tip and the magnet is exactly 1/8 inch (3mm). Adjust the bracket if necessary.
Console Flickering or Rebooting
Symptom: The screen turns on, shows the NordicTrack logo, and restarts continuously.
Cause: Voltage drop due to an inadequate wall circuit or a pinched data cable restricting power flow to the upper console.
Fix: Verify the outlet is not shared with high-draw appliances (like a mini-fridge or space heater). If the circuit is dedicated, disassemble the upright and inspect the data cable for crimps or tears.
Final Verdict: Securing Your Investment
Setting up the Nordic Track T6 5S treadmill requires a methodical approach to electrical safety, mechanical torque, and digital calibration that simply does not exist in the curved manual treadmill market. While a curved manual runner offers a 'plug-and-play' physical setup, it demands a higher ceiling, a wider floor footprint, and a user willing to adapt to a drastically different running biomechanic. By following this precise installation walkthrough, ensuring your 15-amp circuit is dedicated, and properly calibrating the incline motor, your motorized NordicTrack will deliver years of reliable, iFIT-guided training without the joint impact associated with outdoor pavement running.
More gear to consider
All reviews
Curved Manual vs Motorized Treadmill: Setup Guide

Elliptical vs Treadmill: Is a Treadmill Good Exercise Long-Term?

Sunny Health & Fitness SF-T4400 Folding Treadmill vs Under Desk Picks
NordicTrack Apex 6100xi Treadmill: Small Space Value Breakdown
Treadmill Conversion to Rowing: 2026 Rower Buying Guide & Technique
