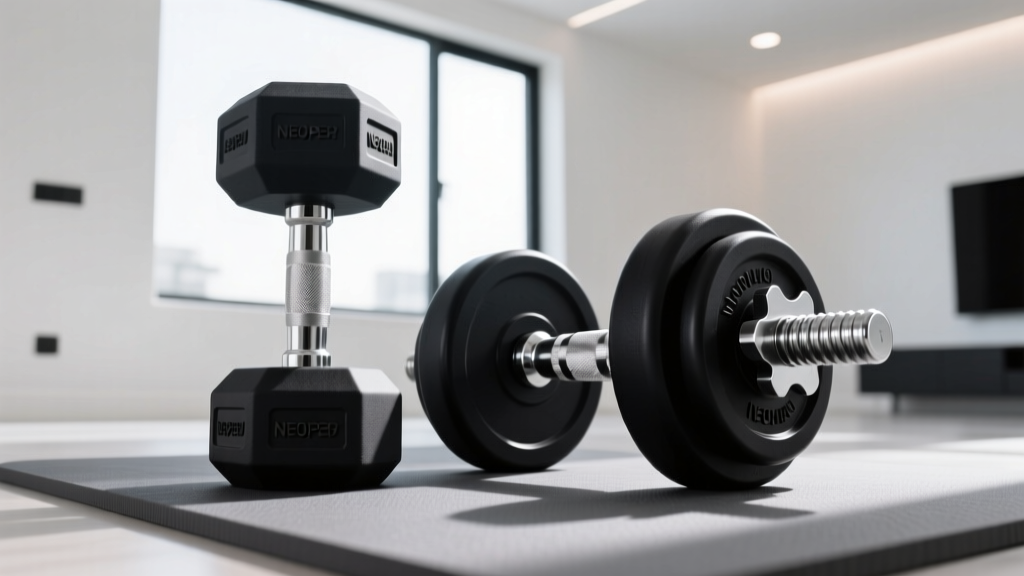
Neoprene Dumbbell Magnet Setup: Installation & Safety Walkthrough
Learn how to safely install and use a dumbbell magnet on neoprene coated dumbbells. Complete setup, calibration, and storage walkthrough for home gyms.

The Neoprene Dilemma: Why Standard Dumbbell Magnets Fail
Building a space-efficient home gym in 2026 often means relying on fixed-weight dumbbells rather than bulky adjustable sets. Neoprene-coated dumbbells, such as the popular CAP Barbell or Yes4All hex sets, are a staple for their durability and floor-friendly design. However, they present a unique challenge for progressive overload: you cannot easily micro-load them. This is where a dumbbell magnet (magnetic micro-plates) becomes an essential tool. By attaching 1.25 lb or 2.5 lb magnetic plates to the ends of your dumbbells, you can incrementally increase weight without buying an entirely new set.
But there is a catch. Neoprene is a synthetic rubber (chloroprene) that typically adds a 3mm to 5mm layer of non-magnetic material over the cast iron core. According to magnetic field physics documented by K&J Magnetics, the pull force of a neodymium magnet degrades exponentially with distance. A mere 3mm gap between the magnet and the iron core can reduce the holding force of an N52-grade dumbbell magnet by over 50%. If you simply slap a magnetic weight plate onto a neoprene dumbbell without proper surface preparation and technique, it will slide off during a chest press, creating a severe safety hazard.
WARNING: Never use a dumbbell magnet on neoprene-coated weights for overhead movements (like shoulder presses) without a secondary mechanical retention strap. The risk of the magnet shearing off and falling onto your face is unacceptably high without proper installation protocols.Step-by-Step Walkthrough: Prepping Neoprene for Magnetic Add-Ons
To maximize the magnetic grip and ensure the dumbbell magnet adheres as securely as possible to the coated surface, you must eliminate all surface friction variables. Follow this exact preparation protocol before your first lift.
- Identify the Contact Zone: Locate the absolute center of the dumbbell's hexagonal or circular end. This is where the cast iron core is closest to the surface, minimizing the neoprene gap.
- Chemical Cleaning (Crucial Step):strong> Neoprene is porous and holds onto skin oils, chalk, and dust. Wipe the end caps with 70% isopropyl alcohol (IPA) and a microfiber cloth. Never use acetone, bleach, or ammonia-based cleaners, as these will break down the chloroprene bonds, causing the coating to peel and creating an uneven surface that ruins magnetic contact.
- Surface Scuffing (Optional but Recommended): If your dumbbells have a highly textured neoprene grip on the ends, use a fine-grit (400) sanding sponge to lightly buff a 3-inch circular flat spot in the center. This reduces the effective gap between the magnet and the iron core by up to 1.5mm, significantly increasing pull force.
- Chalk Removal: If you use lifting chalk, you must brush the dumbbell ends with a stiff nylon brush before applying the dumbbell magnet. Chalk acts as a microscopic ball bearing, drastically reducing shear friction and causing the magnet to slip during lateral movements.
Installing and Calibrating Your Dumbbell Magnet Set
Once the surface is prepped, the physical installation of the dumbbell magnet requires deliberate force. Do not let the magnet 'snap' onto the dumbbell from a distance; this can chip the neoprene coating or crack the brittle neodymium core inside the rubberized magnet housing. Instead, place the magnet flat against the center of the end cap and press firmly, twisting it 15 degrees to seat it into the microscopic texture of the rubber.
| Magnet Weight | Typical Diameter | Required Neoprene Gap | Best Use Case |
|---|---|---|---|
| 0.5 lb (Pair) | 2.0 inches | < 2mm (Sanded) | Rehab, isolation lifts |
| 1.25 lb (Pair) | 2.5 inches | < 3mm | Upper body pressing |
| 2.5 lb (Pair) | 3.0 inches | < 4mm | Lower body, heavy rows |
Edge Case: Hex vs. Round Neoprene Ends
Most modern home gym sets feature hexagonal ends to prevent rolling. However, the corners of the hex shape mean the flat center surface area is smaller than on a round dumbbell. If you are using a 3-inch dumbbell magnet on a small 5lb or 10lb hex dumbbell, the magnet may overhang the edge, resting partially on the angled bevel. This creates an air gap that compromises the hold. Always match the diameter of your magnet to the flat surface area of the specific dumbbell size you are modifying.
Building a Magnetic Storage and Rack Integration
A complete setup walkthrough isn't just about the lift; it is about gym organization. Storing loose dumbbell magnets on a shelf leads to them sticking together, demagnetizing over time, or picking up metallic debris that will later scratch your neoprene dumbbells.
The PVC Separator Method: Cut 1-inch thick slices of 3-inch diameter PVC pipe. Place these PVC rings on your weight shelf to act as cradles. Store your dumbbell magnets inside these rings, separated by at least 2 inches. This prevents the opposing magnetic fields from clashing, which preserves the longevity of the N52 neodymium cores.
For rack integration, you can install heavy-duty magnetic tool hooks (rated for 50+ lbs) on the side of your steel power rack. This allows you to snap the dumbbell magnets directly onto the rack uprights when not in use, keeping them off the floor and away from moisture that could cause the internal iron weights to rust and expand, tearing the rubber casing.
'Progressive overload is the primary driver of hypertrophy and strength adaptation. When fixed dumbbells force you to jump from 25 lbs to 30 lbs, the 20% load increase often breaks down form. Micro-loading with magnetic increments bridges this gap, allowing for the 2-5% weekly increases recommended by the American Council on Exercise (ACE) for sustainable strength progression.'
Troubleshooting Common Installation Failures
Even with perfect preparation, environmental factors in a home gym can cause issues. Use this diagnostic matrix to solve common dumbbell magnet failures:
- Failure Mode: Magnet slides down during a bench press.
Diagnosis: Shear force exceeded friction. The neoprene is likely coated in microscopic sweat or humidity.
Solution: Apply a thin layer of liquid gymnastics chalk (rosin) to the face of the dumbbell magnet before attaching it. This drastically increases the coefficient of friction against the rubber. - Failure Mode: Neoprene coating tears when removing the magnet.
Diagnosis: Pulling the magnet straight off creates immense localized suction and shear stress on the rubber.
Solution: Never pull straight away from the dumbbell. Slide the magnet to the very edge of the hex cap until it overhangs by 50%, then peel it off the corner to break the magnetic field gradually. - Failure Mode: Magnet feels 'weak' on one specific dumbbell.
Diagnosis: Manufacturing defect in the neoprene molding. Some cheaper dumbbells have a 6mm+ rubber cap over the iron core on one side due to uneven dipping.
Solution: Use a digital caliper to measure the coating thickness. If it exceeds 4mm, that specific dumbbell cannot safely support magnetic add-ons without a mechanical strap.
Final Safety Checks Before Your First Lift
Before executing your first set with a newly installed dumbbell magnet, perform the 'Shake and Hold' test. Grip the dumbbell handle firmly and shake it violently in the direction of the movement path (e.g., horizontally for a chest press) for 10 seconds. If the magnet shifts even a millimeter, remove it, re-clean the neoprene with IPA, and re-seat it.
Furthermore, the National Strength and Conditioning Association (NSCA) emphasizes that equipment modification requires heightened situational awareness. Always inform your training partner that you are using magnetic micro-plates, and never use them for drop-sets. The impact of dropping a neoprene dumbbell on a rubber mat will instantly shatter the magnetic bond, sending the weight plate flying across your home gym. By respecting the physics of the neoprene gap and following this meticulous installation walkthrough, you can safely unlock the full potential of your fixed-weight dumbbell arsenal.
More gear to consider
All reviews
Single Arm Dumbbell Tricep Extension: Power Rack vs Squat Rack vs Stand

Barbell Collar & Clamp Comparison: Setup for Dumbbell Strict Press

Maximizing Dumbbell Side Bends Benefits: Rubber Hex vs Urethane 2026

Breakdown: Equip Bands Essentials — Resistance Band Specifications, Real-World Testing, and Functional Integration

Beyond Dumbbell Training for Beginners: Barbell Collars vs Clamps
