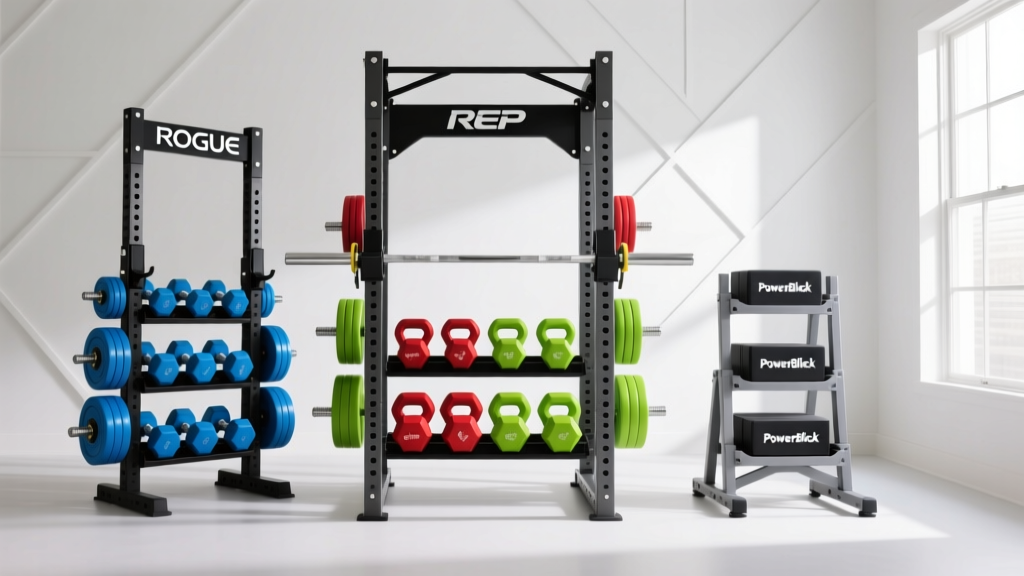
Organizing Your Dumbbell Front Row: Neoprene Setup Guide
Master your home gym layout with our complete walkthrough for setting up a neoprene dumbbell front row, including rack specs, off-gassing, and care.

The Anatomy of a Perfect Home Gym Layout
When designing a functional home gym, the concept of the dumbbell front row is critical for workflow and injury prevention. The 'front row' refers to the primary, most accessible tier of your storage rack or floor layout—the ergonomic strike zone where your most frequently used weights reside. For home gym owners utilizing neoprene coated dumbbells, setting up this front row requires an understanding of material science, spatial ergonomics, and equipment maintenance. As of 2026, neoprene hex dumbbells remain a top choice for residential setups due to their sweat-resistant polychloroprene coating and floor-friendly hexagonal anti-roll design. However, simply tossing them on a shelf is a recipe for lumbar strain and equipment degradation. This complete setup and installation walkthrough will guide you through unboxing, rack assembly, spatial configuration, and long-term care.
Phase 1: Unboxing and the 72-Hour Off-Gassing Protocol
Before you even think about arranging your dumbbell front row, you must address the chemical reality of new neoprene. Neoprene (synthetic polychloroprene rubber) is manufactured using volatile organic compounds (VOCs). When you unbox a fresh set of 5-50 lb neoprene dumbbells from brands like Yes4All, CAP Barbell, or BalanceFrom, they will emit a distinct, pungent chemical odor.
According to the Environmental Protection Agency (EPA), VOCs can cause short-term respiratory irritation and headaches, particularly in enclosed home gyms or basement setups. To mitigate this, you must implement a strict off-gassing protocol before integrating the weights into your living space.
- Step 1: Unbox the dumbbells outdoors or in a well-ventilated garage. Remove all plastic shrink-wrap immediately, as trapped gases will degrade the neoprene surface if left sealed in high heat.
- Step 2: Lay the dumbbells flat on a tarp, ensuring they are not stacked. Stacking restricts airflow and prolongs the curing process.
- Step 3: Allow the dumbbells to off-gas for a minimum of 72 hours. In high-humidity environments, extend this to 5 days. Wipe them down with a damp microfiber cloth and mild dish soap on the final day to remove surface manufacturing residues.
Phase 2: Rack Selection and Structural Assembly
Your dumbbell front row is only as good as the rack supporting it. For neoprene hex dumbbells, a 3-tier horizontal rack is vastly superior to an A-frame rack. A-frame racks force you to squat awkwardly to retrieve heavier weights from the bottom tier, disrupting the 'front row' ergonomic flow.
When shopping for a 3-tier rack in 2026, look for the following specifications:
- Steel Gauge: Minimum 12-gauge steel. Cheaper 14-gauge racks will bow under the concentrated load of a full 5-50 lb set (which totals over 800 lbs).
- Tier Spacing: The middle tier should sit exactly 28 to 32 inches from the floor. This is the biomechanical sweet spot for hinging at the hips and retrieving weights without excessive lumbar flexion.
- Tray Depth: Ensure the trays are at least 10 inches deep to accommodate the wider profile of neoprene-coated hex heads, which are bulkier than bare cast iron or urethane.
Phase 3: Configuring Your Dumbbell Front Row
The 'dumbbell front row' is not just a physical location; it is a programming strategy. The National Institute for Occupational Safety and Health (NIOSH) emphasizes that repetitive lifting from non-optimal heights significantly increases the risk of musculoskeletal disorders. Your front row should house the weights you use for 80% of your daily accessory movements (e.g., lateral raises, bicep curls, front raises).
Below is the optimal layout matrix for a standard 10-pair neoprene dumbbell set (5 to 50 lbs) on a 3-tier rack. The middle tier serves as your primary front row.
| Tier Level | Weight Range | Neoprene Color Code (Standard) | Ergonomic Purpose |
|---|---|---|---|
| Top Tier | 35 lbs - 50 lbs | Blue / Black / Grey | Heavy compound movements (Goblet squats, heavy rows). Requires a deliberate, braced pickup. |
| Middle Tier (Front Row) | 15 lbs - 30 lbs | Green / Orange / Red | The Strike Zone. Ideal for high-volume isolation work. Minimal spinal loading during pickup. |
| Bottom Tier | 5 lbs - 12 lbs | Yellow / Pink / Light Green | Rehab, warm-ups, and lateral raises. Kept low to reserve prime real estate for heavier, bulkier pairs. |
By organizing your dumbbell front row in this manner, you eliminate the need to bend down to the floor for your most common working weights, saving your lower back for the actual workout.
Phase 4: Flooring and Impact Mitigation
Neoprene is designed to protect your floors, but it cannot survive repeated drops onto bare concrete or hardwood. Furthermore, dropping weights alters the calibration of the inner cast iron core over time, leading to rattling. For a complete setup, install 3/4-inch thick vulcanized rubber horse stall mats (typically 4x6 feet, costing around $55 to $75 per mat in 2026) directly beneath and in front of your dumbbell rack.
This creates a 'drop zone' directly in front of your dumbbell front row. When finishing a heavy set of dumbbell Romanian deadlifts or lunges, you can safely release the weights into this zone without damaging the neoprene coating or the subfloor. Ensure the mats are flush against the rack legs to prevent a tripping hazard during transitions.
Phase 5: Long-Term Maintenance and Edge Cases
Neoprene is highly durable, but it has specific chemical vulnerabilities that home gym owners frequently overlook. To ensure your dumbbell front row remains pristine and grippy for years, adhere to these maintenance rules:
What Destroys Neoprene?
- Petroleum Solvents: Never clean your dumbbells with WD-40, paint thinner, or harsh degreasers. These will melt the polychloroprene bonds, leaving a permanent, sticky residue on your hands and equipment.
- Bleach and Ammonia: These household cleaners will dry out the rubber, leading to micro-cracking and eventual peeling of the coating from the iron core.
- UV Degradation: If your home gym is in a sunroom or near a large south-facing window, UV rays will bleach and brittle the neoprene within 6 to 12 months. Keep your rack out of direct sunlight.
The Proper Cleaning Routine
After every session, wipe down the handles and heads of your front row dumbbells with a solution of 90% water and 10% white vinegar, or a dedicated pH-neutral gym wipe. The mild acidity of vinegar neutralizes the alkaline salts found in human sweat, which can corrode the chrome handle over time and cause the neoprene head to loosen from the collar.
Summary: Mastering Your Space
Setting up a neoprene dumbbell front row is about more than just tidying up your home gym; it is an exercise in biomechanical efficiency and material preservation. By respecting the 72-hour off-gassing window, investing in a 12-gauge 3-tier rack, strategically placing your 15-30 lb pairs in the ergonomic strike zone, and avoiding petroleum-based cleaners, you create a seamless, safe, and highly functional training environment. Your equipment will last longer, your workouts will flow better, and your lower back will thank you.
More gear to consider
All reviews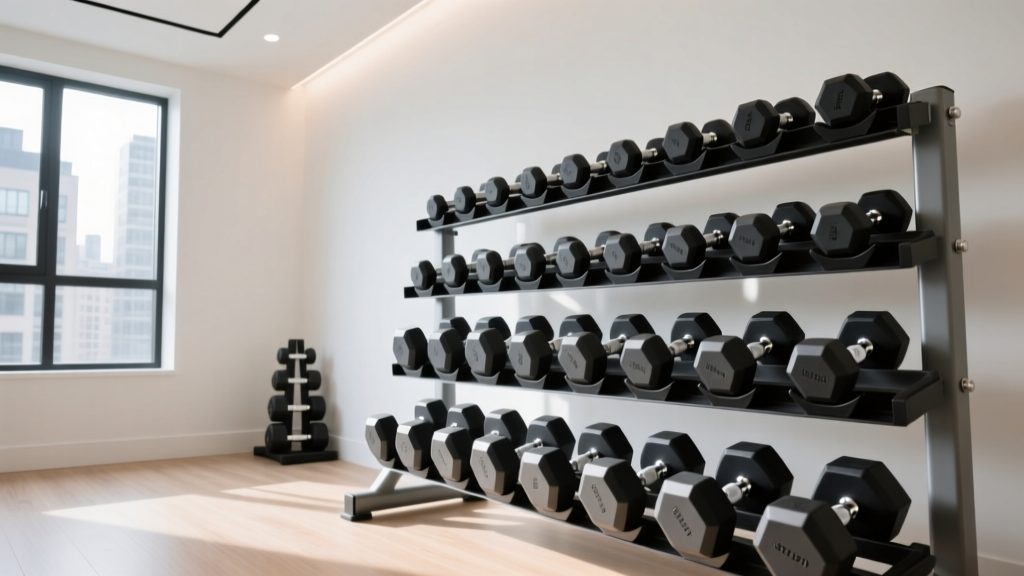
2026 Market Trends: Storage Racks for Dumbbell Rows for Beginners
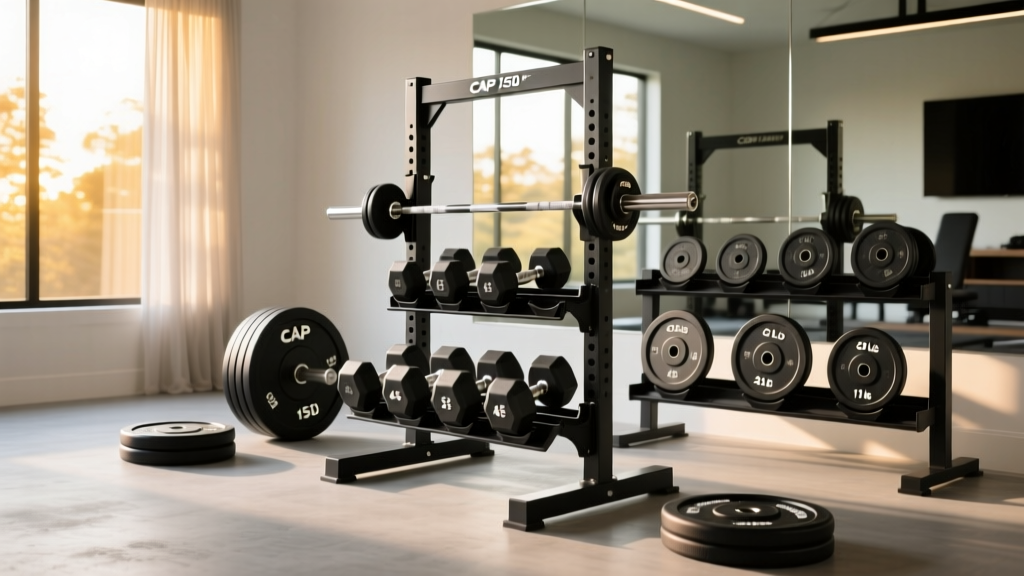
Olympic vs Standard Plates & CAP 150 lb Dumbbell Set with Rack Guide

EZ vs Straight Bar: Triceps Workout at Home with Dumbbells

Barbell Collar & Clamp Comparison: Fix Bowflex Dumbbells Stuck
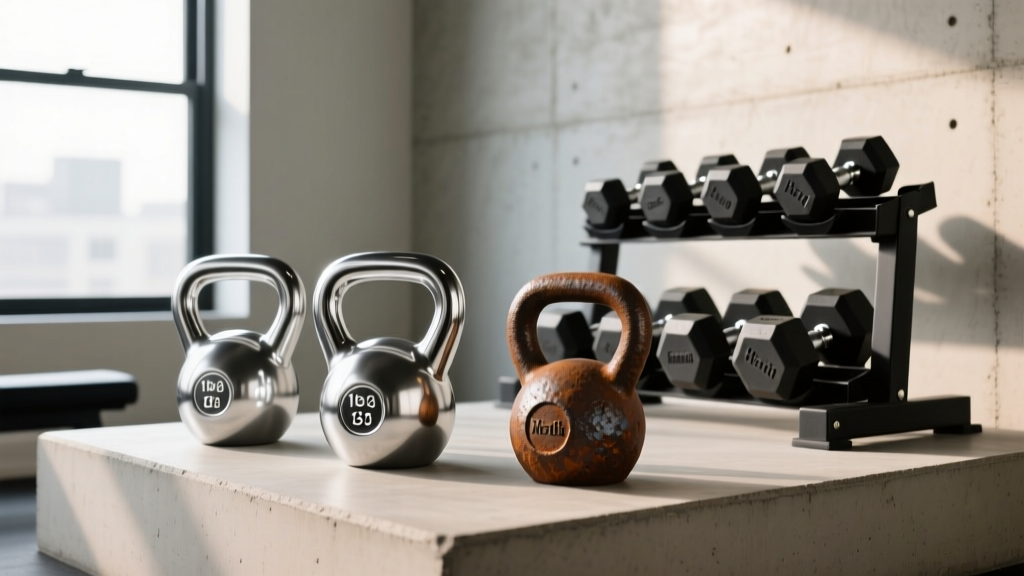
Competition vs Cast Iron Kettlebells: Better Than Dumbbell Set Deals?