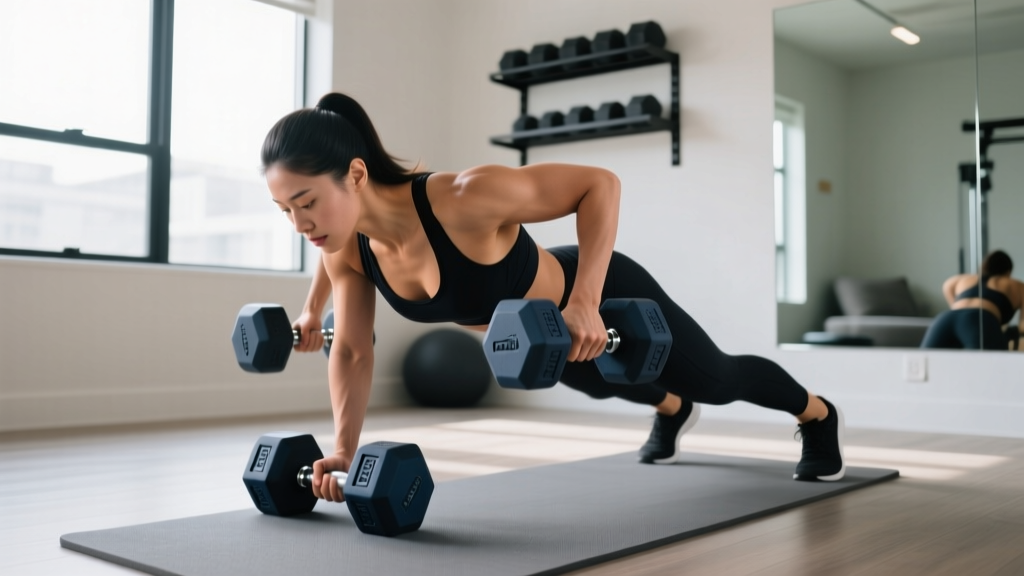
Setup Guide: Neoprene Dumbbell for Arms Exercise at Home
Master your home gym setup with our neoprene dumbbell for arms exercise guide. Covers flooring, rack assembly, spatial planning, and maintenance.

Pre-Installation: Spatial Mapping for Arm Isolation
Setting up a dedicated zone for upper-body isolation work requires more than just unboxing a set of weights. While compound movements like squats demand massive floor plans, arm-specific training requires precise spatial calibration to accommodate lateral extensions and overhead trajectories. According to guidelines from the American Council on Exercise (ACE), a functional home gym footprint should allow for a full range of motion without spatial anxiety. For arm isolation, you need a minimum clearance radius of 36 inches from your center of gravity to account for movements like tricep kickbacks, lateral raises, and hammer curls.
Before installing any flooring or racks, map out a 6x6 foot square in your chosen room. Ensure this zone is at least 18 inches away from drywall or mirrors to prevent accidental knuckle strikes during high-rep bicep curls or skull crushers.
Flooring Installation: Protecting Subfloors and Neoprene
Neoprene (polychloroprene) is a synthetic rubber that offers excellent grip and shock absorption, but it is not invincible. Dropping even a 25-pound neoprene-coated weight repeatedly onto hardwood or laminate will eventually cause micro-fractures in the subfloor and degrade the dumbbell's outer coating.
Choosing the Right Matting
- EVA Foam Interlocking Tiles (1/2 inch): Ideal for light neoprene sets (under 20 lbs). They provide excellent joint cushioning for standing arm exercises but will permanently compress under heavy static loads like a loaded rack.
- PVC Interlocking Tiles (5/8 inch): The 2026 standard for dedicated arm zones. PVC offers higher density than EVA, preventing the rack legs from sinking while providing enough surface friction to keep hex dumbbells from sliding if placed on the floor mid-superset.
- Vulcanized Rubber Mats (3/4 inch): Overkill for lightweight neoprene arm sets, but recommended if your rack also houses heavier adjustable dumbbells or kettlebells.
Installation Tip: Always leave a 1/4-inch expansion gap between your matting and the baseboards. Temperature fluctuations in garages or basements can cause PVC and rubber mats to expand and buckle if tightly wedged against walls.
Selecting the Ideal Neoprene Dumbbell for Arms Exercise
The biceps and triceps are relatively small muscle groups that respond best to precise progressive overload. Unlike leg day, where you might jump 10 or 15 pounds between sets, arm training requires micro-loading. When selecting a neoprene dumbbell for arms exercise, prioritize sets that offer 5-pound (or ideally 2.5-pound) increments. Furthermore, the hexagonal shape is non-negotiable for home setups; it prevents the weights from rolling away when you set them down between supersets.
| Brand / Model (2026 Market) | Set Configuration | Estimated Price Range | Best Application |
|---|---|---|---|
| Yes4All Neoprene Hex | 5-25 lbs (5lb increments) | $145 - $165 | Progressive Overload & Hypertrophy |
| BalanceFrom GoFit | 3-15 lbs (Pairs) | $68 - $82 | High-Rep Endurance & Warm-ups |
| Tone Fitness Hex Rack Set | 10-50 lbs (Complete Rack) | $230 - $260 | Advanced Arm Supersets |
Storage Rack Assembly: Step-by-Step Walkthrough
Proper storage isn't just about aesthetics; it prevents neoprene degradation and tripping hazards. Most tiered A-frame racks included with neoprene sets utilize a standardized bolt-and-bracket system. Here is a professional walkthrough for assembling a standard 3-tier horizontal rack.
- Base Alignment: Lay the two A-frame side panels flat on your installed PVC matting. Insert the front and rear horizontal stabilizer bars. Do not fully tighten the M8 x 40mm bolts yet; leave them at about 60% torque to allow for frame squaring.
- Tiered Rail Insertion: Slide the three tiers of angled dumbbell rails into the pre-drilled slots. The top tier should sit at roughly 28 inches high, the middle at 18 inches, and the bottom at 8 inches. This staggered height ensures you can read the color-coded neoprene ends without bending over awkwardly.
- Squaring and Torquing: Use a carpenter's square to ensure the base forms perfect 90-degree angles with the side panels. Once squared, use a 13mm socket wrench to tighten all M8 bolts. Warning: Cap your torque at roughly 15-20 Nm. Over-tightening will strip the powder coating on budget racks, exposing the raw steel to humidity and rust.
- Load Testing: Load the heaviest dumbbells on the bottom tier to lower the center of gravity. Place lighter 5lb and 10lb neoprene pairs on the top tier. Apply downward pressure on the top rail to test for lateral sway.
⚠️ Setup Warning: Uneven Floors
If your home gym is in a garage or basement with a sloping concrete floor, the rack will wobble when you lift a dumbbell off the top tier. Use heavy-duty rubber shims under the lower side of the rack base to achieve a perfectly level plane before loading the rack with weights.
Environmental Calibration and Neoprene Maintenance
Neoprene is highly resistant to sweat and oils, making it superior to bare cast iron for high-rep arm workouts where grip fatigue and palmar sweating are common. However, it is vulnerable to specific environmental factors. The Mayo Clinic emphasizes the importance of maintaining a hygienic workout environment to prevent bacterial transfer, but you must clean your gear correctly.
The Chemistry of Neoprene Care
Never use bleach, ammonia, or quaternary ammonium compounds (found in many commercial gym wipes) on neoprene. These harsh chemicals break down the polymer chains, causing the coating to become sticky, peel, or crack over time. Instead, use a simple solution of warm water and a few drops of mild dish soap. Wipe down the handles after every arm session to remove acidic sweat residue, and dry them immediately with a microfiber cloth to prevent moisture from seeping into the seam where the neoprene meets the internal cast iron core.
Additionally, keep your rack out of direct sunlight. Prolonged UV exposure will cause the vibrant color-coding of the neoprene to fade and the material to become brittle.
Functional Flow: Designing the Arm Superset Station
Once your rack is assembled and your flooring is laid, optimize the space for functional flow. Arm training heavily utilizes antagonist supersets (e.g., pairing a bicep exercise with a tricep exercise). To maximize efficiency, set up a 'drop zone' directly in front of the rack.
- The Primary Zone: Stand 24 inches from the rack. This allows you to grab a pair of 20lb neoprene dumbbells for bicep curls, execute the set, and lean forward to place them on the middle tier without taking a single step.
- The Secondary Zone: Keep an adjustable utility bench positioned exactly 48 inches behind you. When transitioning to tricep extensions or skull crushers, you can pivot 180 degrees, sit, and grab the lighter 15lb pair from the top tier of the rack.
By treating your neoprene dumbbell setup as an integrated workstation rather than just a pile of equipment, you reduce rest times, maintain muscle tension, and protect your home's infrastructure. For further reading on programming your new arm zone, consult the resistance training guidelines published by the National Strength and Conditioning Association (NSCA) to ensure your volume and intensity match your newly optimized environment.
More gear to consider
All reviews
What Muscles Does Dumbbell Row Work? Neoprene Dumbbells Compared
Barbell Collar Types Compared: Mistakes Beyond Dumbbell Arm Circles

Budget Dumbbell Racks: Perfecting One Arm Dumbbell Row Form
Power Rack vs Squat Rack vs Stand: Incline Dumbbell Overhead Extensions

Cast Iron vs Competition Kettlebells & Pec Flyes Dumbbells Layout