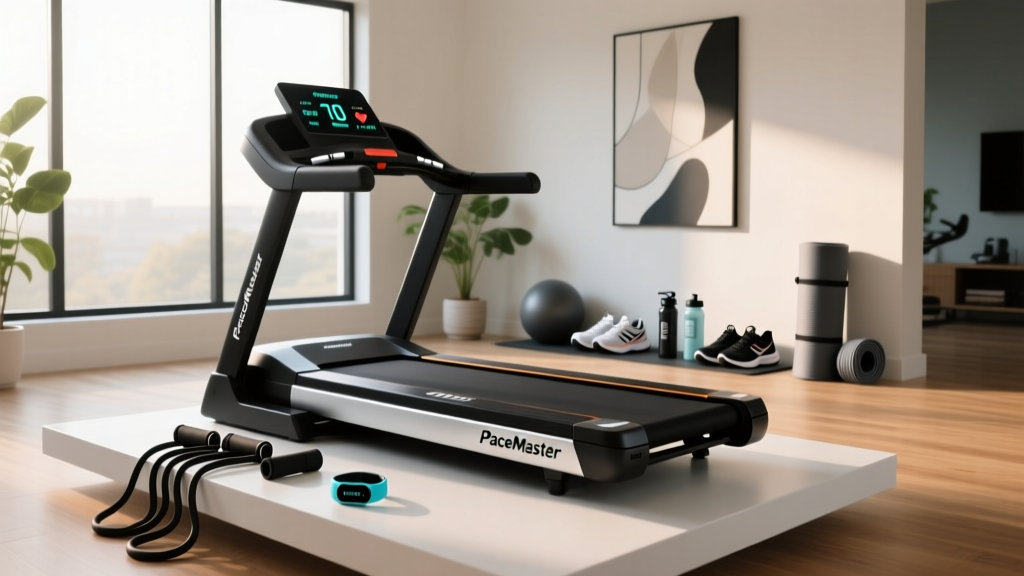
MythBusters Plane on a Treadmill: Walking Pad Setup & Comparison
Discover how the MythBusters plane on a treadmill myth applies to cardio gear. Compare walking pad vs treadmill setup, installation, and motor friction.

The Physics of Friction: What Aviation Teaches Us About Cardio Setup
When fitness enthusiasts and physics nerds alike discuss the legendary mythbusters plane on a treadmill experiment, they are usually debating the mechanics of aviation thrust. The famous television experiment proved that an airplane will still take off on a giant conveyor belt moving in the opposite direction, because a plane's thrust is generated against the air, not the ground. The ground speed beneath the wheels is virtually irrelevant to the aircraft's forward momentum.
But what happens when we apply this thought experiment to human biomechanics and home cardio equipment in 2026? Unlike a Cessna, your body relies entirely on the friction between your shoes and the belt to simulate forward momentum. If your walking pad or traditional treadmill is improperly installed, unlevel, or lacking lubrication, that friction works directly against the motor. This creates a mechanical 'conveyor belt effect' that mimics the myth, but with a disastrous result: instead of taking off, your micro-motor burns out from excessive amperage draw.
In this comprehensive setup and installation walkthrough, we will debunk common home-gym installation myths by comparing the mechanical setup of a folding walking pad (the KingSmith WalkingPad R2) against a traditional motorized treadmill (the Horizon Fitness T101). We will show you exactly how to calibrate your 'ground' to protect your joints and your machine's continuous duty horsepower (CHP) motor.
Biomechanics and Belt Load: Why Installation is Non-Negotiable
According to the American Council on Exercise (ACE), the biomechanical loading on your joints changes subtly when moving from overground walking to treadmill walking. The belt pulls your foot back, altering your hamstring activation. However, if a treadmill deck is improperly leveled during setup, it introduces a lateral tilt. This lateral tilt forces your stabilizing muscles to overcompensate, leading to premature fatigue and potential IT band syndrome.
Furthermore, a poorly tensioned belt on a walking pad creates 'slippage' under heavy loads (users over 180 lbs). When the belt slips over the deck but the front roller continues to turn, the sudden spike in kinetic friction can strip the drive belt or blow the motor controller board. Proper setup is not just about aesthetics; it is about preserving the mechanical integrity of the machine.
Mechanical & Setup Comparison Matrix (2026 Models)
Before unboxing, it is crucial to understand the mechanical differences between under-desk walking pads and full-sized treadmills. The table below contrasts the popular KingSmith WalkingPad R2 with the Horizon Fitness T101, highlighting how their distinct architectures dictate their installation requirements.
| Feature | KingSmith WalkingPad R2 | Horizon Fitness T101 |
|---|---|---|
| Motor Type | 1.25 CHP Micro-Motor | 2.75 CHP Standard Motor |
| Belt Dimensions | 47.2' x 17.3' (Compact) | 55' x 20' (Standard) |
| Machine Weight | 62 lbs (Foldable Hinge) | 130 lbs (Fixed Uprights) |
| Setup Time | 10-15 Minutes | 45-60 Minutes (2-Person) |
| Power Requirement | Standard 120V Outlet | Dedicated 15-Amp Circuit |
| Avg. 2026 Price | $549.00 | $899.00 |
Step-by-Step Installation Walkthrough: KingSmith WalkingPad R2
Walking pads are often marketed as 'plug-and-play,' but skipping the calibration phase is the number one cause of warranty voids. The R2 features a 180-degree folding hinge, which introduces a unique mechanical stress point that requires careful setup.
Step 1: Unboxing and Hinge Unlocking
- Place the boxed R2 on a soft surface (like the included cardboard) to prevent scratching the aluminum alloy frame.
- Locate the red safety lock pin near the central hinge. Remove the pin before attempting to unfold the deck. Forcing the hinge while locked will snap the internal wiring harness.
- Unfold the deck until it clicks into the flat, 180-degree running position. Ensure the seamless belt transition across the hinge is flush. Run your hand over the seam; if you feel a ridge greater than 2mm, the hinge alignment screws on the underside need a quarter-turn adjustment with a Phillips head screwdriver.
Step 2: Belt Tracking and Tensioning
Out of the box, the belt is often slightly loose to prevent stretching during shipping.
Warning: Never adjust belt tension while the machine is off. Plug in the R2, insert the safety key, and set the speed to 2.0 MPH. Observe the belt from the rear.- If the belt drifts left: Insert the provided hex key into the left rear end cap and turn it exactly 1/4 turn clockwise. Wait 10 seconds for the belt to center.
- If the belt slips underfoot: Turn both left and right rear end caps 1/4 turn clockwise. Do not exceed a full 360-degree turn from the factory baseline, or you will overstress the micro-motor bearings.
Step 3: Silicone Lubrication
Lift the edge of the belt at the center of the deck. Apply exactly 10ml of 100% pure silicone treadmill lubricant in a zig-zag pattern. Run the machine at 3.0 MPH for two minutes without stepping on it to distribute the fluid evenly.
Step-by-Step Installation Walkthrough: Horizon Fitness T101
Setting up a traditional treadmill like the Horizon T101 requires managing heavy components and strict electrical safety protocols. Consumer Reports consistently notes that improper electrical setup is a leading cause of treadmill control board failures.
Step 1: Upright Assembly and Wiring
- With a partner, lift the welded upright frame into the base pivot points. Do not fully tighten the four 12mm pivot bolts yet.
- Connect the primary data ribbon cable located inside the right upright tube. Ensure the pins are perfectly aligned; bending a single pin will result in a blank console display.
- Tighten the pivot bolts in a star pattern (top-left, bottom-right, top-right, bottom-left) to 40 Nm of torque to ensure the frame is square.
Step 2: Leveling the Deck
Unlike the MythBusters airplane, which ignores the ground beneath it, your treadmill must be perfectly parallel to the earth. Place a 24-inch carpenter's level across the width of the running deck.
- Adjust the four threaded leveling feet at the base of the machine. Turn clockwise to raise, counter-clockwise to lower.
- Place the level lengthwise on the deck. Horizon treadmills are designed with a slight 1% decline built into the deck cushions to simulate outdoor wind resistance. Ensure the bubble reflects this factory-calibrated bias rather than forcing it to absolute dead-center.
Step 3: Electrical Grounding and Power
Critical Safety Notice: The T101's 2.75 CHP motor can draw up to 15 amps during peak acceleration. Plugging this into a shared circuit with a space heater or air conditioner will trip your breaker and potentially fry the motor controller.Plug the treadmill directly into a wall outlet. Never use an extension cord or a standard power strip. If you must use surge protection, purchase a heavy-duty treadmill-specific surge suppressor rated for at least 15 amps and 4000 joules.
Troubleshooting the 'Conveyor Belt Effect'
How do you know if your setup is causing excess friction? Perform the Standstill Amperage Test. While walking at 3.0 MPH, grab the handrails and lift your body weight entirely off the belt, allowing it to spin freely. Then, drop your weight back onto the belt.
If the belt visibly hesitates, slows down, or jerks when you re-apply your weight, your deck lacks lubrication or your belt tension is too low. The motor is struggling to overcome the kinetic friction of your body weight, mimicking the resistance of the mythical conveyor belt.
To resolve this, apply an additional 10ml of silicone lubricant and re-check the rear roller tension. According to the Mayo Clinic, maintaining a smooth, consistent walking surface is vital for maintaining proper posture and preventing compensatory lower back strain during daily step goals.
Final Verdict: Choosing and Calibrating Your Space
The mythbusters plane on a treadmill experiment will forever be a staple of physics classrooms, proving that thrust and ground friction are independent variables in aviation. But in the world of home fitness, ground friction is the only variable that matters.
If you are outfitting a small apartment or integrating cardio into a standing desk workflow, the KingSmith WalkingPad R2 offers an elegant, low-profile solution, provided you meticulously maintain the hinge alignment and belt lubrication. If you require incline training, longer stride lengths, and robust shock absorption for running, the Horizon Fitness T101 remains a 2026 staple, demanding only a dedicated electrical circuit and a properly leveled floor.
By treating your installation process as a precise mechanical calibration rather than a simple unboxing, you ensure that your cardio machine operates silently, efficiently, and safely for years to come.
More gear to consider
All reviews
Home Stair Climber Setup vs ProForm 705 CST Treadmill
Rowing Machine Setup Guide & NordicTrack C950i Treadmill Specs

Small Space Cardio: Elliptical vs Treadmill & Fat Burner on Treadmill
Air Bike vs Assault Bike Guide: Skip ProForm Treadmill Installation

The Soap Treadmill Myth: Belt Maintenance Budget Breakdown