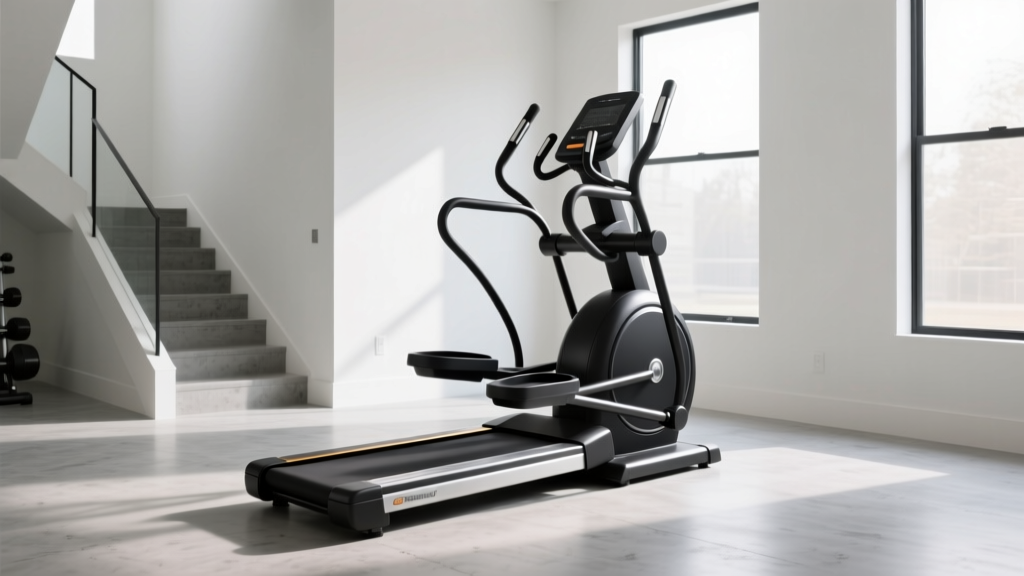
Beyond Centr Treadmill Reviews: Stair Climber Setup Guide
Read Centr treadmill reviews but opted for a stair climber? Follow our 2026 step-by-step installation and flooring prep walkthrough for home use.

If your late-night deep dive into centr treadmill reviews left you frustrated by the 75-inch length requirements, $3,000+ price tags, and massive footprint of app-connected treadmills, you aren't alone. In 2026, the home fitness trend is heavily pivoting toward vertical cardio. Stair climbers and step mills deliver superior glute activation and high-calorie burn in a fraction of the floor space. However, swapping a treadmill for a stair climber introduces unique installation challenges—specifically regarding ceiling clearance, electrical draw, and structural vibration.
This complete setup and installation walkthrough will guide you through unboxing, site preparation, and the precise assembly of popular home stair climbers like the Sunny Health & Fitness SF-S902 Step Mill, the Bowflex Max Trainer M9, and traditional magnetic-resistance climbers.
The Space Reality: Why Home Gym Owners Are Switching
While treadmills demand a sprawling 20-square-foot footprint, a dedicated step mill typically occupies less than 9 square feet. However, what you save in length, you must account for in verticality. According to the CDC's physical activity guidelines, incorporating vigorous-intensity cardio like stair climbing for just 75 minutes a week yields massive cardiovascular benefits, making the space trade-off highly worthwhile for compact home gyms.
Pre-Installation Site Prep (Do Not Skip)
The most common reason home stair climbers are returned within the first 30 days is improper site preparation. Before you even cut the zip ties on the shipping box, verify these three critical environmental factors.
1. Ceiling Clearance Mathematics
Unlike treadmills, step mills elevate your body significantly above the base footprint. To calculate your required ceiling height, use this formula:
- Traditional Step Mill (e.g., SF-S902): User's Height + 15 inches (to account for the 8-inch step height and headroom at the peak of the stride).
- Elliptical Stepper (e.g., Bowflex Max Trainer): User's Height + 10 inches (lower step-up height, but higher pedal arc).
Example: If you are 6'0" (72 inches), your ceiling must be at least 87 inches (7'3") for a traditional step mill. Standard 8-foot (96-inch) ceilings are usually sufficient, but vaulted or sloped ceilings require careful measurement at the exact placement spot.
2. Electrical and Circuit Requirements
Motorized step mills utilize high-torque, low-RPM motors (typically 2.0 to 3.0 Continuous Horsepower) to push against your body weight. This creates massive amp-draw spikes during startup and heavy resistance intervals.
⚠️ CRITICAL WARNING: Do not plug a motorized step mill into a shared 15-amp bedroom circuit alongside space heaters, air conditioners, or large TVs. You risk tripping the breaker mid-stride, which can cause the motor control board to short out and void your warranty. Install a dedicated 15-amp or 20-amp circuit (Average electrician cost: $150–$250).3. Flooring and Vibration Dampening
The repetitive, high-impact downward force of a step mill (up to 3.5x your body weight per step) will destroy standard laminate flooring and create structural noise in multi-story homes. You must install a 3/8-inch thick vulcanized rubber mat (approx. $2.50 per sq. ft.) extending at least 12 inches beyond the machine's footprint. Avoid cheap PVC foam tiles; they will compress and cause the machine's leveling feet to wobble.
The Unboxing and Heavy Lifting Phase
Home step mills are incredibly dense. The SF-S902 weighs 165 lbs, while commercial-grade home hybrids can exceed 250 lbs. Do not attempt to move the base unit alone.
- Unbox in Place: Move the cardboard box to the exact room of installation before opening. Use a utility knife to slice the corners, then lift the box off the machine rather than pulling the heavy machine out.
- Inventory the Hardware: Lay all bolts, washers, and hex keys on a magnetic tray. Pay special attention to the carriage bolts (used for the main upright mast) and the split washers (critical for preventing vibration loosening).
- Required Tools: While manufacturers include cheap Allen wrenches, you will save an hour of frustration by using your own 15mm socket wrench, a 6-inch extension bar, and a rubber mallet.
Step-by-Step Assembly Walkthrough
The assembly of a stair climber revolves entirely around the upright mast and the internal wiring harness. This is where 90% of user errors occur.
Step 1: Base Stabilization
Attach the front and rear stabilizer bars to the main drive base. Insert the leveling feet, but do not tighten them completely. Leave them loose so the frame can settle flat against your rubber mat. Once all four feet touch the ground, tighten the lock nuts to prevent future squeaking.
Step 2: The Mast and Wiring Pinch Point
This is the most delicate phase. The upright console mast contains a delicate data cable that connects the lower motor controller to the upper display.
"The 'Error 1' or 'E1' communication code on first boot is almost never a defective computer. It is almost always a pinched data wire caused by letting the mast rest on the cable while threading the bolts. Always have a second person feed the wire up through the mast tube as you lower it into the base bracket." — FitGearPulse Senior Technician
Use the included fish tape (or a bent wire hanger) to pull the connector up through the mast. Ensure the plastic clip clicks securely into the console backplate before tightening the 4 main carriage bolts.
Step 3: Pedal Arm and Crank Alignment
For elliptical steppers, aligning the crank arms requires precision. Apply a thin layer of marine-grade lithium grease to the crank bearings before sliding the pedal arms on. Tighten the crank bolts to exactly 35 Nm (Newton-meters) of torque. Overtightening will strip the aluminum threads; undertightening will result in a rhythmic clicking noise during use.
Calibration, Power-On, and Troubleshooting
Once assembled, plug the machine into your dedicated circuit. Turn the power switch (usually located near the floor on the front stabilizer) to the 'I' position.
Incline and Resistance Zeroing
Most modern step mills require a 30-second calibration sequence on first boot. This moves the incline motor to its absolute minimum and maximum limits to set the internal potentiometer. Consult your specific manual for the button combination (often holding 'Program' and 'Incline Up' simultaneously for 5 seconds). Stand clear of the pedals during this process, as the machine will move aggressively.
Troubleshooting Common Setup Errors
| Symptom / Error | Root Cause | The Fix |
|---|---|---|
| Console lights up, but motor won't engage (E1/E2) | Data cable pinched or not fully seated. | Unplug machine, detach console, reseat ribbon cable until it clicks. |
| Rhythmic squeaking from the base | Dry crank bearings or loose leveling feet. | Apply white lithium grease to bearings; tighten floor leveling nuts. |
| Belt slips or hesitates under heavy foot loads | Drive belt tension is too loose from factory. | Remove front shroud, adjust motor mount tensioner bolt 1/4 turn clockwise. |
Footprint & Clearance Matrix: Treadmill vs. Stair Climber
To further contextualize why so many users abandon the treadmill route after reading initial reviews, compare the spatial realities of the top 2026 cardio machines:
| Machine Type | Avg. Footprint (L x W) | Min. Ceiling Clearance (for 6' User) | Electrical Draw |
|---|---|---|---|
| Smart Treadmill (e.g., Centr, Peloton) | 76" x 32" | 84" (7'0") | Moderate (Spikes at high incline) |
| Traditional Step Mill (e.g., SF-S902) | 47" x 27" | 87" (7'3") | High (Requires dedicated 15A) |
| Elliptical Stepper (e.g., Bowflex M9) | 49" x 30" | 82" (6'10") | Low-Moderate |
Frequently Asked Questions
How often should I lubricate the drive chain or belt?
For chain-driven step mills, apply a few drops of 10W-30 motor oil or specific chain lube every 6 months. For magnetic belt drives, never use silicone spray or WD-40, as these attract dust and degrade the rubber. Wipe the belt with a damp microfiber cloth monthly to remove shoe rubber residue.
Can I place my stair climber on a carpeted floor?
Yes, but only if you use a high-density equipment mat underneath. Thick carpet pads will compress unevenly under the dynamic load of a step mill, causing the internal chassis to twist slightly. Over time, this twisting will misalign the pedal tracks and cause premature bearing failure.
Is a stair climber safer for home use than a treadmill?
From a spatial safety perspective, yes. The U.S. Consumer Product Safety Commission (CPSC) frequently notes that treadmills are a leading cause of home gym friction burns and impact injuries, particularly involving children or pets wandering behind the machine. A step mill has a much smaller rear danger zone and stops almost instantly when you stop stepping, making it inherently safer for crowded household environments.
By skipping the sprawling treadmill and committing to a properly installed stair climber, you secure a high-ROI, low-footprint cardio powerhouse that will serve your fitness goals for years to come. Measure twice, wire carefully, and enjoy the climb.
More gear to consider
All reviews
UREVO Foldi 3S Smart Treadmill Review: Best Compact Cardio in 2026?

Stair Climber & Children's Treadmill Home Setup Guide

Beyond the OTF Treadmill: Air Bike vs Assault Bike 2026 Trends

Interval Treadmill Motors: 2026 HP vs CHP Comparison
Air Bike vs Assault Bike Care: ProForm 745CS Treadmill Comparisons
