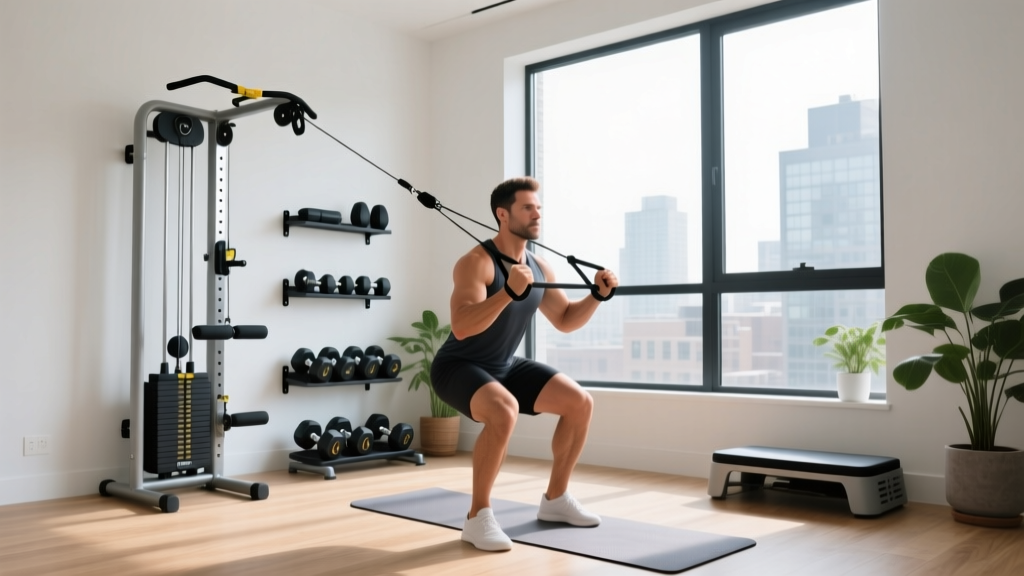
Building a Modern Home Gym in Small Apartments: Full Walkthrough
Transform your compact living space with our complete walkthrough for building a modern home gym in small apartments. Expert gear, layout, and install tips.

The Physics of Apartment Fitness: Assessing Your Micro-Space
Building a modern home gym in a 600-square-foot apartment requires more than just buying foldable gear. It demands a strategic approach to structural limits, acoustic decoupling, and spatial geometry. When you are operating in a rented or multi-family dwelling, the margin for error is zero. A poorly planned setup can result in lease violations, noise complaints, or even structural damage.
The International Building Code (IBC) typically mandates a minimum live load capacity of 40 pounds per square foot (PSF) for residential living spaces. If you weigh 200 lbs and lift a 200 lb barbell, that 400 lb load concentrated on a 4-square-foot footprint exerts 100 PSF—more than double the standard residential rating. The solution is not to avoid heavy lifting, but to implement load spreading. By placing a 3/4-inch OSB or plywood sub-base beneath your impact matting, you distribute the dynamic force across a wider joist span, keeping your floor stress well within safe limits.
Lease Clause Warning: The Vibration Trap
Many apartment leases explicitly ban 'heavy impact equipment' or 'commercial-grade treadmills.' Landlords are primarily concerned with low-frequency structure-borne noise (vibrations traveling down I-beams). Before purchasing any motorized cardio gear, verify your lease's noise addendum and prioritize equipment with active decoupling feet.
The Compact Gear Matrix: Selecting Equipment for the Modern Home Gym
To maximize a 50 to 80-square-foot footprint, you must abandon traditional power racks and standalone machines. The modern home gym relies on high-density, multi-functional equipment that folds, stacks, or mounts vertically. Below is a curated matrix of 2026's most effective compact gear, balancing footprint, performance, and acoustic output.
| Equipment Model | Type | Active Footprint | Stored Footprint | Approx. Cost |
|---|---|---|---|---|
| PRx Performance Profile One | Fold Back Rack | 16 sq ft | 4.5 in. depth | $595 |
| Speediance Smart Home Gym Pro | Digital Resistance | 12.5 sq ft | 12.5 sq ft (Folded) | $2,399 |
| Nuobell 80 lb Adjustable | Dumbbells | N/A | 2.5 sq ft (on tray) | $699 / pair |
| WalkingPad R2 Foldable | Under-Desk Treadmill | 6.5 sq ft | Under-bed (10 in.) | $449 |
By pairing the PRx Fold Back Rack (which mounts directly into wall studs using 3/8-inch lag bolts) with a set of Nuobell dumbbells and a digital cable system like the Speediance, you can replicate 90% of commercial gym movements in a space smaller than a standard walk-in closet.
Acoustic Decoupling & Flooring Installation
In a multi-story apartment, impact noise is your biggest enemy. Dropping a 45-pound bumper plate on standard laminate flooring generates an Impact Insulation Class (IIC) rating well below the 50 IIC minimum required by most National Multifamily Housing Council guidelines. To protect your deposit and your neighbors' sanity, you must build a floating, decoupled floor system.
The 3-Layer Apartment Flooring Stack
- Base Layer (Moisture & Slip Barrier): 6-mil polyethylene sheeting. This protects the landlord's subfloor from sweat and moisture while preventing the next layer from shifting.
- Decoupling Layer (Acoustic Absorption): 8mm cork underlayment. Cork is a natural acoustic dampener that compresses under dynamic loads, increasing your floor's IIC rating to 55+.
- Impact Layer (Durability): 3/8-inch vulcanized rubber mats (e.g., RubberFlooringInc Heavy Duty rolls). Avoid interlocking EVA foam tiles; they compress too much under heavy squats and degrade rapidly under friction.
Expert Tip: Never glue your flooring down in a rental unit. The weight of the 3-layer stack provides enough friction to keep the mats in place during workouts, and the entire system can be rolled up and moved when your lease ends.
Climate & Airflow: The Forgotten Apartment Variable
Small spaces heat up rapidly during high-intensity interval training (HIIT). A standard 10 ft x 10 ft apartment room with an 8 ft ceiling holds 800 cubic feet of air. During vigorous exercise, your oxygen consumption spikes, and CO2 output increases significantly. According to the Environmental Protection Agency (EPA), indoor air can be two to five times more polluted than outdoor air, and poor ventilation in micro-spaces leads to rapid fatigue and dizziness.
To maintain a safe environment, you need a minimum of 4 to 6 Air Changes per Hour (ACH). For an 800 cu ft room, 6 ACH equals 4,800 cubic feet per hour, which translates to a minimum requirement of 80 Cubic Feet per Minute (CFM) of active air exchange. A standard ceiling fan will not suffice. You must introduce a high-velocity air circulator (like the Vornado Energy Smart series, rated at 100+ CFM) positioned diagonally across the room to create a vortex effect, or install a reversible window exhaust fan to actively pull fresh air from outside.
The 72-Hour Installation Walkthrough
Do not attempt to build your modern home gym in a single weekend afternoon. A phased approach ensures structural safety and prevents damage to your apartment walls. Follow this precise 72-hour timeline for a flawless installation.
Day 1: Structural Mapping & Sub-Base Prep
- Stud Finding: Use a magnetic stud finder to locate the metal or wood studs behind your drywall. Mark the center of each stud with painter's tape. For wall-mounted racks, you must hit the center of at least two studs per mounting bracket.
- Cutting the Sub-Base: Measure your designated gym zone. Cut 3/4-inch plywood to size using a circular saw (do this outside or on a balcony to avoid drywall dust contamination). Lay the plywood over your 6-mil moisture barrier.
Day 2: Acoustic Layering & Equipment Anchoring
- Laying the Cork & Rubber: Roll out the 8mm cork underlayment over the plywood, taping the seams with acoustic seam tape. Follow with the 3/8-inch vulcanized rubber, staggering the seams so they do not align with the cork seams.
- Mounting the Rack: Pre-drill your wall using a 3/16-inch masonry or wood bit (depending on your wall type). Insert the PRx Profile One mounting brackets and drive the 3/8-inch lag bolts using an impact driver. Torque to 40 ft-lbs.
Day 3: Calibration, Airflow, & Biomechanical Testing
- Clearance Verification: The Centers for Disease Control and Prevention (CDC) recommends adequate clearance for full range of motion. Test your overhead presses and dumbbell flyes to ensure you have at least 6 inches of clearance from walls and light fixtures.
- Climate Tuning: Set up your Vornado circulator and window exhaust. Run a 20-minute high-intensity test session with a CO2 monitor. If levels exceed 1,000 PPM, increase your window fan's exhaust CFM.
Final Thoughts on Micro-Space Training
Constructing a modern home gym in a small apartment is an exercise in precision engineering. By respecting the structural limits of your building, investing in acoustic decoupling, and selecting high-density, multi-functional equipment, you can create a world-class training environment that fits seamlessly into your urban lifestyle. The key is to view your space not as a limitation, but as a blueprint for efficiency.
More gear to consider
All reviews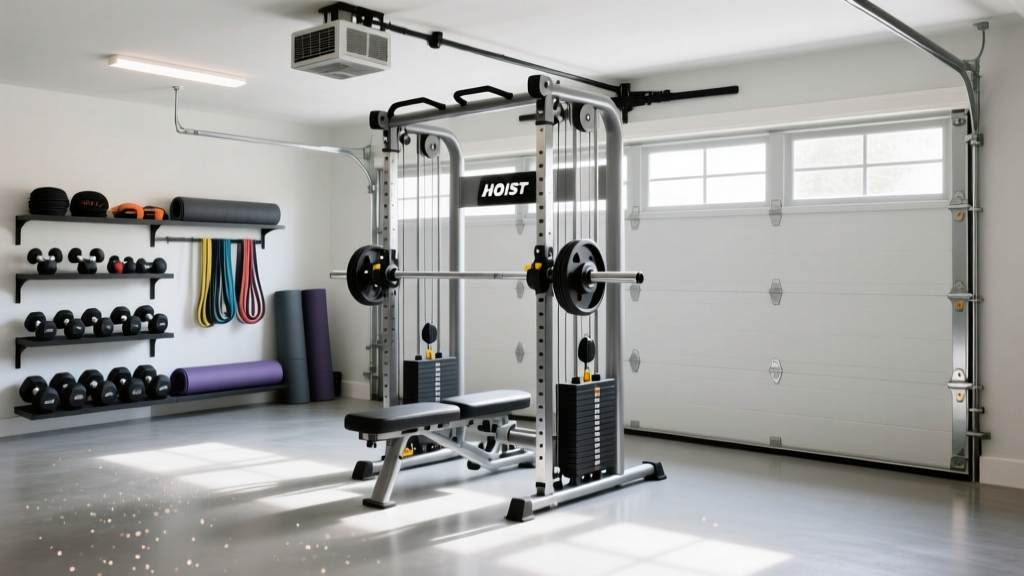
Hoist H210 Home Gym: Garage Flooring & Ventilation Mistakes
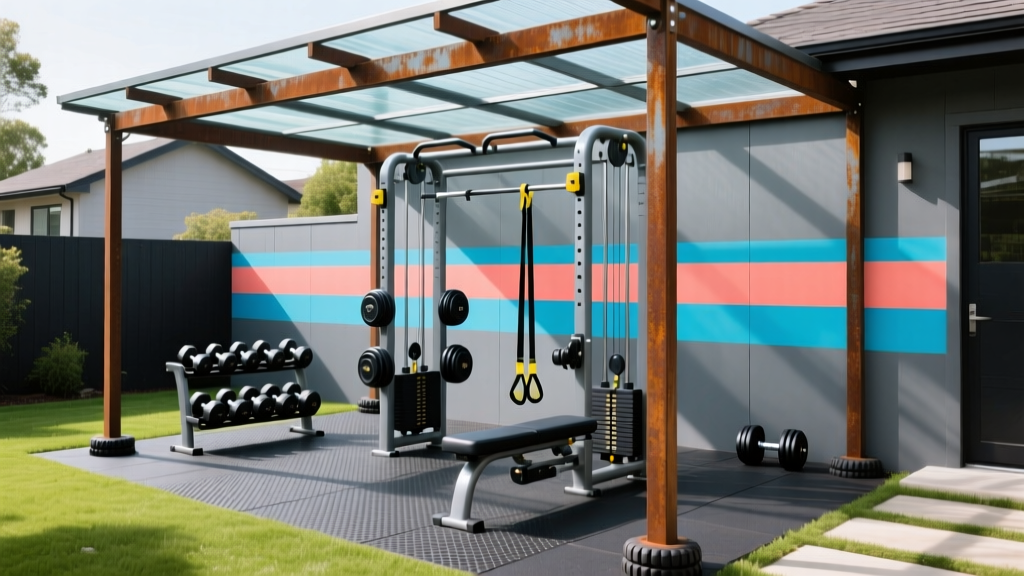
Outdoor Setup: Weatherproofing & Home Gym Paint Schemes
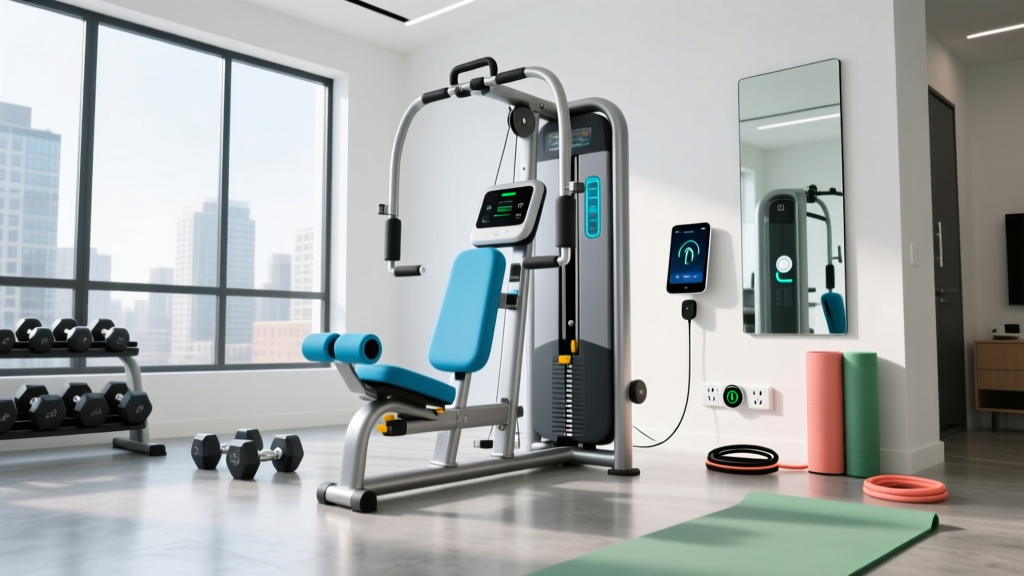
The 2026 Home Gym Workout Guide: Electrical & Safety Trends

2026 Trends: Garage Flooring & Ventilation for a Home Gym Hack Squat

Maintaining Top Home Gym Equipment Brands for Strength Gyms