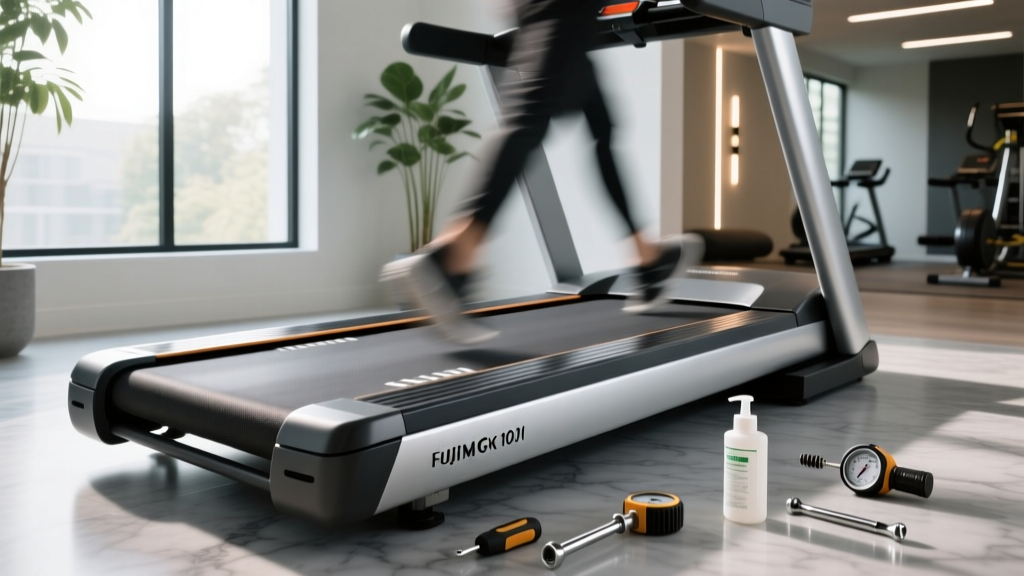
Anti Gravity Treadmill Belt Maintenance & Lubrication Guide
Expert guide to anti gravity treadmill belt maintenance. Learn exact lubrication protocols, tension calibration, and care for AlterG and Boost models.

The Biomechanical Friction Paradox of Unweighting Treadmills
When you invest $15,000 to $35,000 in a commercial-grade anti gravity treadmill like the AlterG Pro 200 or the Boost Anti-Gravity Treadmill, standard maintenance protocols fall dangerously short. In the sports medicine and physical therapy sectors, these Lower Body Positive Pressure (LBPP) systems are the gold standard for rehabilitation and elite athletic loading. However, the very mechanism that makes an anti gravity treadmill revolutionary—the airtight enclosure and harness that reduces impact forces—creates a unique friction paradox that accelerates belt degradation if ignored.
According to biomechanical research published by the National Institutes of Health (NIH) on LBPP systems, unweighting alters ground reaction forces and gait kinematics. While vertical impact is drastically reduced, the harness introduces lateral sway and uneven vertical pull. This means the treadmill belt experiences asymmetric friction against the phenolic deck. Standard treadmills endure straightforward vertical pounding; an anti gravity treadmill endures complex, multi-directional shear forces. Consequently, treadmill belt maintenance and lubrication for these specialized machines require a highly specific, expert-level approach to prevent motor strain, deck scoring, and catastrophic belt failure.
Warranty Warning: Using petroleum-based lubricants, aerosol sprays, or generic 'all-purpose' silicone on an AlterG or Boost deck will immediately void your manufacturer warranty. These chemicals degrade the specialized low-friction phenolic deck coating and can compromise the airtight seal of the unweighting enclosure.Approved Lubricants for LBPP Treadmill Decks
Not all 100% silicone lubricants are created equal. The viscosity and delivery method of the lubricant dictate how well it spreads beneath the heavy-duty, multi-ply belts used in anti gravity systems. Based on our hands-on teardowns and clinical maintenance logs, here is how the top lubricants perform on unweighting treadmill decks.
| Lubricant Type | Viscosity & Delivery | Phenolic Deck Compatibility | Expert Verdict |
|---|---|---|---|
| OEM AlterG / Boost Liquid Silicone | Medium-high viscosity; squeeze bottle with extended tubing | Perfect (Formulated for specific deck composites) | Top Pick: The only guaranteed way to maintain warranty compliance and optimal glide. Costs ~$25 per 4oz bottle. |
| Horizon 100% Liquid Silicone | Medium viscosity; squeeze bottle | Excellent (Safe for all commercial phenolic decks) | Best Alternative: Highly reliable aftermarket option if OEM stock is backordered. Approx. $12. |
| Generic Aerosol Silicone | Low viscosity; aerosol propellant | Poor (Propellants dry out deck coatings) | Avoid: Aerosol overspray can damage the anti gravity treadmill's pressure sensors and enclosure zippers. |
| WD-40 / Petroleum Distillates | Variable; spray or liquid | Destructive (Melts belt backing and deck) | Never Use: Will cause immediate belt delamination and void all service agreements. |
Hands-On Protocol: 5-Step Belt Lubrication
Proper treadmill belt maintenance requires precision. Because the user is suspended in a harness, the belt must be perfectly centered and tensioned to handle the lateral pull of the LBPP system. Follow this exact protocol every 150 hours of use or every 3 months.
- Deep Clean the Deck and Belt Underside: Unplug the machine. Loosen the rear roller bolts and slide a microfiber cloth dampened with 90% isopropyl alcohol between the belt and deck. Pull the cloth from front to back to remove oxidized silicone, dust, and harness debris. Allow 5 minutes to dry completely.
- Mark and Loosen the Tension Bolts: Using a silver paint pen, mark the exact position of the rear roller adjustment bolts. Using a 3/16-inch hex key, turn both the left and right bolts counter-clockwise exactly 3 full rotations. This provides enough slack to lift the belt edge 2 inches off the deck without stripping the threads.
- Apply the Liquid Silicone: Insert the applicator tube of your 100% liquid silicone under the center of the belt. Squeeze exactly 15ml to 20ml of lubricant in a zig-zag pattern across the middle third of the deck. Do not over-apply; excess silicone will squeeze out the sides and attract dust, creating an abrasive paste.
- Re-Tension and Distribute: Turn both rear roller bolts clockwise exactly 3 full rotations to return them to your paint-pen marks. Plug the treadmill in and run it at 2.0 MPH for 3 minutes. This allows the belt to evenly distribute the silicone across the phenolic surface.
- The 'Harness Test' Calibration: This is the step most technicians miss. Put on the unweighting shorts, zip into the enclosure, and set the anti gravity treadmill to 50% body weight support. Walk at 3.0 MPH. The lateral pull of the harness will reveal if the belt tracks true under actual clinical loads. Adjust the left or right tension bolt by no more than a 1/4 turn if the belt drifts.
Calibrating Belt Tracking Under Harnessed Loads
Standard treadmill calibration is done with an empty belt. However, an anti gravity treadmill operates under a completely different physical paradigm. When a patient is unweighted by 40%, the harness pulls them upward and slightly toward the dominant side of their gait cycle. This creates a continuous lateral drag on the belt.
If you notice the belt drifting to the left during unweighted gait training, do not immediately crank the left tension bolt. According to repair experts at Treadmill Doctor, over-tightening a belt to correct tracking increases the amp draw on the drive motor, leading to premature motor controller failure. Instead, verify that the deck is perfectly level. In many clinical settings, the heavy LBPP enclosure shifts the machine's center of gravity, causing the frame to sit unevenly on the floor. Use a digital level on the side rails and adjust the machine's leveling feet before touching the belt tension bolts.
Edge Cases: Static Buildup and Harness Drag
Operating an anti gravity treadmill in a climate-controlled, low-humidity physical therapy clinic often leads to severe static electricity buildup. The friction of the belt, combined with the synthetic materials of the unweighting shorts and the airtight enclosure, creates a static charge that can shock the user or, worse, short-circuit the sensitive LBPP pressure sensors.
- The Static Fix: If users report shocks when touching the handrails, the belt is likely under-lubricated or the ambient humidity is below 30%. Apply an additional 10ml of silicone lubricant and place a commercial humidifier near the machine's air intake to maintain 40-50% ambient humidity.
- Chassis Grounding: Ensure the treadmill is plugged directly into a properly grounded hospital-grade receptacle. Never use an extension cord or a power strip, as the anti gravity treadmill's air compressor and drive motor require a dedicated 15-amp or 20-amp circuit to manage the startup surge and safely dissipate static charges.
- Edge Fraying: If you notice the edges of the belt fraying, it is a primary indicator of harness drag. The patient is likely swinging their hips laterally against the resistance of the shorts. Instruct the patient on proper unweighted gait mechanics and check the belt edges for micro-tears weekly.
Expert Insight: 'The most common cause of drive motor failure in $20,000 unweighting treadmills isn't the weight of the patients—it is the friction caused by neglected belt lubrication combined with the lateral torque of the harness. A $20 bottle of silicone and 15 minutes of maintenance saves clinics from $1,500 motor replacements.' — Lead Biomechanical Equipment Technician
Final Thoughts on Protecting Your Investment
An anti gravity treadmill is a highly sophisticated piece of medical and athletic equipment. Treating it like a standard consumer fitness machine is a recipe for catastrophic mechanical failure. By understanding the unique lateral forces introduced by the LBPP harness, using only approved 100% liquid silicone, and calibrating the belt tension under actual unweighted loads, you ensure the longevity of the deck, the motor, and the safety of your patients. Stick to the 150-hour maintenance interval, document your tension adjustments, and your machine will deliver flawless, frictionless rehabilitation for years to come.
More gear to consider
All reviews
Belt Maintenance ROI: Protecting Calorie Burn on Treadmill Metrics

City Sports Treadmill & Compact Cardio Layout Guide 2026

Curved Manual vs Motorized Treadmills: ProForm 505 CST Compared
ProForm 905 CST Treadmill Review: Small Space Layout Guide

Curved Manual vs Motorized Treadmill: Schwinn 810 Treadmill Guide
