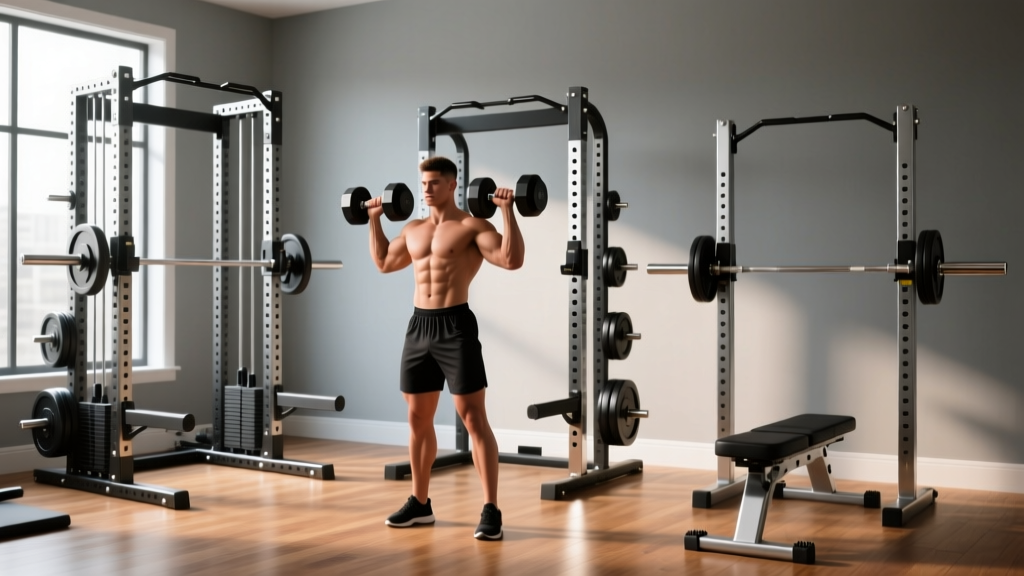
Leg Exercises with Dumbbells and Barbells: Barbell Knurl Setup Guide
Optimize leg exercises with dumbbells and barbells. This setup walkthrough covers Olympic barbell weight tolerances, knurling profiles, and rack integration.

Phase 1: Sourcing the Right Barbell for Your Leg Day Arsenal
When designing a comprehensive lower-body training program, the equipment you select dictates the quality of your stimulus. While many lifters focus heavily on the squat rack or adjustable dumbbells, the Olympic barbell remains the central nervous system of your setup. If your routine incorporates a mix of leg exercises with dumbbells and barbells, your barbell must bridge the gap between heavy axial loading and high-volume accessory work without compromising your grip or central nervous system recovery.
Weight Tolerances and Shaft Specifications
A standard men's Olympic barbell weighs exactly 20kg (44 lbs), while a women's specification bar weighs 15kg (33 lbs) and features a narrower 25mm shaft. However, the true differentiator in 2026's premium market is the weight tolerance. Entry-level bars priced around $150-$200 often carry a tolerance of +/- 50 grams. For serious lifters performing heavy Romanian deadlifts and barbell back squats, you need an IPF-calibrated tolerance of +/- 10 grams, typically found in elite bars like the Rogue Ohio Power Bar (retailing around $395-$425) or the Kabuki Strength New Generation Power Bar (approximately $460+).
Furthermore, pay close attention to tensile strength, measured in PSI (pounds per square inch). A minimum of 190,000 PSI is required to prevent permanent deformation (bending) during heavy squats or drops. Elite bars push 215,000 PSI, ensuring the bar returns to perfectly straight after every rep.
Phase 2: The Unboxing and Inspection Walkthrough
Setting up your barbell isn't just about placing it on the rack; it requires a meticulous initial inspection to ensure manufacturing quality. Follow this step-by-step walkthrough when your barbell arrives:
- Visual Shaft Inspection: Wipe down the factory oil with a microfiber cloth. Run your bare hands along the entire length of the shaft to check for burrs, uneven machining, or pitting in the steel.
- Diameter Verification: Use a digital caliper to measure the shaft diameter. Power bars should measure exactly 29mm, while Olympic weightlifting bars measure 28mm to 28.5mm. A 29mm shaft provides the necessary rigidity for heavy squats, minimizing the 'whip' that can throw off your balance at the bottom of a heavy rep.
- Sleeve Spin Test: Hold the shaft firmly and spin the sleeve. Power bars utilize bronze or composite bushings for a slower, controlled spin—ideal for squats and bench presses. Weightlifting bars use needle bearings for rapid rotation during cleans and snatches.
- Center Knurl Check: Verify the presence and alignment of the center knurl. For back squats and front squats, a center knurl is non-negotiable as it bites into your back or shoulders to prevent the bar from sliding during heavy sets.
Phase 3: Decoding Knurling for Leg Exercises with Dumbbells and Barbells
Knurling is the machined diamond pattern on the steel shaft that provides grip. When programming leg exercises with dumbbells and barbells, grip fatigue is a major limiting factor. Transitioning from heavy dumbbell lunges or goblet squats—which aggressively tax the forearms and tear up the calluses—to a heavy barbell deadlift or squat requires a knurl profile that secures the bar without destroying your already-compromised skin.
According to BarBend's comprehensive knurling guide, there are three primary knurl geometries you must choose from:
| Knurl Type | Geometry Profile | Best Use Case | Aggressiveness |
|---|---|---|---|
| Volcano | Sharp peaks with a wider base; multiple gripping edges. | Powerlifting, heavy squats, RDLs. Excellent for mixed grip deadlifts. | Medium-High (Grippy but doesn't tear skin) |
| Mountain | Sharp, pointy peaks with a narrow base. | Heavy deadlifts, strongman. Can be painful for high-rep front squats. | Very High (Aggressive bite) |
| Hill | Rounded, flattened peaks with wide valleys. | Olympic weightlifting, high-rep accessory work, beginner lifters. | Low-Medium (Smooth, passive grip) |
For a hybrid home gym setup, a Volcano knurl (like the one found on the Rogue Ohio Power Bar) is the optimal choice. It provides enough bite to keep a 405lb squat stable on your traps, but it won't shred your hands when you immediately move to dumbbell split squats where your grip is already failing.
Phase 4: Rack Integration and J-Cup Setup
Once your barbell is inspected and selected, the next phase of the setup walkthrough involves integrating it with your power rack or squat stand. The interaction between the barbell's sleeve, the J-cups, and the protective lining is crucial for equipment longevity and safety.
Protective Lining and Clearance
Ensure your rack's J-cups are lined with UHMW (Ultra-High Molecular Weight) plastic. Bare metal J-cups will instantly chew up the zinc or chrome coating on your barbell sleeves, leading to rust and degraded spin. When setting the J-cup width, leave exactly 1/4 inch of lateral clearance on each side of the sleeve collar. This prevents the bar from binding against the plastic when you unrack a heavy squat and the barbell bends slightly under the load.
Height Calibration for Squats and RDLs
For back squats, set the J-cups so the bar rests at mid-sternum height. This allows you to unrack by simply extending your hips rather than performing a mini-squat, conserving energy for the working sets. If your leg day involves barbell Romanian Deadlifts (RDLs) or rack pulls, ensure your rack has adjustable pin-pipe safeties or strap safeties set just below the knee to catch the bar if your grip fails during eccentric loading.
Phase 5: Ongoing Maintenance Protocol
A premium Olympic barbell is a lifetime investment, but it requires a strict maintenance protocol to preserve the knurling and prevent oxidation, especially in humid garage gyms.
- Post-Session Brushing: After every workout, use a stiff nylon brush (never brass or steel, which can damage the finish) to scrub the knurling. This removes dead skin, chalk, and sweat that accumulate in the valleys of the volcano or mountain peaks, which can lead to rust and bacterial growth.
- Monthly Oiling: Once a month, apply a light coat of 3-in-One oil or a specialized barbell oil to the shaft and sleeves. Wipe it down with a clean microfiber cloth until it is dry to the touch. This displaces moisture and keeps the bushings lubricated.
- Proper Storage: Never leave the barbell loaded with plates on the floor or in the rack. The constant downward force, combined with the weight of the plates, can cause micro-bending over time and compress the bushings unevenly. Store the bar horizontally in a dedicated wall-mounted barbell rack or vertically in a barbell holder.
"The interface between your hands and the steel is where the lift is won or lost. When transitioning between dumbbell and barbell leg work, respecting the knurl geometry and maintaining the steel ensures that grip fatigue remains a muscular limitation, not an equipment failure." — FitGearPulse Equipment Testing Lab, 2026 Report
By meticulously selecting the right weight tolerance, understanding knurl geometries, and following this complete setup and installation walkthrough, you ensure your barbell is perfectly calibrated for the most demanding leg exercises with dumbbells and barbells. For further reading on equipment specifications, always refer to the Rogue Fitness Ohio Power Bar Specifications as the industry benchmark for modern powerlifting bars.
More gear to consider
All reviews
Ivanko Dumbbell Setup & Adjustable Systems Compared
Push Day Dumbbell Exercises vs Olympic Barbells: Weight & Knurling

Best Dumbbell Full Body Workouts: Top Neoprene Sets Compared

Rack Setup: Beyond Exercises With Dumbbells To Lose Belly Fat

Bumper vs Iron Plates: 2026 Trends for Your Dumbbell Strength Program