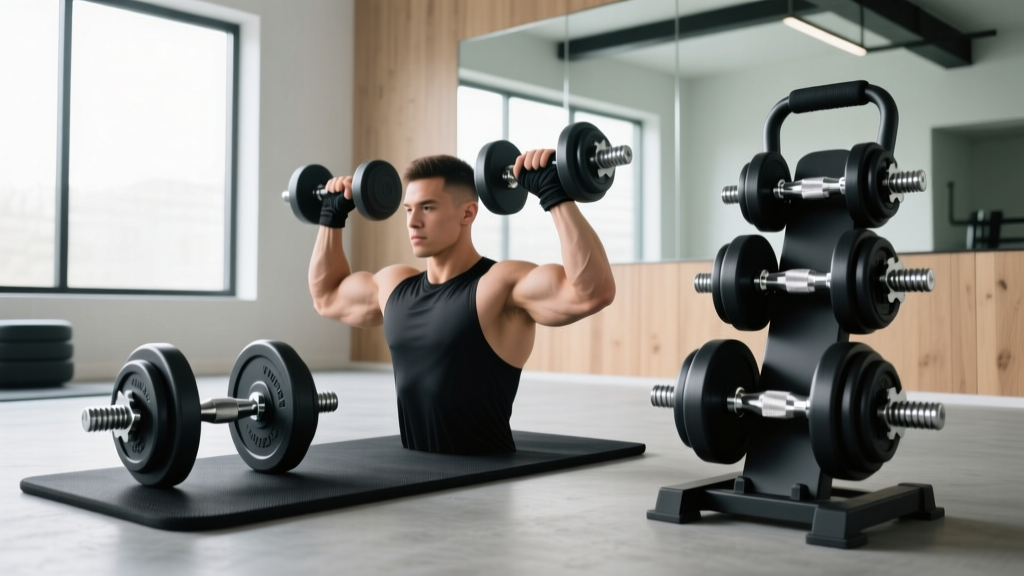
Jayflex Hyperbell Dumbbell Converter Setup for Neoprene Home Weights
Step-by-step walkthrough for installing the Jayflex Hyperbell dumbbell converter on neoprene-coated home dumbbells, including fitment tips and safety checks.

The Challenge: Pairing the Jayflex Hyperbell with Neoprene Coatings
The Jayflex Hyperbell Dumbbell Converter (retailing around $39.99) has become a staple in space-constrained home gyms, allowing lifters to instantly transform standard dumbbells into kettlebells. Meanwhile, neoprene-coated dumbbells—like those from Yes4All, Amazon Basics, and Cap Barbell—remain the most ubiquitous entry-level free weights for home use due to their floor-friendly nature and comfortable grip. However, combining these two pieces of equipment presents a unique mechanical challenge.
Neoprene is a synthetic rubber that offers high tactile friction and moisture resistance. While excellent for gripping, its compressibility and thickness (often adding 2 to 4 millimeters to a standard steel core) create a high-interference fit when sliding the Hyperbell’s rigid polymer sleeve over the handle. Furthermore, many neoprene dumbbells feature ergonomic, contoured handles that bulge in the center, complicating the installation process. This walkthrough provides a precise, step-by-step setup guide to ensure a secure, safe, and damage-free installation.
⚠️ Critical Fitment Warning: Never use petroleum-based lubricants (like WD-40 or Vaseline) to force the Hyperbell onto a neoprene handle. Petroleum distillates break down neoprene polymers at a molecular level, causing the coating to melt, slough off, and create a catastrophic slip hazard during dynamic movements like kettlebell swings.Pre-Installation: Compatibility Matrix & Tool Checklist
Before attempting installation, verify that your specific dumbbell pair falls within the mechanical tolerances of the Hyperbell sleeve. The standard Jayflex Hyperbell features an internal sleeve diameter of approximately 1.32 inches (33.5mm).
| Dumbbell Type | Core Material | Avg Handle Diameter | Hyperbell Fit Rating |
|---|---|---|---|
| Standard Hex | Cast Iron / Bare Steel | 1.10 - 1.20 inches | Effortless Slide |
| Rubber Hex | Cast Iron / Solid Rubber | 1.20 - 1.28 inches | Moderate Friction |
| Neoprene Straight | Steel / Concrete | 1.25 - 1.30 inches | Snug / Requires Twist |
| Neoprene Contoured | Steel / Concrete | 1.30 - 1.45+ inches | High Interference |
Required Tools
- Digital Calipers: For precise measurement of the handle's thickest contour point.
- Microfiber Towel: To protect the neoprene surface during installation.
- 100% Pure Talcum Powder or Cornstarch: For safe, non-degrading friction reduction.
- Isopropyl Alcohol (70%+): For post-installation cleaning to restore grip tackiness.
Step-by-Step Installation Walkthrough
Step 1: Calibrate and Measure the Neoprene Handle
Do not rely on the manufacturer's listed specifications, as neoprene coatings vary wildly in thickness depending on the dumbbell's weight class (heavier dumbbells often have thicker handles). Use your digital calipers to measure the absolute thickest point of the handle's ergonomic bulge. If the measurement exceeds 1.38 inches, the interference fit will be extreme, and you must rely heavily on the friction-reduction techniques in Step 2 to avoid tearing the neoprene.
Step 2: Surface Preparation and Friction Reduction
Neoprene is designed to grip skin, meaning it will aggressively grip the hard polymer interior of the Hyperbell sleeve. To temporarily reduce this friction without damaging the rubber:
- Wipe the dumbbell handle down with a dry microfiber cloth to remove any ambient moisture or hand oils.
- Lightly dust the entire handle with pure talcum powder or cornstarch. Rub it into the neoprene texture with your hands until the surface feels smooth and dry.
- Wrap a thin, tightly woven microfiber towel around the handle. This acts as a sacrificial slip-layer, allowing the Hyperbell sleeve to glide over the fabric rather than catching on the rubber texture.
Step 3: The Thread-and-Twist Mounting Technique
Attempting to push the Hyperbell straight onto a contoured neoprene handle will result in the sleeve catching on the bulge, potentially peeling the coating back. Instead, use a rotational threading motion:
- Align the open end of the Hyperbell sleeve with the end of the dumbbell handle.
- Apply firm, forward pressure while simultaneously twisting the Hyperbell clockwise.
- The twisting motion compresses the neoprene asymmetrically, allowing the rigid sleeve to 'chew' its way over the ergonomic bulge without applying sheer tearing force to the rubber.
- Continue twisting until the dumbbell head seats flush against the interior stopper of the Hyperbell.
Pro-Tip: If the handle is severely contoured and the sleeve stalls, do not strike the Hyperbell with a rubber mallet. Blunt force can crack the polymer sleeve. Instead, use a hairdryer on a medium-heat setting to warm the Hyperbell sleeve for 45 seconds. This slightly expands the polymer and increases its pliability, making it much easier to slide over thick neoprene.
Step 4: Locking Collar Engagement
Once the dumbbell is fully seated, thread the Jayflex locking collar onto the exposed end of the dumbbell handle. Hand-tighten the collar until it is flush against the exterior of the Hyperbell sleeve. For neoprene handles, which can compress and settle over the first few workouts, you must apply approximately 40 to 50 in-lbs of torque to the collar. Check the collar tightness again after your first workout, as the neoprene will 'pack down' slightly, potentially creating a millimeter of play.
Load Testing and Biomechanical Safety
Before attempting dynamic movements, you must understand the physics of the equipment you are using. According to biomechanical analyses published by the American Council on Exercise (ACE), a standard kettlebell swing generates centrifugal shear forces that can multiply the perceived weight of the bell by 3 to 4 times at the apex of the swing. A 20-pound neoprene dumbbell can exert up to 80 pounds of pull-force on the Hyperbell locking mechanism and the dumbbell handle itself.
Furthermore, research highlighted by the National Strength and Conditioning Association (NSCA) emphasizes that handle diameter significantly impacts grip endurance and forearm activation. Because the Hyperbell adds a specialized, wider kettlebell-style handle over your existing dumbbell, your grip will be the limiting factor, not the equipment's structural integrity. However, to ensure the neoprene hasn't compromised the lock:
- The Deadlift Test: Perform 10 slow, controlled deadlifts. Listen for any creaking from the polymer or slipping from the collar.
- The Pendulum Test: Hold the converted bell at arm's length and gently swing it like a pendulum (left to right) to test lateral shear stability before moving to full hip-hinge swings.
Troubleshooting Common Neoprene Fitment Failures
Issue: Neoprene Tearing or Rolling During Installation
Cause: The friction coefficient between the bare polymer sleeve and the rubber is too high, causing the sleeve to grab and roll the coating back like a sock.
Solution: Remove the Hyperbell, inspect the neoprene for deep gouges. If the structural integrity of the handle is intact, apply a thicker layer of cornstarch and use a cut-open piece of a nitrile glove wrapped around the handle as an ultra-low-friction slip plane during the twist-install.
Issue: Locking Collar Will Not Sit Flush
Cause: Neoprene manufacturing often leaves a small, raised seam or 'burr' of rubber at the base of the handle where it meets the cast iron weight head. This burr prevents the Hyperbell from sliding completely home.
Solution: Use a sharp X-Acto knife or fine-grit sandpaper to carefully shave away the 1mm rubber burr at the base of the handle. Wipe away the debris with isopropyl alcohol before reattempting installation.
Issue: Handle Slipping Inside the Sleeve During Swings
Cause: Residual talcum powder or sweat has created a lubricated barrier between the dumbbell handle and the interior of the Hyperbell, allowing the dumbbell to spin independently of the kettlebell handle.
Solution: Disassemble the unit. Scrub the interior of the Hyperbell sleeve with dish soap and warm water to remove all powder. Wipe the neoprene dumbbell handle down with 70% isopropyl alcohol to strip oils and restore the rubber's natural, high-tack grip. Reassemble dry.
Final Thoughts on Home Gym Versatility
Converting neoprene-coated dumbbells with the Jayflex Hyperbell is an incredibly cost-effective way to unlock ballistic kettlebell movements—like snatches, cleans, and goblet squats—without spending $150+ on a dedicated set of competition kettlebells. By respecting the material properties of neoprene and utilizing proper friction-management techniques during setup, you can create a safe, highly durable hybrid tool that will serve your home gym for years to come. Always prioritize the integrity of the locking collar, and routinely inspect the neoprene coating for signs of wear and tear induced by the rigid polymer sleeve.
More gear to consider
All reviews
EZ Bar vs Straight Bar: Space Layouts & Standing Flys with Dumbbells

Long Dumbbell vs Olympic Barbell: Beginner Guide to Weight & Knurling

What Do Dumbbell Squats Work vs Kettlebells? Cast Iron Value Guide
How to Grip Dumbbells vs Barbells: Olympic Barbell Knurling Guide

EZ vs Straight Bar: Compact Layouts & Weighted Dips Dumbbell