
Is a Home Gym Worth It? Step-by-Step Layout Guide
Wondering if a home gym is worth it? Follow our beginner-friendly step-by-step guide to design, layout optimization, and space planning for maximum ROI.

The True Cost: Is a Home Gym Worth It?
Every beginner eventually asks the same critical question: is a home gym worth it? The answer is rarely a simple yes or no. From a purely financial standpoint, a well-equipped home gym pays for itself in roughly 3.5 to 5 years compared to a premium commercial gym membership. However, the true ROI is measured in time and consistency. According to the Centers for Disease Control and Prevention (CDC), consistent weekly physical activity is paramount for long-term health, yet commuting to a gym, waiting for equipment, and changing rooms can add 45 to 60 minutes of friction to every single workout. Over a year, that is over 150 hours lost.
But here is the catch: a home gym is only worth it if the design and layout optimize your workflow. A poorly planned space with inadequate clearance, bad lighting, and improper flooring will quickly become an expensive clothes rack. This step-by-step guide will walk you through the exact measurements, zoning strategies, and equipment footprints required to build a highly functional home gym in 2026.
ROI Snapshot: Home Gym vs. Commercial Gym
- Average Commercial Gym Cost (2026): $65/month ($780/year) + $150 initiation fees.
- Average Home Gym Setup: $2,500 to $4,000 (one-time cost for rack, barbell, plates, bench, and flooring).
- Financial Break-Even: 3.5 to 4.5 years.
- Time Break-Even: Immediate. You save roughly 3 hours per week in transit and waiting time.
Step 1: Space Assessment and the 'Volumetric' Rule
Beginners often make the mistake of measuring only the square footage of their floor. When designing a home gym layout, you must measure volumetric space—specifically, ceiling height and structural load limits.
The Ceiling Height Trap
Standard power racks are typically 90 inches (7.5 feet) tall. If you are building your gym in a basement or garage with standard 8-foot (96-inch) ceilings, you only have 6 inches of clearance above the rack. This is a major failure point. You will not be able to perform pull-ups, overhead presses, or high-bar squats without hitting the ceiling or the top crossmember of the rack.
The Fix: If your ceiling is 8 feet or lower, you must purchase a 'short' rack. For example, the REP Fitness PR-4000 offers an 82-inch upright option, and Rogue Fitness offers 90-inch racks that can be customized with shorter uprights. Always ensure you have at least 12 to 18 inches of clearance above the highest point of your rack to accommodate pull-up bars and overhead movements.
Subfloor and Load Bearing
A standard Olympic barbell loaded with 400 lbs of iron, dropped from a height of 4 feet, generates immense kinetic energy. If you are building on a second floor or over a crawlspace, consult a structural engineer. For concrete garage slabs or basement floors, load-bearing is rarely an issue, but moisture mitigation is critical. Always lay down a 6-mil polyethylene vapor barrier before installing rubber flooring in below-grade basements to prevent mold growth under your mats.
Step 2: Zoning Your Layout (The Workflow Triangle)
To maximize efficiency, borrow a concept from kitchen design: the Workflow Triangle. The National Strength and Conditioning Association (NSCA) emphasizes logical equipment placement to ensure safety and traffic flow in facility design. In a home gym, this translates to three distinct zones:
- Zone 1: The Heavy Compound Zone (The Anchor)
This is where your power rack, barbell, and plate storage live. It should be placed against the most structurally sound wall, ideally on a concrete slab. This zone requires the most floor space and the thickest flooring. - Zone 2: The Accessory & Dumbbell Zone
Position your adjustable dumbbells, kettlebells, and utility bench adjacent to the rack. You should not have to walk more than three steps to grab a pair of dumbbells after finishing a heavy barbell set. - Zone 3: The Mobility & Cardio Zone
Place your rowing machine, assault bike, or yoga mat space near the entrance or a window. This separates the high-sweat cardio area from the chalk-heavy lifting zone, keeping your equipment cleaner.
Pro-Tip: Never place your plate storage tree behind the power rack. Always position plate trees or wall-mounted plate pegs on the outside of the rack uprights. This prevents you from having to walk through the lifting platform to load weights, reducing trip hazards and saving time between sets.
Step 3: Equipment Footprints & Placement Matrix
When deciding if a home gym is worth the spatial investment, you need to know exactly how much room your core equipment demands. Below is a footprint and clearance matrix for the most popular power racks in 2026. Note that 'Required Footprint' includes the mandatory 36-inch safety clearance on all sides for loading plates and emergency spotting.
| Equipment Model | Base Dimensions | Required Clearance Footprint | Approx. 2026 Price |
|---|---|---|---|
| Rogue SML-2C Monster Lite (4x3) | 48" x 36" | 10' x 9' (120" x 108") | $1,150 |
| REP Fitness PR-4000 (4x2.4) | 48" x 29" | 10' x 8.5' (120" x 102") | $999 |
| Titan T-2 Series (4x2) | 48" x 24" | 10' x 8' (120" x 96") | $699 |
Layout Rule of Thumb: If your room is smaller than 10x10 feet, avoid a full 4-post power rack. Instead, opt for a folding wall-mounted rack (like the Rogue RML-3W) or a squat stand. This allows you to reclaim 80% of the floor space when you are doing mobility work or cardio.
Step 4: Flooring, Mirrors, and Environmental Flow
The aesthetic and functional finish of your gym dictates whether you actually want to train there. Do not cut corners on environmental design.
The Flooring Hierarchy
Avoid interlocking foam tiles at all costs. They compress under heavy loads, creating an unstable base for squats and deadlifts, and they tear easily when dropping dumbbells.
- The Budget Hack: 3/4-inch (18mm) vulcanized rubber horse stall mats from a farm supply store (e.g., Tractor Supply Co.). They cost roughly $55 to $65 per 4x6 foot sheet. They are incredibly dense, shock-absorbent, and virtually indestructible.
- The Premium Option: Pre-cut, beveled-edge 3/4-inch rubber gym tiles with a 100% virgin rubber top layer. These cost $3.50 to $5.00 per square foot but offer superior odor control and a seamless, professional look.
Mirror Placement Strategy
Beginners often cover the wall directly behind the power rack with mirrors. This is a layout mistake. When you are inside the rack, you are too close to the mirror to see your full-body form, and the mirrors are highly susceptible to cracking from barbell vibrations or accidental plate strikes.
The Fix: Install mirrors on the side walls perpendicular to your lifting platform. This allows you to turn your head slightly to check lateral knee tracking during squats and hip hinge mechanics during deadlifts, while keeping the glass safely out of the primary drop zone.
Step 5: Ventilation and Climate Control
A garage or basement gym can quickly become an oven in the summer or a freezer in the winter. Environmental discomfort is a primary reason home gyms fail to provide a return on investment. If you are sweating profusely before your warm-up is over, your cardiovascular system is working overtime just to cool your body, severely impacting your lifting performance.
Climate Control Checklist
- Airflow: Install a high-velocity wall-mounted fan (minimum 3,000 CFM) pointing diagonally across the lifting platform. Do not point it directly at your face during heavy lifts, as it can dry out your eyes and disrupt your breathing rhythm.
- Dehumidification: If building in a basement, a commercial-grade dehumidifier (capable of removing 50+ pints per day) is non-negotiable. High humidity will cause unprotected iron plates and barbell shafts to rust within weeks.
- Lighting: Swap out standard 60W garage bulbs for 5000K (Daylight) LED shop lights. Cool, bright lighting has been shown to increase alertness and perceived energy levels during early morning or late-night training sessions.
Final Verdict: Designing for Consistency
So, is a home gym worth it? If you treat it as an afterthought and cram equipment into a poorly measured, unventilated corner, the answer is no. The friction of a bad layout will kill your motivation.
However, if you apply the principles of volumetric measurement, workflow zoning, and proper environmental control outlined in this guide, a home gym becomes the ultimate tool for long-term fitness. By investing $2,500 to $4,000 upfront and dedicating a weekend to precise layout optimization, you eliminate the barriers between you and your health. In 2026, with commercial gym prices rising and time becoming our most scarce resource, a meticulously designed home gym isn't just worth it—it is one of the highest-yielding investments you can make in yourself.
More gear to consider
All reviews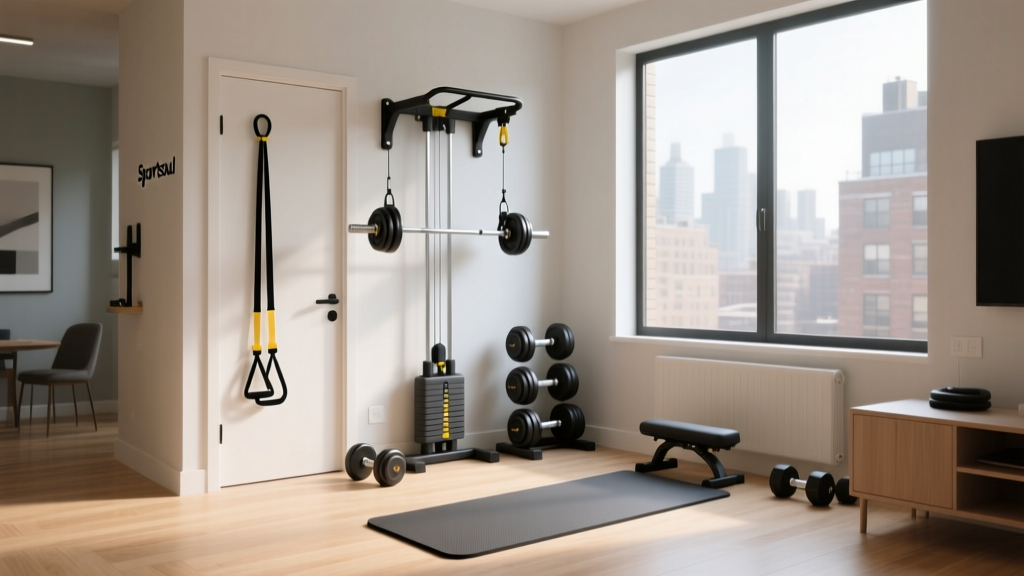
Sportsoul Home Gym: No-Damage Rental Apartment Setup Mistakes
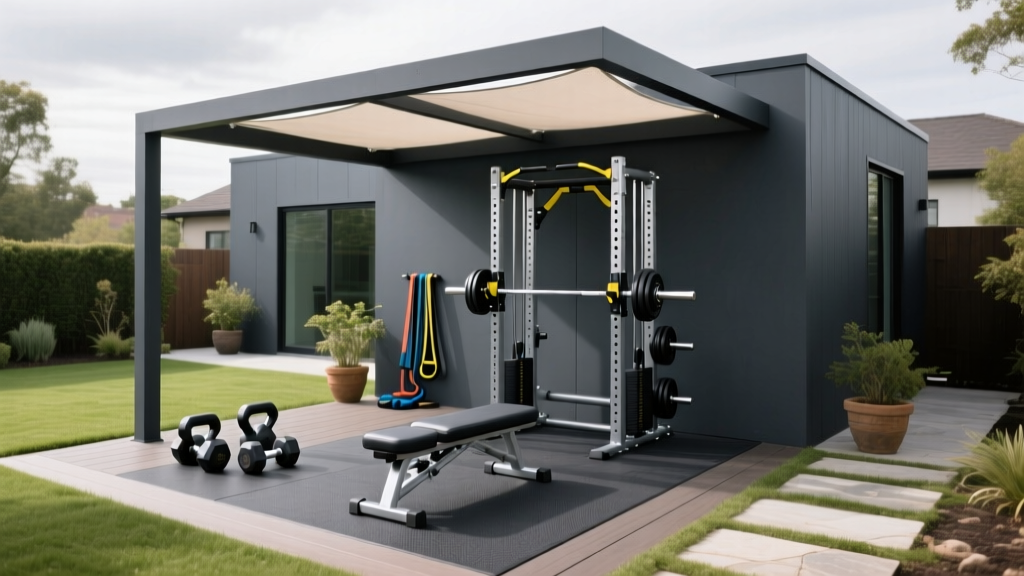
Best Paint Color for Home Gym Outdoor Structures & Weather Tips

Shared Home Gym Setup Guide: Marcy Home Gym MWM 990 for Couples

Centr 1 Home Gym vs Best Foldable Alternatives for 2026

Teeter FitForm Home Gym: Layout & Design Review 2026
