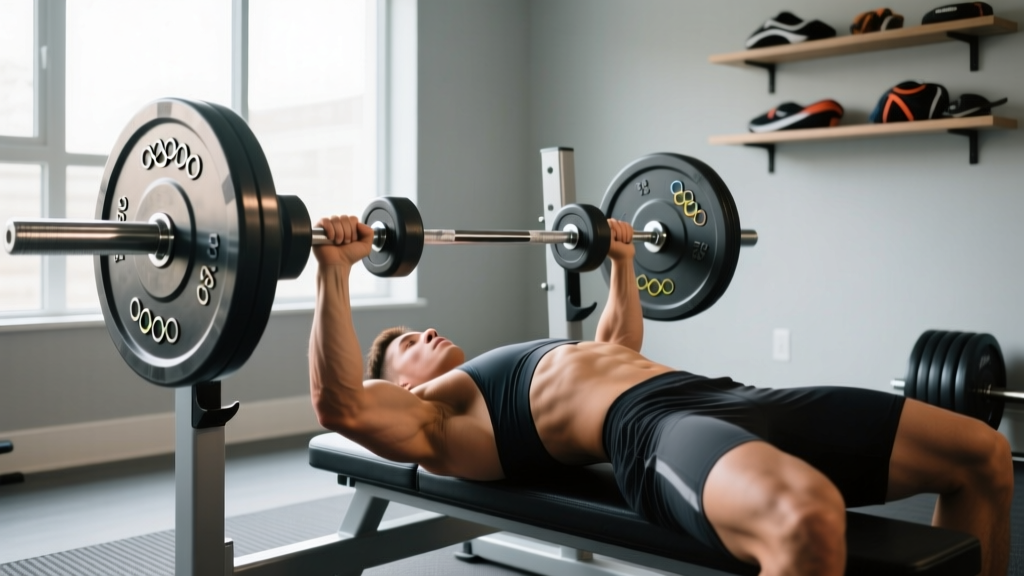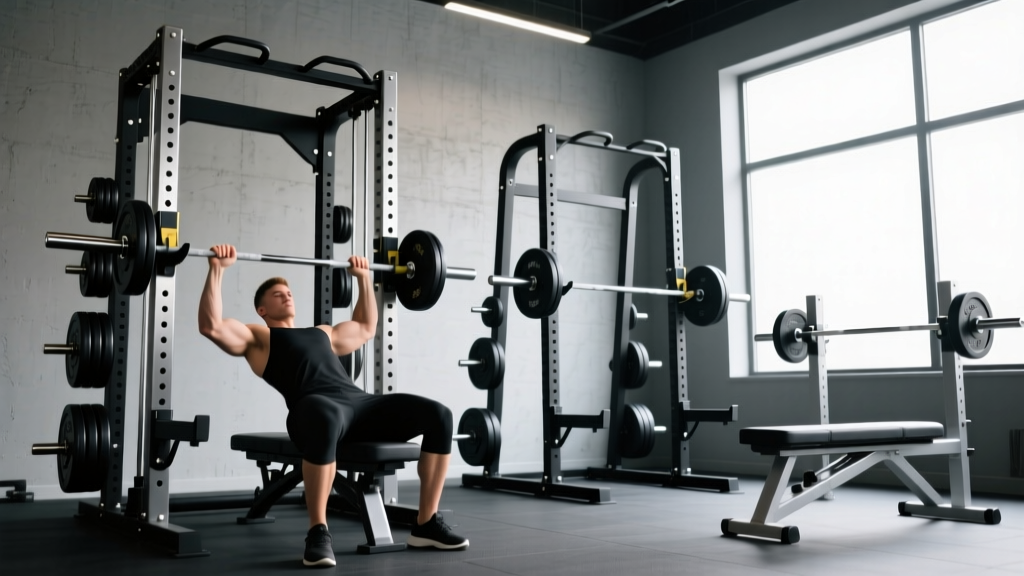
Power Rack vs Squat Rack vs Stand: Incline Dumbbell Curl Setup
Learn the differences between a power rack, squat rack, and squat stand with our step-by-step guide to setting up the perfect incline dumbbell curl station.

The Home Gym Dilemma: Choosing Your Foundation
Setting up a home gym in 2026 requires balancing budget, space, and exercise versatility. Beginners often freeze when comparing a power rack, a squat rack, and a squat stand. While most buying guides focus purely on barbell squats and bench presses, your rack choice drastically impacts your ability to perform dumbbell movements safely. This is especially true for the incline dumbbell curl, an exercise that demands specific bench clearance, elbow tracking space, and specialized safety spotter placements to protect your shoulders and bicep tendons.
Beginner's Golden Rule: Never buy a rack without first measuring your adjustable bench. A standard 48-inch interior width power rack can restrict your elbows during wide-grip dumbbell curls if your bench pad is wider than 18 inches.In this step-by-step guide, we will break down the structural differences between the big three rack types and show you exactly how to configure your equipment for a safe, highly effective incline dumbbell curl station.
Step 1: Decoding the Big Three (Rack Comparison)
Before we position the bench, you need to understand the structural footprint and safety limitations of each rack type. In 2026, the 3x3-inch upright with 1-inch hole spacing has become the industry standard across both premium and budget brands, making accessory compatibility easier than ever.
| Feature | Power Rack (Full Cage) | Squat Rack (Half Rack) | Squat Stand (Independent) |
|---|---|---|---|
| Average Cost (2026) | $700 - $1,200 | $400 - $700 | $200 - $350 |
| Footprint | Large (approx. 48" x 48") | Medium (approx. 48" x 30") | Minimal (approx. 24" x 24") |
| Bench Flexibility | Restricted by 48" interior width | High (open front/back) | Unlimited (adjustable width) |
| Safety for Dumbbells | Excellent (4-point spotter arms) | Good (2-point catchers) | Poor (requires wide stance) |
| Top 2026 Model Example | Rogue RML-390F ($895) | Titan T-2 Half Rack ($449) | Rep Fitness SR-4000 ($249) |
Step 2: Optimizing Upright Spacing for the Incline Dumbbell Curl
The incline dumbbell curl places the biceps in a deeply stretched position behind the torso. According to Cleveland Clinic's orthopedic guidelines, the distal bicep tendon is most vulnerable to micro-tears and ruptures when the arm is fully extended under load. To achieve this full stretch safely, your elbows must track freely without clipping the steel uprights of your rack.
Why Standard 48-Inch Spacing Can Be Restrictive
Most standard power racks feature 48 inches of interior spacing. If you place a 20-inch wide adjustable bench inside, you are left with only 14 inches of clearance on either side. For a user with a 70-inch wingspan holding 12-inch hex dumbbells, the weights will physically strike the uprights at the bottom of the movement, ruining the stretch and risking a dropped weight.
The Squat Stand Advantage: If the incline dumbbell curl is a priority arm-builder in your routine, independent squat stands are a secret weapon. Because they are not connected by a crossmember, you can place squat stands 60 inches apart, providing unlimited elbow clearance while still utilizing the uprights to store your dumbbells or mount safety spotter arms.
Step 3: Setting Up Safety Spotter Arms for Isolation Lifts
Beginners often assume spotter arms are only for heavy barbell bench presses. However, failing a heavy incline dumbbell curl can result in severe shoulder hyperextension if you cannot safely dump the weights. Here is how to configure your rack's safety arms specifically for this movement.
- Set the Bench Angle: Adjust your bench to a 45-degree or 60-degree incline. Avoid 75 degrees, as this shifts the tension away from the stretched bicep and onto the anterior deltoid.
- Position the Bench: Slide the bench into the rack so that when you are seated, your chest aligns with the front uprights (for a power rack) or directly between the independent stands.
- Adjust Spotter Arm Height: Insert the safety spotter arms into the uprights exactly 2 to 3 inches below the lowest point of your dumbbell's travel path.
- The 'Dump' Technique: If you reach muscular failure, simply open your hands and let the dumbbells fall onto the spotter arms. This prevents the weights from dragging your arms behind your torso and tearing the bicep tendon.
"Proper equipment setup is your first line of defense against soft-tissue injuries. Utilizing catchers or spotter arms during unilateral or dumbbell isolation work allows the lifter to train to true muscular failure without the neurological fear of being trapped under a load." — Adapted from Mayo Clinic's strength training safety protocols.
Step 4: Managing the 'Pick-Up' and Storage Logistics
A frequently overlooked edge case in home gym design is how you actually get heavy dumbbells into position for the incline curl. Kicking 80 lb dumbbells up to your shoulders while seated on a 45-degree incline is a fast track to a lumbar spine injury.
- Power Rack Solution: Utilize a rack that features integrated vertical dumbbell storage horns on the front face (like the Rogue Monster Lite series). This allows you to deadlift the dumbbells up, rest them on your knees, and roll back onto the incline bench in one fluid motion without walking backward while holding heavy loads.
- Squat Rack / Half Rack Solution: Attach a bolt-on sandwich J-cup shelf. You can rest the dumbbells on the J-cups at knee height, sit on the bench, and easily grab them without bending over.
- Squat Stand Solution: Because squat stands lack front crossmembers, you must rely on a standalone 2-tier dumbbell rack placed directly behind or adjacent to the stands. Ensure your floor matting is flush to prevent tripping while carrying heavy iron.
Step 5: Finalizing Your Footprint and Budget
If you have a dedicated 10x10 room and a budget over $800, the Power Rack is the undisputed king of safety, offering 360-degree protection for both barbell and dumbbell work. If you are outfitting a garage gym where vehicles occasionally need to park, a wall-mounted Folding Squat Rack saves space while still providing adequate spotter arms for your curls. Finally, if you are in a small apartment or bedroom and prioritize isolation movements with adjustable dumbbells, Squat Stands offer the best spatial economy and customizable width for unrestricted elbow tracking.
Frequently Asked Questions
Can I do incline dumbbell curls without a rack?
Yes, but it is not recommended for heavy sets (dumbbells over 40 lbs). Without a rack, you have no spotter arms to catch the weights if you experience a muscle failure or cramp in the stretched position, significantly increasing the risk of shoulder and bicep injuries.
What is the best bench pad width for a power rack?
Look for an adjustable bench with a pad width of 16 to 18 inches. Anything wider (like 20+ inches) will eat up your interior clearance inside a standard 48-inch power rack, restricting your range of motion during incline dumbbell curls and chest flyes.
Do I need 1-inch or 5/8-inch holes for my rack?
In 2026, always opt for 3x3-inch uprights with 1-inch holes. The 5/8-inch hole standard is largely obsolete and limits your ability to purchase heavy-duty safety spotter arms and sandwich J-cups from third-party manufacturers, which are essential for safe dumbbell setups.
More gear to consider
All reviews
Cast Iron vs Competition Kettlebells & Side Delt Dumbbell Exercises
Rubber Hex vs Urethane: Best Dumbbells for a Dumbbell Quad Workout

Dual Dumbbell Snatch Mistakes: Olympic vs Standard Plates

Dumbbell for Beginners: Power Rack vs Squat Rack vs Stand Mistakes
Beyond the Dumbbell Yoga Workout: Olympic Barbell Weight & Knurling