
Dumbbell Sumo Deadlift Zones: Rack & Storage Layouts
Optimize your home gym layout for the dumbbell sumo deadlift. Explore spatial planning, rack footprints, and storage solutions for heavy compound lifts.

When designing a home gym, most lifters prioritize weight capacity and aesthetic appeal over spatial ergonomics. However, when your programming includes wide-stance, floor-level compound movements, poor layout design quickly transitions from a minor inconvenience to a significant safety hazard. The dumbbell sumo deadlift is a prime example of an exercise that dictates the spatial requirements of your entire free weight zone. Unlike barbell variations confined to a power rack, or conventional dumbbell deadlifts that require a relatively narrow footprint, the sumo variation demands expansive lateral clearance and specialized equipment staging.
As of 2026, the trend in home gym design has shifted heavily toward space optimization, particularly in garage and basement environments where square footage is at a premium. Integrating heavy dumbbell storage without encroaching on your primary lifting zones requires a strategic approach to rack selection, placement, and movement clearance. This guide breaks down the exact spatial demands of the dumbbell sumo deadlift and provides actionable layout blueprints for optimizing your dumbbell rack and storage solutions.
The Spatial Demands of the Dumbbell Sumo Deadlift
To understand why storage placement matters, we must first quantify the movement's spatial footprint. According to ExRx.net's biomechanical directory, the sumo deadlift requires a stance width that is typically 1.5x to 2x shoulder width, with toes pointed outward at a 45-degree angle. For an average 6-foot-tall male lifter, this translates to a stance width of roughly 42 to 48 inches from the outside of the heel to the outside of the opposite heel.
However, your stance width is only the baseline. You must also account for:
- Dumbbell Clearance: Heavy hex dumbbells (e.g., 100 lbs+) can be up to 10 inches wide. When held at arm's length, they add 20 inches to your total lateral footprint.
- Arm Swing and Torque: During the initial pull and the lockout, the dumbbells will naturally drift outward to avoid knee impingement, requiring an additional 4 to 6 inches of buffer space on each side.
- The Drop Zone: When failing a rep or completing a heavy set, you will drop the dumbbells. They rarely land perfectly parallel to your feet; they bounce and scatter.
The 8x8 Rule: To safely perform heavy dumbbell sumo deadlifts, you need a minimum 'sterile zone' of 8 feet by 8 feet (96x96 inches). If your dumbbell rack intrudes into this zone, you are actively compromising your safety and limiting your load potential.
Rack Footprints vs. Movement Clearance: A Comparative Analysis
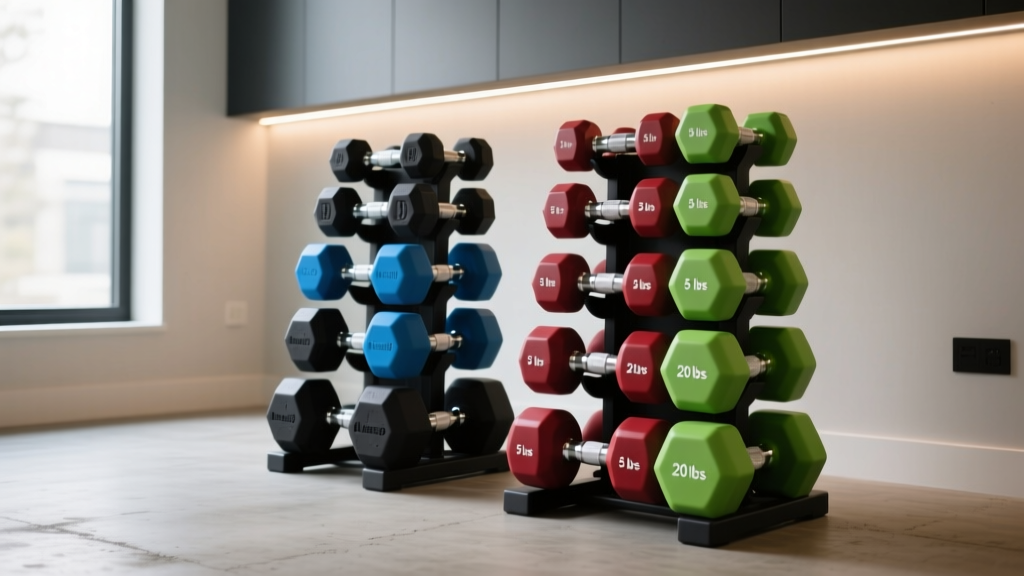
Not all dumbbell racks are created equal, especially when floor space is the limiting factor. The market currently offers three primary storage archetypes: the traditional 3-tier A-frame, the vertical dumbbell tree, and the low-profile staging rack. Below is a spatial and functional comparison of top-tier options available in 2026, evaluated specifically on how they interact with wide-stance lifting zones.
| Storage Model | Footprint (L x W) | Max Capacity | 2026 Est. Price | Sumo Layout Viability |
|---|---|---|---|---|
| Rogue 3-Tier Dumbbell Rack | 51" x 22" | 1,200+ lbs | $495 | Moderate (Wide stabilizer feet pose tripping hazards if placed near drop zones) |
| REP Fitness Vertical Dumbbell Rack | 28" x 28" | 800 lbs | $249 | High (Compact square footprint allows for tight corner placement) |
| Bells of Steel Low-Profile Rack | 48" x 24" | 1,000 lbs | $349 | Excellent (Low height allows placement directly behind the lifter without blocking sightlines) |
When browsing the Rogue Fitness Dumbbell Storage Catalog or evaluating REP Fitness Racks and Storage, pay close attention to the base dimensions, not just the top tier. A-frame racks often feature stabilizer feet that extend 4 to 6 inches beyond the main uprights. In a tight home gym, these protruding feet are prime trip hazards during the eccentric phase of a sumo deadlift.
The 'Pickup Problem': Edge Cases in Heavy Loading
The most overlooked aspect of dumbbell storage layout is the 'pickup problem.' Picking up a pair of 120-pound dumbbells from the bottom tier of a standard 3-tier rack requires a conventional, narrow-stance hinge. Once you have the weights in hand, you must then step backward and outward to assume your 48-inch sumo stance.
⚠️ Spatial Warning: If your 3-tier rack is placed only 12 inches away from a wall, you will not have the physical space to step back into a sumo stance while holding 240 pounds of total load. This forces you to pick the weights up from the floor in your sumo stance, which is biomechanically awkward and risks lower back rounding if the dumbbells are not pre-staged.The Solution: Floor Staging Zones. For lifters regularly pulling heavy sumo deadlifts, the optimal layout involves using a vertical rack or wall-mounted shelving for primary storage, paired with a dedicated 'staging mat' in the center of the room. Before your working sets, you transport the dumbbells to the staging mat, placing them exactly where your hands will naturally fall in your wide stance. This eliminates the need to maneuver heavy loads backward through a cluttered floor plan.
Space-Optimized Layout Blueprints
How you arrange your storage depends entirely on your room's geometry. Here are two proven layouts for compact home gyms that prioritize the dumbbell sumo deadlift.
Blueprint A: The 10x10 Garage Perimeter (The U-Shape)
In a standard 10x10 foot space, the center 8x8 area must remain entirely clear. Place a 3-tier A-frame rack flush against the back-left corner, angled at 45 degrees to the walls. This hides the protruding stabilizer feet in the 'dead space' of the corner. Use the right wall for a wall-mounted plate and kettlebell storage system. The sumo deadlift zone is placed dead center, ensuring that no matter which way you face, you have a minimum of 3 feet of clearance between your dumbbells and the nearest piece of steel.
Blueprint B: The 8x8 Spare Bedroom (Vertical Integration)
When lateral space is severely restricted, A-frame racks are non-starters. Utilize a vertical dumbbell tree (like the REP Fitness 5-tier vertical rack) and tuck it into a closet alcove or directly beside a structural pillar. Because vertical racks have a tiny 28x28 inch footprint, they can be placed closer to the lifting zone without creating a tripping hazard. However, because vertical racks require you to lift weights upward and outward to remove them, ensure you have at least 18 inches of lateral clearance beside the tree to safely extract heavy hex dumbbells without scraping your knuckles against adjacent walls.
Safety Clearances and Failure Modes
When spatial planning fails, the consequences during heavy sumo deadlifts are immediate. Be aware of these common layout failure modes:
- Asymmetrical Drops: If one side of your body is 2 feet away from a squat rack, and the other side is 5 feet away from a wall, a failed rep will result in you dropping the dumbbell on the side with more space to avoid damaging the wall or the equipment. This asymmetrical bail-out can cause severe spinal torsion. Always center your lifting zone relative to hard obstacles.
- Rolling Hazards: If you use round urethane dumbbells instead of hex rubber dumbbells, a dropped weight will roll. If your dumbbell rack is placed at the bottom of a slight floor incline (common in garage slabs), a dropped round dumbbell can roll directly into the base of your rack, chipping the urethane or destabilizing lighter weights stored on the bottom tier.
- Chalk and Sweat Degradation: Storing dumbbells directly adjacent to your sumo drop zone means the rack will be constantly exposed to dropped chalk and sweat. Over time, this accelerates rust on the rack's gussets and weld points. Maintain a strict 3-foot buffer between your primary chalk bowl/drop zone and your steel storage units.
Final Thoughts on Spatial Ergonomics
Optimizing your home gym for the dumbbell sumo deadlift is an exercise in applied geometry. It requires you to look past the marketing photos of fully loaded racks and focus on the negative space—the empty floor where the actual work happens. By selecting storage solutions with appropriate footprints, respecting the 8x8 sterile zone, and engineering a logical flow from storage to staging to execution, you create an environment that supports heavy, safe, and uninterrupted training for years to come.
More gear to consider
All reviews
Barbell Weight & Knurling: Setup for Dumbbell Hang Squat Clean

Best Adjustable Dumbbells for the Bent Over Dumbbell Row 2026

Barbell Collar Clamp Comparison: Dumbbell Reverse Fly Machine Safety
Space-Saving Home Exercise With Dumbbells: Rubber Hex vs Urethane

Pec Deck Fly with Dumbbells: Neoprene Grip & Form Troubleshooting
