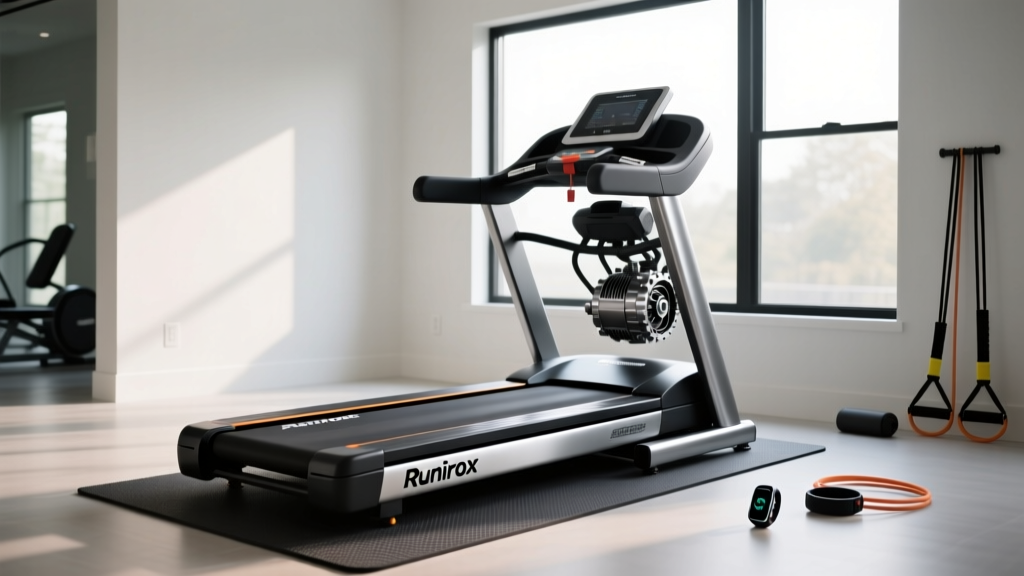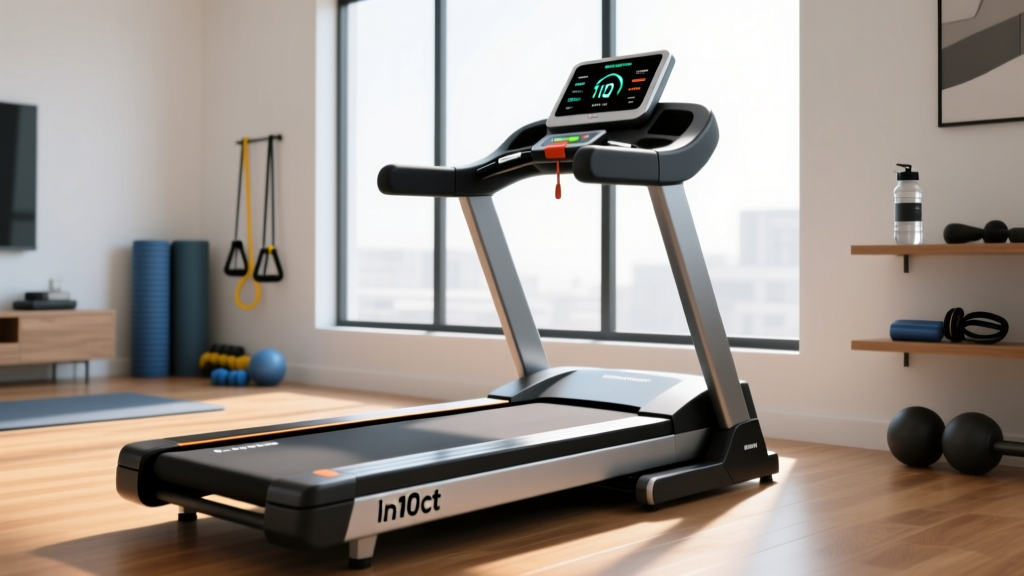
Complete In10ct Treadmill Setup & Motor Power Guide
Master your In10ct treadmill installation with our complete setup walkthrough. Learn crucial motor horsepower specs, electrical needs, and belt calibration.

Setting up a premium piece of home fitness equipment requires far more than simply tightening bolts and plugging it into the nearest wall outlet. When unboxing and configuring the In10ct treadmill, understanding the critical intersection between physical assembly, electrical demands, and internal motor specifications is essential for long-term durability. As of 2026, modern treadmill engineering has become highly sophisticated, and improper installation remains the leading cause of premature motor control board (MCB) failure.
This comprehensive installation walkthrough will guide you through the physical setup of the In10ct treadmill while providing an in-depth treadmill motor size and horsepower guide. By the end of this guide, you will know exactly how to verify your electrical capacity, calibrate your belt tension to protect the motor, and run diagnostic tests to ensure your machine is operating within factory specifications.
Phase 1: Pre-Installation Electrical and Spatial Prep
Before you even cut the zip ties on the In10ct treadmill's shipping box, you must verify your room's electrical infrastructure. The In10ct series is equipped with a robust 4.0 Continuous Horsepower (CHP) DC motor. While this provides exceptional torque for heavy users and steep inclines, it also demands significant electrical headroom.
CRITICAL ELECTRICAL WARNING: Do not plug a 4.0 CHP treadmill into a standard shared 15-amp household circuit. According to the National Electrical Code (NEC) NFPA 70, high-draw fitness equipment requires a dedicated 20-amp circuit to handle startup surges, which can temporarily spike to 14-16 amps when the belt engages under user weight.Spatial Clearance Requirements
- Rear Clearance: Minimum 79 inches (2 meters) behind the treadmill to prevent injury in the event of a fall and to allow adequate airflow for the motor cooling fan.
- Side Clearance: Minimum 24 inches on both sides for safe mounting, dismounting, and emergency access to the main power switch.
- Ceiling Height: Minimum 8 feet, plus the maximum incline height of the user (the In10ct reaches a 15% incline, raising the deck by approximately 14 inches at the front).
Phase 2: Decoding Treadmill Motor Size and Horsepower
As you assemble the base frame, it is vital to understand the powerhouse you are installing. The fitness industry is notorious for misleading motor marketing. When evaluating any cardio machine, you must differentiate between Peak Horsepower and Continuous Horsepower.
The Myth of Peak Horsepower
Peak Horsepower (often advertised as 5.0 HP or higher on budget models) represents the absolute maximum output the motor can achieve for a fraction of a second before overheating or failing. It is a largely useless metric for daily training. Instead, you must look at Continuous Horsepower (CHP), which measures the motor's ability to sustain power output indefinitely during a standard workout.
According to equipment testing standards referenced by Consumer Reports, a motor must be rated for continuous duty to withstand the friction and kinetic demands of regular running. The In10ct treadmill's 4.0 CHP rating means it can continuously deliver 4.0 horsepower to the belt without thermal degradation, making it suitable for intense interval training and heavy users.
Motor Size vs. User Weight and Usage Profile
Use the table below to verify if the 4.0 CHP motor inside your In10ct treadmill aligns with your household's biomechanical needs. Undersizing a motor for a specific user weight forces the motor to draw excess amperage, generating lethal heat inside the motor housing.
| User Weight | Primary Activity | Minimum Required CHP | In10ct 4.0 CHP Status |
|---|---|---|---|
| Under 150 lbs | Walking / Light Jogging | 2.0 CHP | Overqualified (Excellent) |
| 150 - 200 lbs | Daily Running (5-8 mph) | 2.75 CHP | Optimal Performance |
| 200 - 250 lbs | Sprinting / HIIT | 3.25 CHP | Optimal Performance |
| 250 - 300+ lbs | Heavy Incline Walking | 4.0+ CHP | Meets Maximum Spec |
Phase 3: Base Assembly and Motor Housing Alignment
With the electrical and spatial requirements verified, proceed to the physical assembly. Proper alignment of the base frame directly impacts the motor's drivetrain efficiency.
- Position the Base: Carefully lay the main deck assembly on its side (use the included foam blocks to protect the console mast mounts). Ensure the motor hood is facing away from high-traffic areas.
- Attach the Uprights: Insert the left and right upright masts. Crucial Step: Before tightening the 8mm hex bolts, ensure the internal data cables are routed through the center channel. Pinching the incline motor communication wire against the steel frame will cause immediate error codes upon startup.
- Torque Specifications: Using a calibrated torque wrench, tighten the upright base bolts to exactly 45 Nm (Newton-meters). Overtightening can warp the steel chassis, causing microscopic misalignments between the front drive roller and the motor pulley, which increases friction and motor strain.
- Leveling Feet: Stand the treadmill upright. Adjust the four corner leveling feet until the machine is perfectly stable. A rocking treadmill forces the motor to compensate for shifting kinetic energy, reducing the lifespan of the motor mounts.
Phase 4: Belt Tensioning and Motor Load Calibration
This is the most critical step in the treadmill motor size and horsepower guide. A factory-fresh belt is often overtightened to prevent slipping during shipping. If you power on the In10ct treadmill with an overtightened belt, the 4.0 CHP motor will immediately experience excessive resistance, drawing dangerous levels of amperage and potentially tripping your 20-amp breaker.
The Belt Lift Test
Reach under the center of the walking belt on either side. You should be able to lift the belt exactly 2.5 to 3.0 inches off the deck. If it lifts less than 2 inches, the belt is too tight. Use the included 6mm Allen wrench to turn the rear roller adjustment bolts counter-clockwise (one full turn on each side) until the proper tension is achieved.
Verifying Motor Amperage Draw
Modern premium treadmills like the In10ct feature an integrated engineering diagnostic menu. To access it, press and hold the 'Incline Up' and 'Speed Down' buttons simultaneously for 5 seconds.
- Idle Draw (No user on belt): Should read between 1.5 and 2.5 amps at 3.0 mph.
- Active Draw (180 lb user walking at 3.0 mph): Should read between 4.0 and 6.0 amps.
- Active Draw (180 lb user running at 7.0 mph): Should read between 8.0 and 11.0 amps.
Expert Insight: If your active amperage draw exceeds 14 amps during a standard run, your deck lacks lubrication or the belt is still too tight. High amperage is the primary killer of treadmill motors, as it degrades the copper windings and fries the MCB. Regular maintenance is non-negotiable, a fact consistently echoed by the President's Council on Sports, Fitness & Nutrition regarding home gym equipment safety and longevity.
Phase 5: Incline Motor Setup and Diagnostic Testing
The In10ct treadmill utilizes a secondary, high-torque linear actuator motor dedicated solely to the 0-15% incline mechanism. This motor operates independently of the main 4.0 CHP drive motor but requires precise calibration during setup.
- Clear the Deck: Ensure no one is standing on the treadmill during the initial incline calibration.
- Initiate Auto-Calibration: From the engineering menu, select 'Incline Calibration'. The machine will drive the deck to the maximum 15% incline, hold for 3 seconds to set the upper limit switch, and then lower to 0% to set the lower limit switch.
- Listen for Acoustic Anomalies: The incline motor should emit a smooth, low-frequency hum. Any grinding, clicking, or stuttering indicates that the linear actuator shaft was cross-threaded or damaged during shipping. If this occurs, halt setup and contact In10ct support for a warranty replacement part.
Long-Term Motor Preservation Protocol
Completing the setup is only the beginning. To ensure your 4.0 CHP motor operates efficiently for the next decade, you must minimize the friction coefficient between the belt and the deck. The In10ct deck features a pre-waxed commercial-grade surface, but this degrades over time.
Apply 100% pure silicone treadmill lubricant (never use petroleum-based products, which destroy the belt polymer) every 150 miles or every 3 months, whichever comes first. Lift the belt edges and apply exactly 0.5 oz of silicone in a zigzag pattern across the center of the deck. Run the treadmill at 2.0 mph for 3 minutes to distribute the lubricant evenly. This simple maintenance step reduces motor amperage draw by up to 30%, ensuring the internal cooling fan can easily manage the operating temperature of the motor housing.
By meticulously following this installation walkthrough and respecting the engineering realities of treadmill motor horsepower, your In10ct treadmill will deliver a commercial-grade, biomechanically sound running experience for years to come.
More gear to consider
All reviews
WalkingPad P1 Foldable Walking Treadmill Setup & Feature Comparison

Air vs Assault Bike: Stress Test Without Treadmill Care Guide
Is a Treadmill or an Elliptical Better for Weight Loss? Belt Care
Maintaining an 8 Min Pace on Treadmill: Compact Picks 2026

Top Under Desk Treadmills for a Low Impact Treadmill Workout in 2026