How to Maintain a Treadmill: Belt Care for Compact Home Gyms
Learn how to maintain a treadmill belt and optimize your home gym layout. Discover clearance needs, lubrication steps, and space-saving deck care.

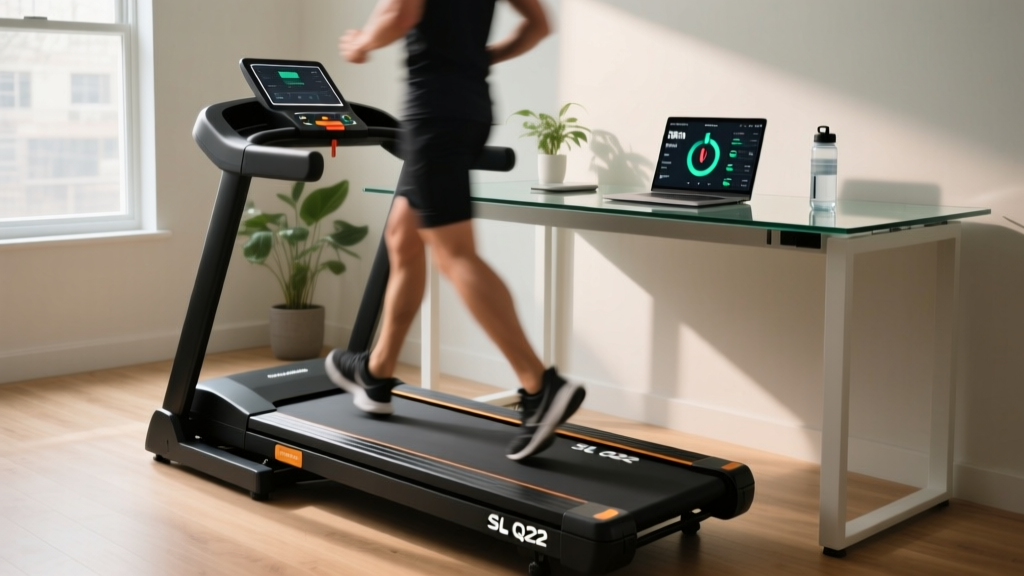
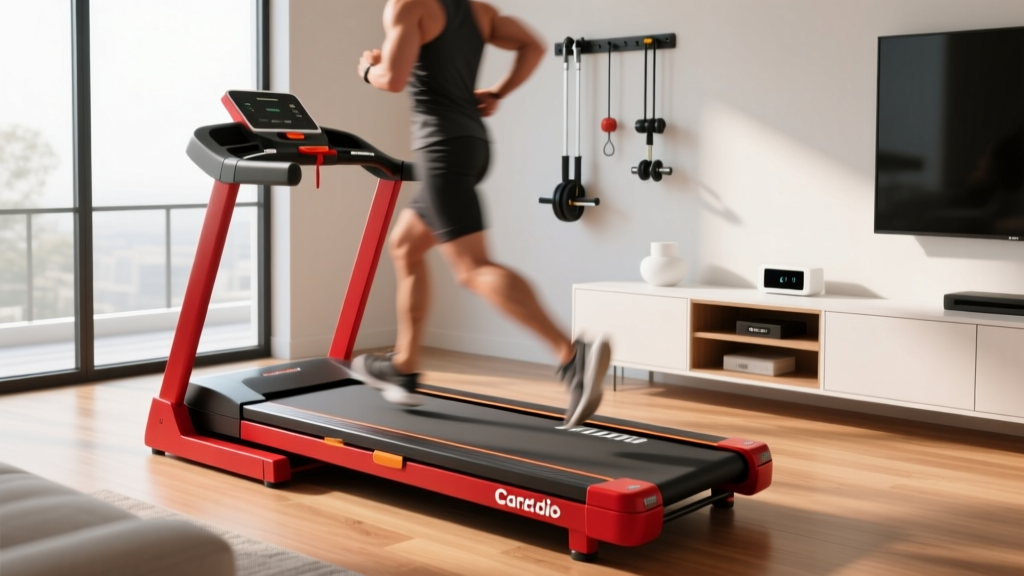
When designing a compact home gym, space optimization often takes precedence over equipment servicing. You measure the footprint, account for the folding mechanism, and tuck the machine into a tight alcove. But ignoring the spatial requirements of machine upkeep is a critical error. If you want to know how to maintain a treadmill properly, you must first understand how your room's layout directly impacts belt friction, motor heat, and physical access for lubrication.
In 2026, with urban living spaces shrinking and multi-use rooms becoming the standard, folding and compact treadmills are more popular than ever. However, these space-saving designs introduce unique stress points to the running belt and deck. This guide merges interior layout strategy with deep-dive treadmill belt maintenance, ensuring your cardio investment survives the physical constraints of your home.
The Hidden Spatial Tax on Treadmill Belts
Most users view treadmill belt maintenance as a purely mechanical task. In reality, it is an environmental one. When a treadmill is pushed flush against a wall or wedged into a corner to save floor space, you create a micro-environment that accelerates belt degradation.
The Dust Pumice Effect: In tight, unventilated corners, HVAC airflow drops significantly. Dust, pet dander, and dried sweat settle heavily on the belt edges. As the belt cycles, this debris is pulled under the deck, mixing with old lubricant to form an abrasive paste that acts like pumice, destroying the belt's underside and the phenolic deck coating.Furthermore, spatial constraints restrict the airflow required to cool the motor and drive roller. When a motor overheats due to poor spatial clearance, it draws higher amperage. This excess electrical draw translates to mechanical resistance, increasing the friction coefficient between the belt and the deck. According to facility and home safety guidelines emphasized by the National Safety Council, ensuring adequate clearance around heavy motorized equipment is essential not just for fire safety, but for preventing premature mechanical failure.
Designing a Maintenance-Optimized Layout
Before you can perform routine belt lubrication or tension adjustments, your layout must permit physical access. A space-optimized gym is not just about the machine's static footprint; it is about the 'service footprint'.
Minimum Clearance Requirements
- Rear Clearance (24 to 36 inches): You must have at least 24 inches behind the treadmill. This is non-negotiable for accessing the motor hood. To clean the motor board and inspect the drive belt, the hood must be removed, which requires spatial clearance to maneuver tools and your hands.
- Side Clearance (18 inches minimum): While you might be tempted to push the treadmill against a wall, leaving 18 inches on at least one side allows you to access the rear roller adjustment bolts (usually requiring a 6mm or 1/4-inch hex key) without contorting your body or scratching your drywall.
- Vertical Clearance (80 inches): If using a folding treadmill in a room with sloped ceilings or low-hanging fixtures, ensure the highest point of the elevated deck clears all obstacles to prevent structural damage to the folding hinge.
How to Maintain a Treadmill Belt: The Compact-Space Protocol
Once your layout is optimized for access, follow this precise protocol for belt maintenance. The American Council on Exercise consistently highlights that proper equipment maintenance is a cornerstone of safe home fitness environments.
Step 1: The Feeler Gauge Deck Inspection
Do not rely on the 'hand slide' test alone. In compact spaces where dust accumulates faster, the deck wears unevenly. Unplug the machine. Loosen the belt tension by turning the rear roller bolts counter-clockwise (exactly 3 full turns on each side). Lift the belt and run a specialized treadmill feeler gauge or a smooth wooden dowel across the deck. If you feel deep grooves or a 'sandpaper' texture, the phenolic coating is compromised, and lubrication will no longer suffice—the deck requires replacement.
Step 2: Precision Silicone Lubrication
Never use petroleum-based products or generic WD-40, which will melt the belt backing. Use only 100% silicone treadmill lubricant (brands like SpotOn or Horizon's proprietary formula).
The Measurement: Apply exactly 0.5 ounces (15 ml) of silicone in a zig-zag pattern across the center third of the deck. Over-lubricating in a small, poorly ventilated room will cause the silicone to seep out the edges, attracting more dust and creating a slipping hazard on your gym flooring.
Step 3: Tensioning and Tracking Alignment
Retighten the rear roller bolts clockwise, matching the exact number of turns you loosened them. Plug the machine in and run it at 3.0 MPH. The belt should lift exactly 2 to 3 inches off the deck in the center when pulled upward. If it lifts higher, it will slip during heavy foot strikes; if lower, it will choke the motor and cause the edges to fray against the side rails.
Folding Treadmills: Managing the Hinge-Point Wear
The ultimate space-saving feature—the folding deck—introduces a massive variable to belt maintenance. Models like the Sole F63 or ProForm Carbon TL utilize a central hinge mechanism. Over time, the repeated folding and unfolding creates a micro-ridge or 'crown' on the deck surface directly above the hinge.
| Feature | Standard Fixed-Deck Treadmill | Space-Saving Folding Treadmill |
|---|---|---|
| Deck Topography | Flat, uniform surface | Micro-ridge at central hinge point |
| Lubrication Interval | Every 150 miles / 3 months | Every 100 miles / 2 months |
| Primary Wear Zone | Center-third (foot strike zone) | Hinge-point and rear roller |
| Layout Vulnerability | Motor overheating from wall proximity | Hinge warping from low ceiling clearance |
Pro-Tip for Folding Models: When lubricating a folding treadmill, pay special attention to the hinge zone. Apply an extra 0.1 oz of silicone directly over the hinge ridge to mitigate the increased friction caused by the belt snapping over the micro-ridge with every footfall.
Troubleshooting Edge Cases in Tight Rooms
Even with perfect layout planning, compact rooms present unique environmental challenges. Here is how to troubleshoot belt issues specific to space-constrained setups:
Static Shock Build-Up
In small, climate-controlled rooms (especially during winter when indoor humidity drops below 30%), static electricity builds up rapidly on the belt. If you are experiencing shocks when touching the console, the issue is often a combination of a dry belt and synthetic gym mats. The Fix: Ensure your belt is properly lubricated with silicone (which dissipates static) and place a small humidifier in the room to maintain 40-50% ambient humidity.
Edge Fraying and Curling
If the edges of your belt are curling upward, it is usually a sign of over-tensioning combined with lateral drift. In tight spaces, users often stand slightly off-center to avoid hitting a nearby wall or furniture piece with their elbows. This asymmetric loading forces the belt to track hard against one side rail. The Fix: Re-center the treadmill in your spatial layout to allow for natural arm swing, and adjust the rear roller tracking bolt on the frayed side by exactly one-quarter turn clockwise.
Conclusion: Space as a Maintenance Tool
Learning how to maintain a treadmill is not just about the mechanical act of applying lubricant or turning a hex key; it is about curating the environment in which the machine operates. By respecting clearance dimensions, understanding the unique wear patterns of folding decks, and managing the micro-climate of your compact home gym, you transform your spatial layout from a constraint into a tool for equipment longevity. A well-designed space doesn't just look good—it actively preserves the precision engineering of your cardio gear.
More gear to consider
All reviews
Stationary Bike Types Budget Breakdown & Treadmill Turns On But Won't Start Fixes

ProForm 540S Treadmill: Feature Comparison & Buying Guide
LifeSpan Treadmill Reviews: 2026 Under-Desk Office Market Trends

Treadmill Operator Web Business: Walking Pad Review
Why Your Treadmill Cord Melts: Belt Lubrication Trends 2026