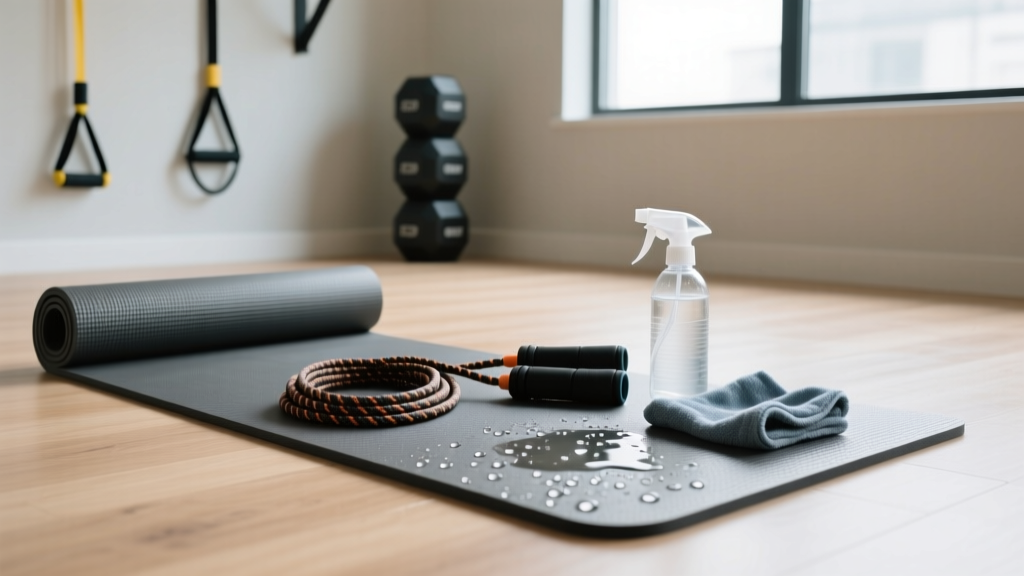
How to Clean a Rubber Yoga Mat & Set Up Jump Ropes
Master your home gym setup. Learn how to clean a rubber yoga mat for your jumping surface and compare speed, weighted, and beaded jump ropes.

The Complete Home Gym Setup: Surface Prep and Jump Rope Calibration
Building a dedicated indoor plyometric and jump rope station requires more than just purchasing a cable and clearing some floor space. It demands a holistic approach to your landing surface and gear calibration. High-impact repetitive jumping generates immense sheer force, meaning your floor mat must offer optimal grip and shock absorption, while your rope must be precisely sized to your biomechanics. In this complete setup and installation walkthrough, we will cover exactly how to clean a rubber yoga mat to maintain its structural integrity and traction, followed by a comprehensive guide to selecting, sizing, and installing speed, weighted, and beaded jump ropes.
Setup Prerequisite: Never jump rope directly on bare hardwood, tile, or concrete. This destroys your joints, ruins your flooring, and shreds jump rope cables. Always install your station over a high-density rubber or PVC yoga mat.Phase 1: Surface Installation and Mat Maintenance
Before you unbox your new speed cable, you must prepare your landing surface. Sweat, salt, and ambient dust create a micro-layer of slickness on rubber mats, leading to dangerous slips during high-RPM double unders. Understanding how to clean a rubber yoga mat properly is critical, as using the wrong chemicals will degrade the polymer chains and ruin the mat’s open-cell grip.
Natural Rubber vs. Closed-Cell PVC
Natural rubber mats (like the Manduka eKO or JadeYoga) are porous and provide incredible traction, but they are highly sensitive to essential oils and harsh alkaline soaps. According to Yoga Journal, natural rubber requires a pH-balanced, non-oil-based cleaning solution to prevent dry rot and loss of grip. Closed-cell PVC or polyurethane mats (like the Lululemon The Mat) are non-porous and can handle mild surfactants.
Step-by-Step Rubber Mat Cleaning Protocol
- Dry Removal: Use a soft-bristle vacuum attachment to remove dust and chalk residue from the mat’s textured surface.
- Mix the Solution: For natural rubber, combine 3 parts distilled water with 1 part white vinegar in a spray bottle. For PVC mats, use 4 cups of warm water with 3 drops of mild dish soap (like Dawn).
- Application: Lightly mist the mat. Do not soak it, as trapped moisture breeds bacteria and degrades the rubber backing.
- Agitation: Wipe in circular motions using a clean, lint-free microfiber cloth to lift embedded salts and urea from sweat.
- Drying: Lay the mat completely flat in a well-ventilated room. Never hang a wet rubber mat, as the weight of the water will stretch and warp the material. Keep it out of direct UV sunlight to prevent oxidation.
Phase 2: Hardware Selection (Speed, Weighted, and Beaded Ropes)
Once your surface is prepped and grippy, the next step in your installation walkthrough is choosing the right cable. The American Council on Exercise (ACE) notes that different rope types recruit distinct muscle groups and serve varying neurological adaptations. Here is how the three primary jump rope types compare for your home gym setup.
| Feature | Speed Ropes | Weighted Ropes | Beaded Ropes |
|---|---|---|---|
| Cable Material | 1.5mm - 2.5mm bare steel or PVC-coated wire | Thick polyurethane or heavy PVC (0.25 lb to 2.0 lb) | 5mm nylon cord with 1-inch TPU plastic beads |
| Handle Type | 90-degree ball-bearing swivel, aluminum | Weighted core, ergonomic grip, quick-clip system | Lightweight plastic, fixed knot attachment |
| Primary Use | Double unders, high RPM, CrossFit, agility | Shoulder endurance, upper body conditioning, boxing | Beginners, outdoor concrete use, freestyle tricks |
| Avg. Price Range | $25 - $60 | $80 - $150 (Interchangeable sets) | $15 - $30 |
Deep Dive: Speed Ropes
Speed ropes are engineered for minimal air resistance and maximum rotational velocity. The hallmark of a premium speed rope (such as those from Elite SRS or RX Smart Gear) is the 90-degree ball-bearing swivel mechanism. This allows the cable to spin freely on a perpendicular axis, preventing the wire from kinking during high-volume double unders. Setup Note: Speed ropes must only be used on your prepped rubber yoga mat or a dedicated PVC jump rope mat. Using a bare steel cable on concrete will strip the coating and snap the wire within a week.
Deep Dive: Weighted Ropes
Weighted ropes shift the center of mass away from the wrist and into the cable itself, providing immense tactile feedback. Biomechanics experts at NASM highlight that the increased drag forces the rotator cuff and deltoids to work harder, making it an excellent tool for boxing conditioning. Modern weighted systems use a quick-clip carabiner mechanism, allowing you to swap between a 0.25 lb agility rope and a 1.0 lb heavy rope in seconds without re-sizing.
Deep Dive: Beaded Ropes
Beaded ropes feature a lightweight nylon core strung with cylindrical polyurethane beads. The beads provide two distinct advantages: they create an audible "click" on the floor for rhythmic timing, and they take 100% of the abrasion when striking the ground. If you plan to take your workout to the driveway or sidewalk, a beaded rope is mandatory. When the beads wear down, you simply snip the cord, slide off the damaged beads, and tie a new knot.
Phase 3: The Sizing and Calibration Walkthrough
The most common failure point in jump rope setup is improper sizing. The outdated "armpit rule" results in a cable that is far too long for intermediate and advanced athletes, leading to excessive bouncing and tripping. Follow this precise calibration protocol to size your rope:
- Stance: Stand on the exact center of the jump rope cable with one foot.
- Pull: Pull the handles straight up along the sides of your torso, keeping the cable taut.
- Beginner Sizing (Single Unders): The point where the cable meets the handle should reach your armpit. This provides a wider arc and more room for error.
- Intermediate Sizing (Boxer Step / Alternating Foot): The cable should reach the nipple line or mid-chest.
- Advanced Sizing (Double Unders): The cable should reach the bottom of the rib cage or sternum. A shorter rope requires a tighter, more efficient wrist flick and a lower jump height, drastically reducing ground contact time.
Pro-Tip for Steel Cables: When cutting a steel speed cable with wire cutters, always leave exactly 2.5 inches of slack past the locking collar. This allows you to adjust the sizing by a fraction of an inch as your double-under mechanics improve over time.
Phase 4: Spatial Requirements and Clearance
Installing your jump rope station requires verifying your spatial envelope. Miscalculating ceiling height is the fastest way to put a hole in your drywall or snap a weighted rope.
- Ceiling Height: Add 3 feet to your total height. If you are 6’0", you need a minimum ceiling clearance of 9’0" to accommodate the apex of the rope’s arc and your jump height.
- Lateral Clearance: Ensure you have at least 4 feet of empty space to your left and right to avoid striking walls or furniture with the handles.
- Front/Back Clearance: Maintain a 6-foot buffer zone in front and behind you to account for forward drift during high-rep sets.
Ongoing Maintenance Schedule
To keep your setup performing at a 2026 standard, implement this bi-weekly maintenance routine:
- Mat Care: Execute the vinegar/water cleaning protocol detailed in Phase 1 every Sunday to remove the week’s salt buildup.
- Bearing Lubrication: Apply a single drop of PTFE (Teflon) dry lubricant to the swivel joint of your speed rope handles. Avoid WD-40, as it attracts dust and creates a gritty paste that seizes the bearings.
- Cable Inspection: Run your fingers along the length of your steel cable. If you feel any fraying or sharp kinks near the handle connection point, replace the cable immediately before it snaps mid-workout.
By meticulously preparing your rubber mat surface and precisely calibrating your chosen speed, weighted, or beaded rope, you create a professional-grade plyometric station right in your home. This setup not only maximizes your cardiovascular output but ensures your gear and flooring remain protected for years of high-RPM training.
More gear to consider
All reviews
Decathlon Yoga Mat Basic 4mm Reviews & Pilates Accessories Guide

BOSU vs Stability Ball Care & Lululemon Yoga Mat Towel with Grip
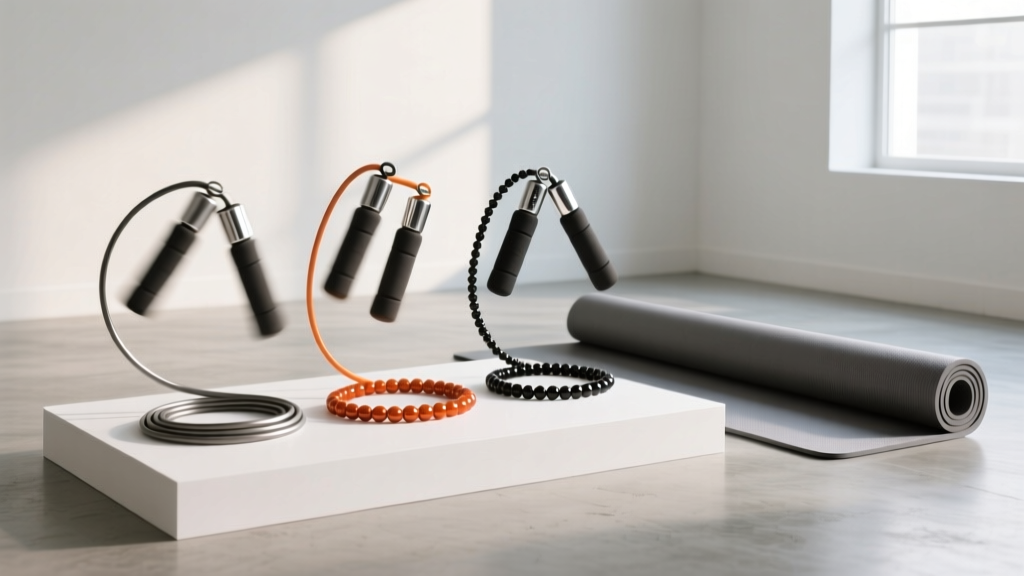
Speed, Weighted, Beaded Jump Ropes & Standard Yoga Mat Dimensions

Medicine Ball Weight Selection Guide: Building a Floor Routine Beyond the Standard Size for Yoga Mat

Band Levels & Choosing a Yoga Mat for Bad Knees: Troubleshooting
