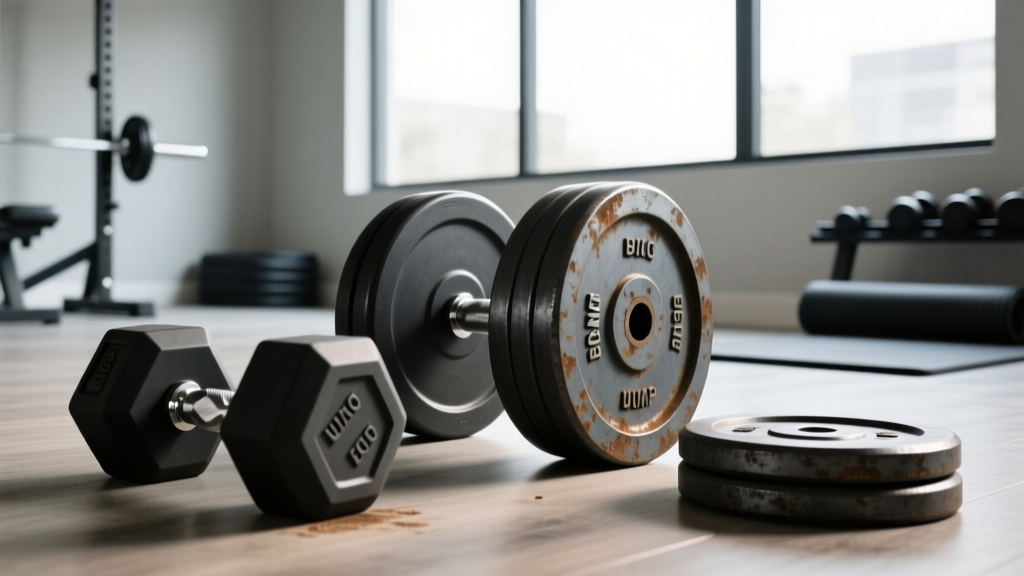
How to Hit Back with Dumbbells & Barbell Collar Guide
Learn how to hit back with dumbbells safely and explore our in-depth barbell collar and clamp types comparison to secure your heavy compound lifts.

The Beginner’s Dilemma: Dumbbell Back Days and Barbell Safety
When you first step into a home gym or start lifting, your primary focus is often on building a foundation without risking injury. Naturally, many beginners find themselves searching for how to hit back with dumbbells to safely target the lats, rhomboids, and traps without the heavy spinal loading associated with barbell bent-over rows. Dumbbells offer unparalleled freedom of movement, allowing you to fix muscular imbalances and isolate specific back muscles with ease.
However, as your strength progresses and your home gym setup evolves, you will inevitably introduce an Olympic barbell for foundational movements like deadlifts, squats, and eventually heavy barbell rows. When that transition happens, understanding barbell collar and clamp types is no longer just a minor accessory detail—it becomes a critical safety requirement. Dropping a 45-pound plate on your foot or losing balance mid-lift because your weights shifted is a preventable disaster. This guide will first walk you through a beginner-friendly back workout using dumbbells, and then provide a comprehensive, expert-level comparison of the best barbell collars on the market in 2026.
Quick-Start: How to Hit Back with Dumbbells (Step-by-Step)
Before we secure the barbell, let's master the dumbbells. According to exercise kinesiology databases like ExRx.net, targeting the back effectively requires controlling the scapular retraction and minimizing momentum. Here is a beginner-friendly, step-by-step routine to build your posterior chain safely.
1. The Chest-Supported Dumbbell Row
This is the ultimate beginner movement because the incline bench completely removes the lower back from the equation, preventing the 'cheating' and swinging that often leads to lumbar strain.
- Setup: Set an adjustable bench to a 30-to-45-degree incline. Grab a pair of 15 lb to 25 lb hex or urethane dumbbells.
- Execution: Lie face down on the bench with your chest firmly planted. Let the dumbbells hang straight down with a neutral grip (palms facing each other).
- The Pull: Initiate the movement by squeezing your shoulder blades together, then pull the dumbbells up toward your hip pockets. Hold for one second at the top, then lower slowly over 3 seconds.
- Volume: 3 sets of 10-12 repetitions.
2. Single-Arm Dumbbell Pullover
While often thought of as a chest exercise, the pullover heavily engages the lats through a deep stretch, mimicking the mechanics of a straight-arm cable pushdown.
- Setup: Lie perpendicular across a flat bench, supporting only your upper back and head. Hold a single dumbbell with both hands gripping the inside of the top plate.
- Execution: With a slight bend in your elbows, lower the weight backward over your head until you feel a deep stretch in your lats.
- The Pull: Use your lats to pull the weight back over your chest. Do not use your triceps to push it.
Expert Tip: When learning how to hit back with dumbbells, grip strength is often the limiting factor. If your forearms burn out before your lats do, invest in a pair of lifting straps or use dumbbells with contoured, knurled handles to improve your grip security.
Why Barbell Collars Matter for Back and Lower Body Lifts
Once you graduate from dumbbells to the barbell, the physics of your lifts change. An Olympic barbell sleeve is exactly 50mm in diameter and typically 16.3 inches long. When you load plates for a deadlift or a heavy Pendlay row, the barbell experiences 'whip' (elastic deformation) and rotational torque. If your plates are not secured tightly against the inner sleeve collar, they will shift outward during the lift.
This outward shift alters the center of mass, creating a pendulum effect that can violently pull you off balance. In 2026, the fitness industry has largely moved away from traditional metal spring clips for heavy lifting, favoring advanced polymer and aluminum cam-lock systems that provide hundreds of pounds of radial clamping force.
Barbell Collar and Clamp Types Comparison Matrix
Not all collars are created equal. Below is a detailed comparison of the primary clamping mechanisms available for 50mm Olympic barbells.
| Collar Type | Mechanism | Grip Strength | Best Use Case | Avg. Price Range |
|---|---|---|---|---|
| Traditional Spring Clip | Coiled steel tension | Low (10-20 lbs) | Light accessories, quick changes | $8 - $15 |
| Clamp / Lock-Jaw Style | Plastic cam-lever | Medium (50-80 lbs) | General lifting, CrossFit | $25 - $35 |
| Resin / Nylon Lock | Glass-filled nylon cam | High (150+ lbs) | Heavy deadlifts, drops | $40 - $55 |
| Competition Lever | Machined aluminum screw/lever | Extreme (300+ lbs) | Olympic weightlifting, IPF | $90 - $130 |
Deep Dive: Top Collar Models for Home Gyms
To give you actionable purchasing advice, here is a breakdown of the specific models that dominate the home and commercial gym space today.
1. Rogue HG 2.0 Collars (The Gold Standard)
According to Rogue Fitness specifications, the HG 2.0 is constructed from a proprietary glass-filled nylon resin with a zinc-plated steel insert. Unlike cheaper ABS plastic clamps that crack under the stress of dropped bumper plates, the glass-filled nylon flexes slightly to absorb impact while maintaining a vice-like grip on the 50mm sleeve. Priced around $45, they are the undisputed king of the mid-tier market.
2. Lock-Jaw Pro Olympic Clamps
The Lock-Jaw Pro uses a simpler, dual-cam ABS plastic design. While they lack the steel insert of the Rogue collars, their aggressive inner teeth bite into the steel sleeve effectively. They are lightweight and incredibly fast to put on and take off, making them ideal for supersets or AMRAP workouts where every second counts. Expect to pay around $30.
3. Eleiko Olympic Competition Collars
If you are building a dedicated Olympic weightlifting platform, Eleiko’s competition collars (priced upwards of $115) are mandatory. They use a precision-machined aluminum body with a threaded screw and lever mechanism that applies massive, even pressure across the entire inner surface of the sleeve, completely eliminating plate rattle during the violent turnover of a snatch or clean and jerk.
⚠️ Safety Warning: The Spring Clip Failure Point
Never use standard $10 metal spring clips for heavy deadlifts, barbell rows, or any lift where the barbell might touch the ground with force. The metal coils suffer from fatigue over time, and the sudden deceleration of a dropped barbell will easily cause the plates to blow past the weak tension of a spring clip, resulting in severe asymmetrical loading and potential injury.
Step-by-Step: How to Properly Clamp Your Barbell
Even the best $120 competition collar is useless if applied incorrectly. Follow this exact sequence to ensure maximum security:
- Load the Plates Flush: Ensure your bumper or steel plates are pushed completely flush against the inner sleeve collar of the barbell. There should be zero gap.
- Align the Collar: Slide the barbell collar onto the sleeve. For cam-lock styles (like the Rogue HG 2.0), ensure the lever is in the fully 'open' position.
- Push and Seat: Push the collar firmly against the outermost plate. Do not leave a 1/4 inch gap; the collar must be physically touching the plate.
- Lock the Cam: Press the lever down until it clicks or sits flush with the collar body. You should feel significant resistance in the last 20% of the lever's travel. This is the cam engaging and expanding the inner diameter against the steel sleeve.
- The 'Shake' Test: Grab the end of the barbell and give it a vigorous horizontal shake. If you hear the plates clinking together, unlock the cam, push the collar tighter, and re-lock.
Frequently Asked Questions
Can I use Olympic collars on a standard 1-inch barbell?
No. Olympic collars are engineered specifically for 50mm (2-inch) sleeves. If you are using a standard 1-inch barbell, you must purchase standard spring clips or 1-inch specific screw-down collars. Forcing a 50mm collar onto a 1-inch bar will result in zero grip strength and extreme danger.
Do collars add weight to the barbell?
Yes, and in competitive powerlifting and weightlifting, this matters. Standard plastic clamps weigh roughly 0.25 lbs each, while heavy-duty Rogue HG collars weigh about 0.55 lbs each, and competition aluminum collars can weigh up to 5.5 lbs (2.5 kg) per pair. Always factor the collar weight into your total load if you are tracking your 1-rep max precisely.
Will clamps scratch my barbell sleeves?
High-quality collars use smooth, hardened plastics or precision aluminum that will not gouge steel. However, if dirt, chalk, or metal shavings get trapped between the collar and the sleeve, dragging the collar off can cause micro-scratches. Always wipe your barbell sleeves down with a nylon brush or damp cloth before sliding collars on and off.
More gear to consider
All reviews
EZ Bar vs Straight Bar & Chest Workouts With One Dumbbell Layouts

EZ Curl Bar vs Straight Bar: Dumbbell Lunge Workout Layouts
Bumper vs Iron Plates: Beyond Dumbbell Chest Workouts for Women

Best Neoprene Dumbbells for the Dumbbell Squat to Press: 2026 Guide

Power Rack vs Squat Rack vs Stand: Standing Dumbbell Crunch Guide