Horizon 7.4 AT Treadmill Install & Rowing Machine Guide
Master your home gym with our Horizon 7.4 AT treadmill installation walkthrough, plus a complete rowing machine buying guide and technique tutorial.

Building the Ultimate 2026 Cardio Zone: Treadmill and Rower Synergy
Designing a comprehensive home gym requires balancing high-impact endurance training with low-impact, full-body conditioning. As we navigate the fitness equipment landscape in 2026, two machines consistently dominate the premium home cardio market: the robust Horizon 7.4 AT treadmill and the versatile indoor rowing machine. According to the American Heart Association, adults should aim for at least 150 minutes of moderate-intensity aerobic activity per week, a goal easily achieved by alternating between treadmill running and rowing. This guide provides a meticulous, step-by-step setup and installation walkthrough for the Horizon 7.4 AT treadmill, followed by an in-depth rowing machine buying guide and technique tutorial to complete your ultimate cardio sanctuary.
Phase 1: Horizon 7.4 AT Treadmill Complete Setup and Installation Walkthrough
The Horizon 7.4 AT (Advanced Training) treadmill is a powerhouse featuring a 3.5 CHP motor, a 22-inch by 60-inch running belt, and a 350-pound user weight capacity. Proper installation is critical to ensure the longevity of the motor and the safety of the user. The U.S. Consumer Product Safety Commission emphasizes that improper assembly and electrical setup are leading causes of home treadmill injuries and equipment failure.
Pre-Installation Requirements and Space Planning
Before unboxing, verify your spatial and electrical requirements. The Horizon 7.4 AT measures 76 inches long, 37 inches wide, and 55 inches high when fully assembled. However, you must allocate a minimum footprint of 90 inches by 45 inches to allow for safe mounting, dismounting, and rear belt clearance.
CRITICAL ELECTRICAL WARNING: The 3.5 CHP motor requires a 120V, 20-amp dedicated circuit. Do not plug this treadmill into a standard 15-amp household circuit shared with other appliances, and never use an extension cord or surge protector, as these can restrict current flow and cause the motor control board to overheat and fail.Step-by-Step Assembly Walkthrough
The Horizon 7.4 AT ships partially pre-assembled, but the uprights and console require careful installation. Enlist a second person, as the base unit alone weighs approximately 230 pounds.
- Base Positioning and Leveling: Move the base to its permanent location. Use the adjustable leveling feet at the rear of the frame to eliminate any wobble. A perfectly level base prevents uneven belt wear and reduces motor strain.
- Upright Installation: With your partner supporting the left upright, align it with the base bracket. Feed the pre-routed console cable through the upright tube carefully to avoid pinching. Insert the four M10 x 25mm hex bolts and tighten them using the provided Allen wrench. Repeat for the right upright.
- Console Mounting: Connect the data cable from the right upright to the back of the console. Ensure the locking tab clicks securely into place. Align the console over the upright brackets and secure it with the four M8 x 20mm screws.
- Safety Key and Handrail Attachment: Attach the pulse-grip heart rate sensors to the front handlebars, plugging the wires into the designated ports under the console. Insert the magnetic safety key into the console slot.
Belt Tensioning and Lubrication
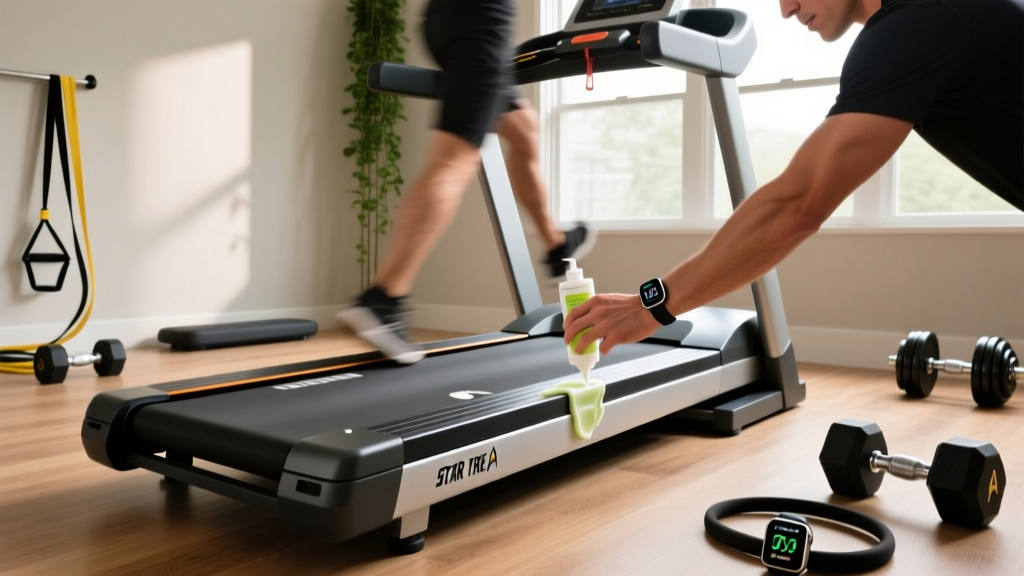
Out of the box, the 22x60-inch belt may require minor tensioning. Power on the machine and set the speed to 2.0 MPH. Walk on the belt; if you feel the belt slip under your foot, locate the rear roller adjustment bolts. Turn both the left and right bolts clockwise by exactly one-quarter turn. Test again. Once the belt grips firmly without drifting, apply a 100% silicone treadmill lubricant under the belt according to the manufacturer's schedule to reduce friction and heat buildup.
Phase 2: Rowing Machine Buying Guide and Technique
While the Horizon 7.4 AT excels at lower-body endurance and high-impact cardio, integrating a rowing machine provides a zero-impact, full-body workout that engages 86% of your musculature. Selecting and setting up the right rower is the second phase of our home gym installation walkthrough.
Selecting the Right Rower for Your Space
The 2026 rowing machine market is segmented by resistance type. Here is a practical decision framework for buyers:
- Air Resistance (e.g., Concept2 RowErg - $990): The gold standard for competitive rowers and CrossFit athletes. Resistance scales infinitely with your effort. It is loud but virtually indestructible and requires minimal maintenance.
- Magnetic Resistance (e.g., NordicTrack RW900 - $1,099): Offers a whisper-quiet, smooth stroke with adjustable, preset resistance levels. Ideal for apartment dwellers or those who watch TV while rowing.
- Water Resistance (e.g., WaterRower Natural - $1,299): Provides a highly realistic 'catch' feel and a soothing swoosh sound. Aesthetically pleasing but requires periodic water purification tablets to prevent algae buildup.
Rower Setup and Calibration
Setting up a Concept2 RowErg or similar air rower is straightforward but requires attention to detail. Unfold the monorail and secure the quick-release mechanism. Attach the feet to the base if required by your specific model. Ensure the machine is placed on a high-density equipment mat to protect your flooring from sweat and distribute the dynamic load. For magnetic rowers with interactive screens, connect the machine to your 2.4GHz Wi-Fi network and run the initial firmware update before your first workout to ensure accurate drag factor calibration.
Mastering the Rowing Technique
Proper technique is paramount to prevent lower back injuries. According to the experts at Concept2, the rowing stroke is divided into four distinct phases. Mastering this sequence will maximize your power output and cardiovascular efficiency.
The 60-20-20 Power Rule: A common beginner mistake is pulling entirely with the arms. A proper rowing stroke derives 60% of its power from the legs, 20% from the core, and only 20% from the arms.- The Catch: Slide forward until your shins are vertical. Keep your arms straight, shoulders relaxed, and torso leaning slightly forward (about 11 o'clock).
- The Drive: Initiate the movement by pushing explosively with your legs. Keep your arms straight and core braced. Once your legs are nearly fully extended, hinge your torso back to the 1 o'clock position.
- The Finish: With your legs extended and torso leaned back, pull the handle into your lower ribcage using your lats and biceps. Keep your wrists flat.
- The Recovery: Reverse the sequence smoothly. Extend your arms first, hinge your torso forward past your hips, and then bend your knees to slide back to the Catch position. The recovery should take twice as long as the drive.
Cardio Machine Footprint and Power Comparison Matrix
When finalizing your home gym layout, understanding the spatial and electrical demands of your equipment is crucial. Use the table below to plan your 2026 cardio zone effectively.
| Equipment Model | Resistance Type | Dimensions (L x W x H) | Electrical Requirement | Est. Price (2026) |
|---|---|---|---|---|
| Horizon 7.4 AT Treadmill | Motorized Belt | 76' x 37' x 55' | 120V / 20A Dedicated | $1,099 |
| Concept2 RowErg | Air Flywheel | 96' x 24' x 14' | None (Self-Generating) | $990 |
| NordicTrack RW900 | Magnetic | 86' x 22' x 50' | 120V / 15A Standard | $1,099 |
| Hydrow Rowing Machine | Electromagnetic | 86' x 25' x 47' | 120V / 15A Standard | $2,495 |
Final Calibration and Ongoing Maintenance
Completing the installation walkthrough requires a final systems check. For the Horizon 7.4 AT, run the machine at 5.0 MPH for five minutes without a user to allow the belt to track and the motor to reach operating temperature. Listen for any rhythmic thumping, which indicates a misaligned roller. For your rowing machine, wipe down the monorail with a damp cloth after every session to remove dust and skin cells that can cause the seat rollers to stutter. By meticulously following this dual-machine setup guide, you will create a resilient, high-performance cardio environment capable of supporting your fitness goals for years to come.
More gear to consider
All reviews
Air Bike vs Assault Bike Guide & UREVO SpaceWalk E4 Treadmill Care

Easy Move Treadmill Motor Guide: Troubleshooting HP Mistakes

Rowing Guide & Technique vs ProForm PFTL99912 Power 995C Treadmill

NordicTrack T Series 8 Treadmill: Compact Cardio Maintenance Guide

How to Fix a Treadmill: Maintenance & Feature Comparison