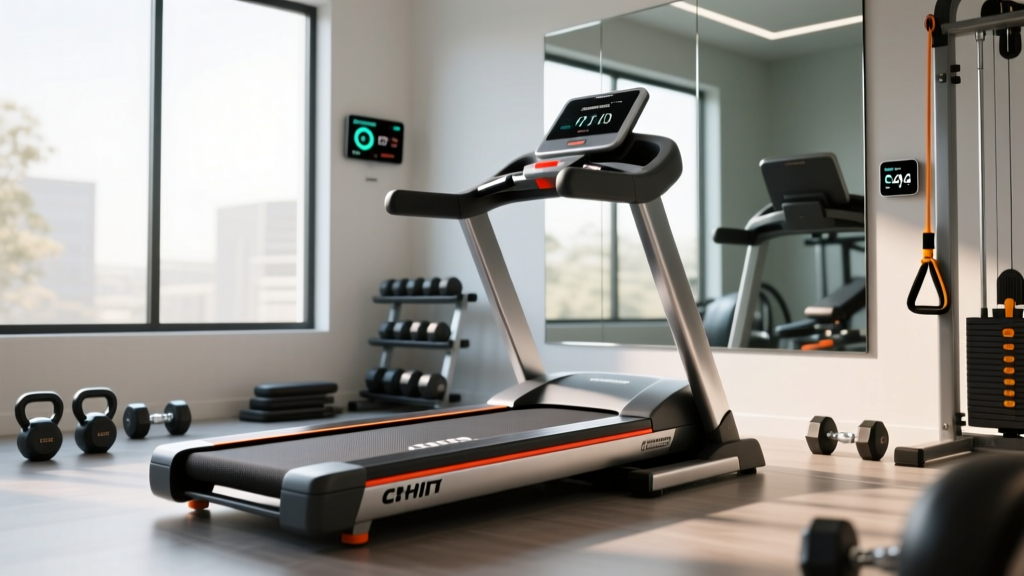
Setup: High Intensity Interval Training Workouts Treadmill Motor Guide
Master your high intensity interval training workouts treadmill setup. Learn motor sizing, electrical requirements, and belt calibration for HIIT.

Setting up a treadmill for casual walking is a forgiving process. However, executing effective high intensity interval training workouts treadmill routines requires a machine that can handle extreme mechanical and electrical stress. When you transition from a 3.0 mph recovery jog to a 10.0 mph all-out sprint in a matter of seconds, the treadmill's motor experiences a massive spike in amperage and thermal load. If your motor is undersized, improperly installed, or incorrectly calibrated, your workout will end prematurely with a tripped breaker, a slipped belt, or a fried motor control board (MCB).
This comprehensive setup and installation walkthrough focuses specifically on the heart of your machine: the motor. We will cover how to verify horsepower ratings, configure your electrical environment, physically install the drive system, and calibrate the belt to withstand the brutal demands of HIIT protocols in 2026.
The Physics of HIIT: Why Continuous Horsepower (CHP) Matters
Before you unbox your machine, you must understand the difference between Peak Horsepower (HP) and Continuous Horsepower (CHP). Many budget treadmills advertise a '4.0 Peak HP' motor. This number represents the absolute maximum output the motor can achieve for a fraction of a second before failing. For HIIT, this metric is useless.
You must look for the Continuous Horsepower (CHP) rating, which measures the motor's ability to sustain output over a long, grueling workout without overheating. According to cardiovascular research highlighted by the American Heart Association, interval training places unique, compounding stress on both the human body and the equipment used. To survive the rapid acceleration and deceleration phases of HIIT, your treadmill motor must meet strict baseline requirements.
⚠️ The Flywheel Factor
Motor size is only half the equation. A 3.5 CHP motor paired with a lightweight 4 lb flywheel will still struggle during HIIT. The flywheel stores rotational kinetic energy. For true sprint intervals, ensure your treadmill's front roller and flywheel assembly weigh at least 8 to 10 lbs. This momentum assists the motor during rapid acceleration, reducing the amperage draw and preventing thermal shutoffs.
Pre-Installation: Electrical Setup for High-Draw Motors
The most common failure point during a home HIIT treadmill installation is the electrical circuit. A 3.5 to 4.0 CHP motor operating under heavy load (a 200+ lb user sprinting at a 10% incline) can draw upwards of 12 to 15 amps continuously.
- Identify the Circuit Amperage: Check your breaker box. Standard bedroom circuits are 15A. If your treadmill shares this circuit with a TV, air conditioner, or space heater, the voltage drop during a sprint interval will trip the breaker or damage the MCB.
- Install a Dedicated 20A Circuit: For any treadmill with a 3.5 CHP motor or higher, hire a licensed electrician to run a dedicated 20-amp, 120-volt circuit directly to your workout space.
- Surge Protection: Do not plug a HIIT treadmill into a standard power strip. Use a heavy-duty, treadmill-rated surge protector (minimum 3000 joules) to protect the motor's sensitive logic board from regenerative current spikes caused by rapid deceleration.
Step-by-Step Motor Compartment and Deck Assembly
Proper physical installation of the motor and deck ensures that the drive belt operates with maximum efficiency, reducing unnecessary friction that leads to motor overheating.
Step 1: Unboxing and Motor Inspection
Before assembling the uprights, lay the deck flat and remove the motor hood cover (usually secured by 4 to 6 Phillips-head screws). Inspect the DC motor housing for shipping cracks. Check the drive belt tension connecting the motor pulley to the front roller. It should have roughly 1/2 inch of deflection when pressed with your thumb. If it is looser, use a 14mm wrench to adjust the motor mount bracket bolts to increase tension.
Step 2: Deck Alignment and Leveling
An unlevel deck forces the motor to work against gravity laterally, not just longitudinally. Use a 4-foot carpenter's level across the width of the deck. Adjust the rear leveling feet until the bubble is perfectly centered. This prevents uneven belt wear, which increases drag and forces the motor to draw excess current during the high-speed phases of your interval training sessions.
Step 3: Lubrication Before First Use
Friction is the enemy of HIIT motors. Even if the factory claims the belt is 'pre-lubricated,' always apply 1 oz of 100% silicone treadmill lubricant between the belt and the deck before your first sprint session. Lift the edge of the belt, squeeze the silicone in a zigzag pattern across the center of the deck, and run the treadmill at 2.0 mph for 5 minutes to distribute it evenly.
Belt Calibration: Tuning for Rapid Acceleration
If your walking belt is too loose, it will slip when you step on it at 10.0 mph. This slip forces the motor to over-rev, generating immense heat and potentially stripping the front roller pulley. If it is too tight, it will choke the motor, causing it to overheat and trigger an E2 (Overcurrent) error code.
💡 The 'Stomp' Calibration Test
Set the treadmill to 2.0 mph. Walk on the belt and firmly plant your dominant foot, attempting to stop the belt while the motor keeps turning. If the belt stops but the front roller keeps spinning, the belt is too loose. Tighten both rear roller adjustment bolts exactly one-quarter turn clockwise. Repeat the test until the belt and the roller stop simultaneously.
Motor Sizing Matrix: Match the Machine to the User
Not all HIIT routines are created equal, and neither are the users performing them. Use the matrix below to verify if your installed motor is adequate for your specific body weight and workout intensity.
| Motor Size (CHP) | Max User Weight | HIIT Suitability | Required Circuit | Flywheel Mass |
|---|---|---|---|---|
| 2.5 CHP | 180 lbs | Poor (Thermal shutoff likely) | 15A Dedicated | < 5 lbs |
| 3.0 CHP | 220 lbs | Moderate (Light intervals) | 15A Dedicated | 5-7 lbs |
| 3.5 CHP | 275 lbs | Excellent (True HIIT) | 20A Dedicated | 7-9 lbs |
| 4.0+ CHP | 300+ lbs | Professional Grade | 20A Dedicated | 9+ lbs |
Cooling, Clearance, and Maintenance Optimization
High intensity interval training workouts treadmill protocols generate massive amounts of internal motor heat. The National Physical Activity Guidelines emphasize consistency in training, which means your machine must be able to cool down efficiently between intervals and post-workout.
- Rear Clearance: Maintain a minimum of 24 inches of clearance behind the treadmill. The rear of the motor hood contains the primary cooling fan intake. Pushing the machine flush against a wall will suffocate the motor and trigger thermal cutoffs within 10 minutes of HIIT.
- Side Clearance: Leave at least 12 inches on both sides for safety dismounts and secondary ventilation.
- Post-Workout Cooldown: Never turn the treadmill off immediately after a sprint interval. Walk at 2.0 mph for 3 minutes. This keeps the internal cooling fan spinning, drawing ambient air over the hot copper windings and the MCB heat sink, drastically extending the lifespan of your electronics.
Troubleshooting HIIT Motor Failure Modes
Even with perfect setup, extreme HIIT routines can push home equipment to its limits. Here is how to diagnose the most common motor-related failures during interval training:
Error Code E1 (Speed Sensor Failure)
The Symptom: The treadmill stops abruptly mid-sprint, and the console flashes E1.
The Cause: The rapid vibration of heavy-footed sprinting has shaken the magnetic reed switch out of alignment with the front roller magnet.
The Fix: Remove the motor hood. Locate the speed sensor near the front roller pulley. Loosen the mounting screw, slide the sensor until it is exactly 1/8th of an inch from the magnet, and retighten.
Error Code E2 (Motor Overcurrent / Thermal Cutoff)
The Symptom: The machine dies completely during the recovery phase, and will not restart for 10 to 15 minutes.
The Cause: The motor's internal thermal breaker has tripped due to excessive heat, usually caused by a dry belt, an overloaded circuit, or a user weight exceeding the CHP rating.
The Fix: Unplug the machine. Check your belt lubrication and tension. Wait 20 minutes for the thermal switch to reset. If the issue persists, the motor brushes may be worn down and require replacement.
Final Thoughts on HIIT Treadmill Setup
Preparing a treadmill for the rigors of high intensity interval training is an exercise in mechanical sympathy. By prioritizing Continuous Horsepower over marketing gimmicks, securing a dedicated 20-amp electrical circuit, and meticulously calibrating your belt tension and lubrication, you transform a standard piece of cardio equipment into a high-performance sprinting rig. Respect the physics of the motor, maintain your clearances, and your machine will support your cardiovascular goals for years to come.
More gear to consider
All reviews
Curved vs Motorized: Top Treadmill Exercises for Abs

Compact Portable Pool Treadmill Trends: 2026 Market Report

How to Move a NordicTrack Treadmill & Layout Upright, Recumbent, Spin Bikes

Budget Breakdown: Stationary Bike Types vs Assault Treadmill
NordicTrack T 6.5 S Treadmill Details: Belt Maintenance & Budget Value
