
Hack Squat vs Leg Press: Install & How to Use a Seated Leg Press
Compare hack squat vs leg press machines. Get our complete installation walkthrough and learn exactly how to use a seated leg press machine safely.

The Heavy Iron Dilemma: Hack Squat vs. Seated Leg Press
When outfitting a commercial facility or a high-end home gym in 2026, the lower-body equipment budget often forces a critical decision: do you invest in a hack squat machine or a seated leg press? Both are cornerstone pieces for quadriceps and glute hypertrophy, but they differ wildly in biomechanical loading, spatial footprint, and installation requirements. While the hack squat mimics the axial loading of a barbell back squat, the seated leg press isolates the lower body by removing spinal compression from the equation.
Before you can train, you must build. This guide provides a complete setup and installation walkthrough for both machine types, followed by an expert breakdown of exactly how to use a seated leg press machine to maximize muscle fiber recruitment while protecting your lumbar spine.
Head-to-Head Equipment Matrix
To understand the installation and usage differences, we must first look at the engineering. Below is a comparison based on two industry-standard 2026 models: the Arsenal Strength V-Seated Leg Press and the Prime Fitness Hack Squat.
| Specification | Arsenal V-Seated Leg Press | Prime Fitness Hack Squat |
|---|---|---|
| Footprint (L x W) | 65" x 34" (Compact) | 86" x 45" (Expansive) |
| Machine Weight (Unloaded) | ~850 lbs | ~920 lbs |
| Starting Resistance | 15 lbs (Carriage) | 25 lbs (Sled + Shoulder Pads) |
| Max Weight Capacity | 1,000 lbs | 800 lbs |
| Floor Anchoring | Optional (4-point) | Mandatory (6-point) |
| Price Range (2026) | $3,800 - $4,200 | $4,100 - $4,600 |
Complete Installation & Setup Walkthrough
Improper installation of heavy plate-loaded equipment is a leading cause of gym liability and equipment failure. Whether you are dropping a hack squat or a leg press, follow this structural protocol.
Phase 1: Subfloor Preparation
Both machines generate immense downward force during heavy eccentric drops. Standard residential flooring or sub-3000 PSI concrete will crack over time. You must install a 3/4-inch vulcanized rubber matting over a minimum 3000 PSI concrete slab. If installing on a wooden subfloor (common in garage gyms), you must reinforce the floor joists with steel cross-bracing to handle the dynamic load of a 1,000-pound sled drop.
Phase 2: Unboxing and Frame Assembly
Commercial machines arrive crated on pallets weighing upwards of 1,000 lbs. You will need a pallet jack and a 2-person crew. During assembly, pay strict attention to the fastener grades. Use only the provided Grade 8 hex bolts. When tightening the main chassis joints, use a calibrated torque wrench set to 85 ft-lbs for 1/2-inch bolts and 110 ft-lbs for 5/8-inch structural bolts. Under-torquing leads to chassis sway; over-torquing can strip the threads in the pre-tapped steel tubing.
Phase 3: Anchoring the Machine
- Hack Squat: Because the sled travels on a steep 45-degree angle, the forward momentum of heavy braking can literally slide the machine across the floor. You must drill six 1/2-inch holes into the concrete and use 3-inch wedge anchors to bolt the base plate directly to the slab.
- Seated Leg Press: The horizontal/shear force is lower. While anchoring is recommended for commercial spaces, a heavy-duty seated leg press with rubber suction feet will remain stable on thick matting without concrete anchors for most home gym users.
Phase 4: Linear Bearing Lubrication
Expert Warning: Never use standard WD-40 on your sled rails. Standard solvents strip factory grease and attract dust, creating a grinding paste that destroys linear bearings within months. Instead, use a dry PTFE (Teflon) spray lubricant. Apply it to the chrome guide rods, cycle the empty sled 10 times, and wipe away the excess with a microfiber cloth.Biomechanical Breakdown: Axial vs. Shear Loading
Why choose one over the other? The National Strength and Conditioning Association (NSCA) notes that axial loading (hack squat) places compressive forces on the spine, demanding high core stabilization and mimicking the barbell squat. Conversely, the seated leg press utilizes shear loading. By supporting the back entirely, the seated leg press removes the spinal erectors and core from the equation, allowing you to push the quadriceps to absolute mechanical failure without the lower back becoming the limiting factor.
However, this isolation comes with a caveat: the seated position alters hip geometry, which brings us to the critical importance of machine setup.
Step-by-Step: How to Use a Seated Leg Press Machine Safely
Knowing how to use a seated leg press machine correctly is the difference between massive quad growth and a herniated lumbar disc. The most common failure mode is "butt wink" (posterior pelvic tilt) at the bottom of the movement, which rounds the lower back against the pad and transfers the sled's weight directly to the spinal discs.
Step 1: Seat and Backrest Calibration
Do not just sit down and push. Adjust the seat pan so that your hips are firmly wedged into the crease where the seat meets the backrest. Set the backrest angle between 45 and 60 degrees. A more upright backrest (closer to 90 degrees) increases hip flexion but drastically increases the risk of lumbar rounding at the bottom of the rep. A 60-degree recline is the biomechanical sweet spot for most lifters.
Step 2: Foot Placement and Stance
Your foot position dictates the muscular emphasis:
- Low and Narrow: Maximizes knee flexion and isolates the vastus lateralis and rectus femoris (outer quads and sweep).
- High and Wide: Reduces knee travel, increases hip extension, and shifts the load to the gluteus maximus and adductors.
- Shoulder-Width (Middle): The standard hypertrophy stance, balancing quad and glute recruitment evenly.
Step 3: Engaging the Safety Latches
Modern seated leg presses utilize rotary safety handles located near the hips. Before unracking the weight, grip the handles and twist them outward to disengage the safety catch hooks. To re-engage them at the end of a set, simply twist the handles back to the center position and let the sled rest on the catch bars. Never attempt to slide out from under a loaded sled without engaging these mechanical stops.
Step 4: Execution and Range of Motion
- The Descent: Lower the sled under strict eccentric control for 3 seconds. Stop the descent the exact moment your lower back begins to lift off the pad. For 90% of lifters, this occurs when the knees reach a 90-degree angle.
- The Ascent: Drive explosively through the mid-foot and heel. Keep your head back against the headrest to maintain a neutral cervical spine.
- The Lockout: Never lock your knees. Stop just a millimeter short of full extension. This maintains continuous tension on the quadriceps and prevents catastrophic joint hyperextension under heavy loads.
Maintenance & Longevity Protocols
To ensure your equipment survives the next decade of heavy training, implement a monthly maintenance schedule. Inspect the cable pulleys (if your machine utilizes a cable-assisted return mechanism) for fraying. Check the upholstery for micro-tears, as sweat seeping into the foam degrades the high-density padding and rusts the underlying steel adjustment pins. According to physical therapy and biomechanics data compiled by the Mayo Clinic, properly maintained resistance machines provide a safer, more controlled environment for joint rehabilitation and heavy loading compared to free weights, provided the user adheres to strict setup protocols.
Final Verdict: Which Should You Install?
If your goal is overall athletic power, core integration, and you have the floor space and concrete anchors to support it, the hack squat is unparalleled. However, if your priority is pure lower-body hypertrophy, joint-friendly rehabilitation, or you are limited by space and flooring constraints, the seated leg press is the superior investment. By following the installation torque specs and mastering the precise seat adjustments outlined above, your leg press will become the most valuable piece of real estate in your gym.
More gear to consider
All reviews
Life Fitness Leg Press Machine & 2026 Glute Equipment Trends
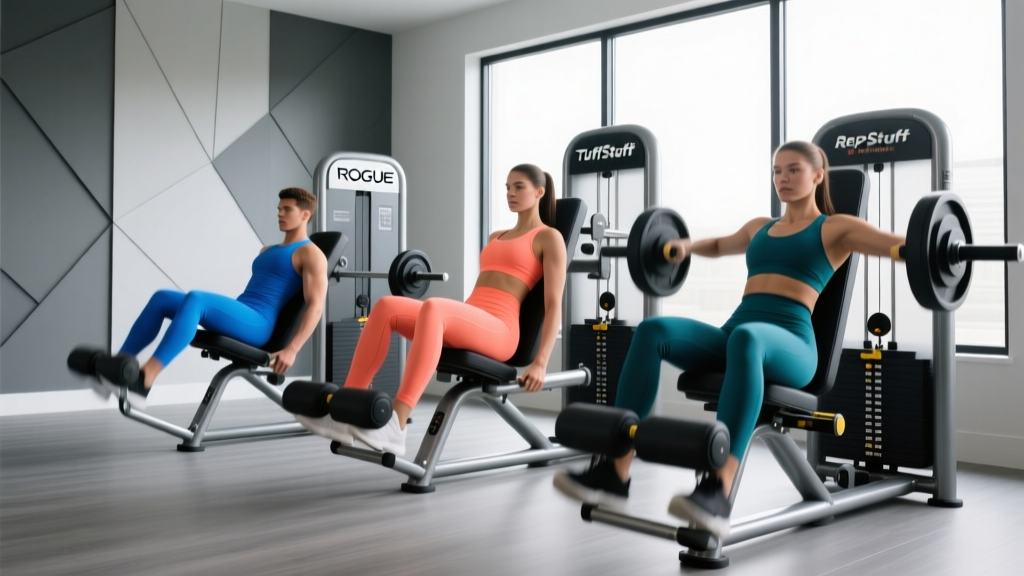
Best Leg Press Machine for Glutes: 2026 Home Gym Showdown
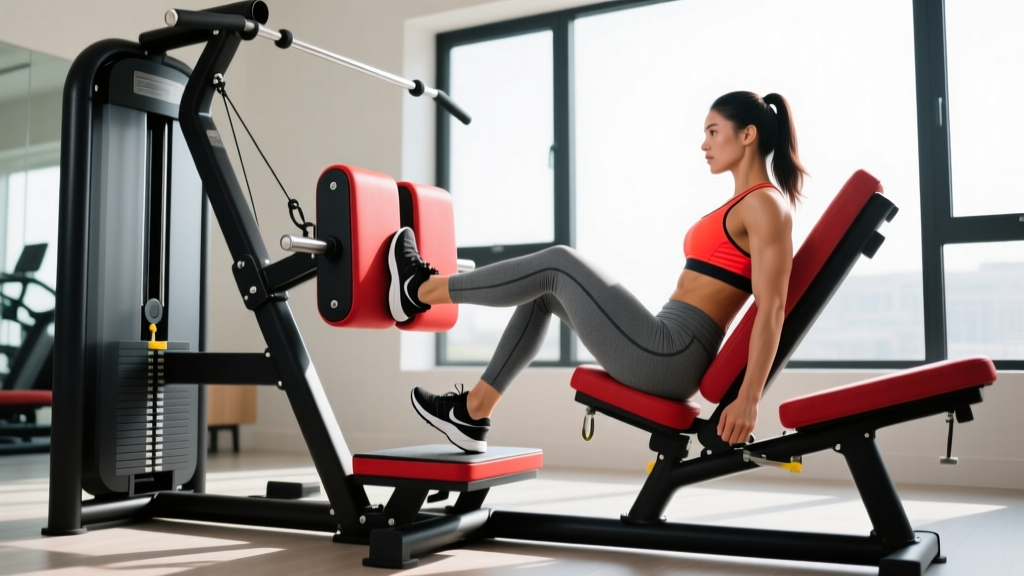
Standing vs Seated Calf Raises & Leg Press Machine Foot Placement

2026 Glute Gear: Incline Leg Press Machine Starting Weight Trends
Beyond the Leg Press Curl Machine: Sled Push Pull Beginner Guide
