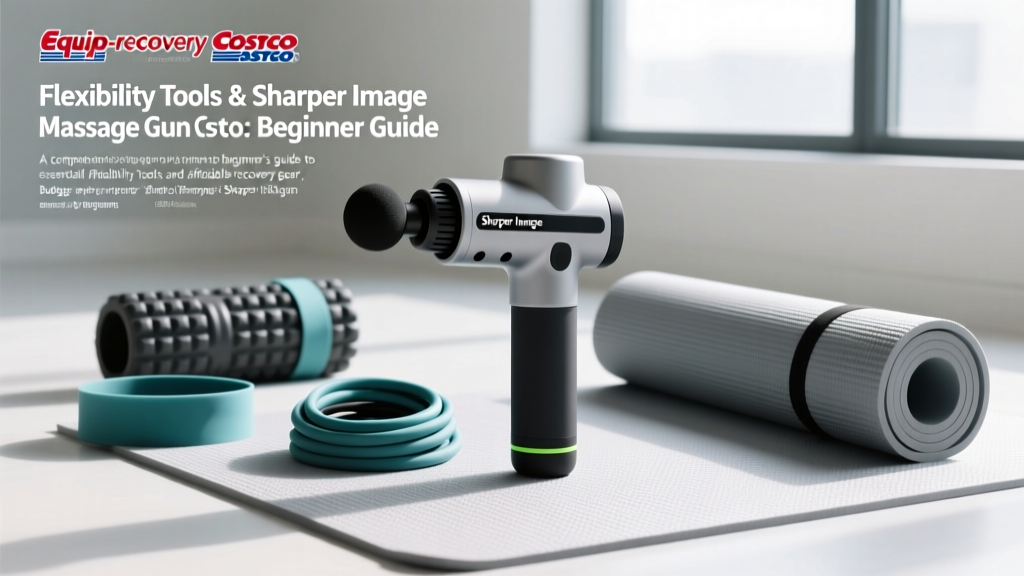
Flexibility Tools & Sharper Image Massage Gun Costco: Beginner Guide
Master flexibility with our beginner guide to stretching equipment, paired with the budget-friendly Sharper Image massage gun from Costco.

The Beginner's Blueprint for Flexibility and Mobility
Improving your flexibility is one of the most impactful investments you can make for your long-term joint health, athletic performance, and daily comfort. However, many beginners approach flexibility training incorrectly, relying solely on passive, static stretching without properly preparing the nervous system and fascial tissues. According to the American Council on Exercise (ACE), an effective flexibility program must incorporate tissue preparation, active range-of-motion work, and targeted mechanical stretching.
This guide provides a comprehensive, step-by-step framework for beginners. We will explore how to build a highly effective home recovery station by combining dedicated stretching equipment with accessible percussive therapy—specifically leveraging the budget-friendly Sharper Image massage gun Costco frequently stocks in its wellness aisles. By pairing these tools, you can safely accelerate your mobility gains without spending hundreds of dollars on premium clinical gear.
Step 1: Tissue Prep with Percussive Therapy
Before you attempt to lengthen a muscle, you must reduce the resting tone of the surrounding fascia and stimulate blood flow. This is where percussive therapy shines. While elite athletes often rely on $600+ clinical-grade devices, beginners can achieve excellent superficial tissue preparation with entry-level models.
Costco Find: Sharper Image Massage Gun Specs
If you are building a home recovery kit on a budget, the Sharper Image massage gun Costco carries (often priced between $49.99 and $59.99 in 2026) is a phenomenal entry-level tool. Here is what you need to know about its biomechanical limitations and strengths:
- Amplitude: ~10mm (Ideal for superficial fascia and nerve-ending stimulation; not deep enough for thick gluteal tissue).
- Stall Force: ~25 lbs (Will stall out if you press too hard; requires a light, gliding touch).
- Speed Settings: Typically 3 to 4 gears (Use Gear 2 for pre-stretching warm-ups).
How to use it for flexibility: Spend 60 to 90 seconds gliding the flat or round attachment head over the target muscle belly (e.g., hamstrings, calves). Do not press deeply into the tissue. The goal is not deep tissue massage, but rather neuromodulation—signaling the nervous system to relax the muscle spindles before you introduce a stretch.
Step 2: Choosing the Right Stretching Equipment
Once the tissue is prepped, relying on your hands or gravity alone often leads to compensatory movements and poor form. Dedicated stretching equipment provides the mechanical leverage needed to isolate the target muscle safely. The Mayo Clinic emphasizes that maintaining proper alignment during stretches is critical to preventing joint strain.
| Stretching Tool | Primary Target Areas | 2026 Price Range | Beginner Utility |
|---|---|---|---|
| Multi-Loop Nylon Strap | Hamstrings, Calves, Shoulders | $12 - $18 | High (Allows supine stretching with zero spinal load) |
| Calf Stretching Slant Board | Gastrocnemius, Soleus, Achilles | $25 - $45 | Medium (Requires proper ankle tracking to avoid knee torque) |
| PNF Flexibility Trainer Strap | Full Lower Body (Contract-Relax) | $25 - $35 | High (Built-in door anchors and handles for PNF protocols) |
| Inversion Table | Spinal Decompression, Lats | $120 - $250 | Low (Contraindicated for those with blood pressure issues) |
For a beginner, the Multi-Loop Nylon Strap and the Calf Stretching Slant Board offer the highest return on investment. They remove the guesswork from your angles and allow you to track your progress by noting which loop or incline degree you can comfortably sustain.
Step 3: The 15-Minute Step-by-Step Flexibility Routine
Follow this exact sequence to maximize tissue extensibility while minimizing the risk of micro-tears. This routine targets the posterior chain, which is notoriously tight in individuals who sit at desks or drive frequently.
- Minutes 0-3: Percussive Warm-Up
Use your Sharper Image massage gun on speed setting 2 with the flat head attachment. Glide continuously over the calves, hamstrings, and glutes for 60 seconds per muscle group. Keep the device moving; never anchor it on one spot for more than 15 seconds to avoid bruising. - Minutes 3-7: Slant Board Calf Isolation
Set your slant board to a 20-degree incline. Step onto the board, ensuring your knees track directly over your second toe (do not let them cave inward). Stand tall and hold for 45 seconds. Repeat for 3 sets. Pro-Tip: Bend your knees slightly on the second set to shift the stretch from the gastrocnemius to the deeper soleus muscle. - Minutes 7-12: Supine Hamstring Strap Stretch
Lie flat on your back to protect your lumbar spine. Loop the multi-loop stretching strap around the arch of your right foot. Keeping your leg as straight as possible, gently pull the strap until you feel a moderate stretch (a 6 out of 10 on the discomfort scale). Hold for 60 seconds, breathing deeply to engage the parasympathetic nervous system. Switch legs. - Minutes 12-15: Active PNF Integration
Using a PNF strap or a standard towel, perform 'Contract-Relax' stretching. Pull the hamstring into a stretch, then actively push your leg against the strap (contracting the muscle) at 30% effort for 5 seconds. Relax, and immediately pull the strap slightly further into the new range of motion. Repeat 3 times per leg.
Common Flexibility Tool Failure Modes & Edge Cases
Even with the best equipment, beginners often encounter specific failure modes that halt progress or cause minor injuries. Understanding these edge cases is what separates a novice from an informed practitioner.
1. The 'Stall Out' Effect on Thick Muscle Groups
When using the Sharper Image massage gun from Costco on dense tissue like the quadriceps or gluteus maximus, the 25-lb stall force will cause the motor to stop if you apply too much downward pressure. The Fix: Do not force the device. Instead, use the 'cross-fiber' technique—glide the massage head horizontally across the muscle fibers rather than digging vertically into them.
2. Slant Board Achilles Insertion Pain
If you feel sharp, pinching pain at the very back of your heel (the Achilles insertion point) rather than a pulling sensation in the calf muscle belly, your ankle is likely pronating (rolling inward). The Fix: Place a small wedge or folded towel under the outside edge of your heel to correct the ankle angle, or lower the slant board's incline from 25 degrees to 15 degrees until ankle mobility improves.
3. Strap Slippage During Hamstring Pulls
Multi-loop straps often slip off the foot when the hamstring is extremely tight, causing the user to jerk their leg and risk a strain. The Fix: Always route the strap through the shoe's laces or wrap it securely around the midfoot (the arch), never just the toes or the ball of the foot.
Final Thoughts on Building Your Recovery Arsenal
You do not need to spend $1,000 to build an elite-level flexibility and recovery station. By strategically pairing mechanical stretching tools like slant boards and PNF straps with accessible percussive devices like the Sharper Image massage gun found at Costco, you create a synergistic routine that addresses both the neurological and structural barriers to flexibility. Consistency is your greatest asset; commit to this 15-minute protocol three times a week, and you will see measurable improvements in your range of motion within 30 days.
More gear to consider
All reviews
Space-Saving Recovery Zones: Cupping & Massage Gun Trigger Points

HD Mini 3 Massage Gun vs Theragun Mini: 2026 Comparison

Foam Roller Density & Size Guide: Pairing With an Icy Hot Massage Gun

Theragun Elite G5 Massage Gun vs Cupping: Athlete Budget Breakdown

ProForm Massage Gun vs Smart Cupping: Athlete Recovery Guide
