
Budget Dumbbell Racks for Bench Press and Dumbbell Press Setups
Discover the best budget dumbbell racks to optimize your bench press and dumbbell press setups. We break down costs, value, and top 2026 storage models.

The Biomechanics of the Pickup: Why Floor Storage Fails
When building a versatile home gym, the transition between a heavy barbell bench press and a high-volume dumbbell press requires more than just an adjustable bench and a set of weights. It demands a strategic storage solution. Leaving 50-pound hex dumbbells scattered on the floor is not just an aesthetic failure; it is a biomechanical liability. According to exercise biomechanics data from ExRx.net, the setup phase of a heavy dumbbell press requires significant core stabilization and hip hinge mechanics to safely hoist the weights to the knees before kicking them back into the pressing position.
If your dumbbells are stored on the floor, you are forced into a deep, often asymmetrical squat or a rounded-back deadlift position just to initiate your pressing set. Over time, this pre-fatigues the lumbar erectors and hamstrings, robbing you of the stability needed for a maximal bench press or dumbbell press effort. A properly height-calibrated dumbbell rack eliminates this energy leak, allowing you to grab your implements from a neutral, upright position. But with commercial-grade racks easily exceeding $500, how do you find a storage solution that respects a strict budget without compromising on safety or steel gauge?
2026 Budget Matrix: Entry-Level vs. Mid-Tier Dumbbell Racks
To determine the true value of budget-friendly storage, we must look beyond the sticker price and analyze the cost-per-pound of capacity, steel thickness, and footprint efficiency. Below is our 2026 market breakdown of the most popular budget and mid-tier racks suited for pressing stations.
| Model | 2026 Est. Price | Steel Gauge | Max Capacity | Footprint (L x W) | Tier Configuration |
|---|---|---|---|---|---|
| Rep Fitness 3-Tier Rack | $199.99 | 11-Gauge | 1,200+ lbs | 35' x 22' | Flat / Angled / Flat |
| Titan Fitness 3-Tier Rack | $189.99 | 12-Gauge | 1,000 lbs | 36' x 24' | Angled / Flat / Flat |
| Rogue 3-Tier Rack | $395.00 | 11-Gauge | 1,500+ lbs | 34' x 22' | Angled / Flat / Flat |
| Yes4All Adjustable Tray | $59.99 | N/A (Plastic/Light Steel) | 150 lbs | 20' x 12' | Single Tier |
As highlighted in extensive equipment testing by Garage Gym Reviews, the sweet spot for home gym value currently sits in the $180 to $220 range, where 11-gauge and 12-gauge steel constructions offer near-commercial durability at a fraction of the premium cost.
Top Value Picks for the Home Gym Pressing Station
1. Rep Fitness 3-Tier Dumbbell Rack (Best Overall Value)
Priced right around the $200 mark, the Rep Fitness 3-Tier is the undisputed king of budget value for serious lifters. The standout feature for pressing enthusiasts is the inclusion of rubber saddle protectors on the top and bottom tiers. When you are fatigued after a heavy set of incline dumbbell presses, tossing urethane or rubber-coated dumbbells back onto bare steel will eventually chip the coating and degrade the knurling. The Rep rack's rubber saddles absorb the impact, preserving your expensive dumbbell set.
- Pros: 11-gauge steel prevents frame flex; rubber saddles protect dumbbell coatings; 35-inch length comfortably holds up to 10 pairs of standard hex dumbbells.
- Cons: The 22-inch depth can slightly impede walkways in ultra-compact garage gyms.
2. Titan Fitness 3-Tier Dumbbell Rack (Best Heavy-Duty Budget)
Titan Fitness offers a rugged, no-nonsense alternative at roughly $190. Constructed from 12-gauge steel, it is slightly thinner than the Rep model but features a wider 24-inch base footprint. This wider base is a critical value-add for lifters who practice asymmetric loading or who frequently drop heavy dumbbells onto the top tier with excessive force. The wider base lowers the center of gravity, mitigating the tipping risk associated with aggressive re-racking.
- Pros: Wider base for enhanced stability; raw steel and powder-coated options available; highly competitive pricing.
- Cons: Lacks built-in rubber padding on the tiers (requires purchasing aftermarket rubber mats or horse stall mats to cut to size).
3. Yes4All Adjustable Dumbbell Storage Tray (The Ultra-Budget Alternative)
If your bench press and dumbbell press routines rely on adjustable dumbbells (like PowerBlock Elites or Bowflex SelectTechs) rather than a full set of fixed hex bells, a 3-tier rack is a waste of space and money. The Yes4All storage tray, hovering around $60, is designed specifically to cradle adjustable handles. It keeps the bulky selector mechanisms off the floor and positions the grips at an ergonomic height for seamless transitions between pressing sets.
⚠️ Safety Warning: The Tipping HazardAccording to spotting and safety guidelines emphasized by the National Strength and Conditioning Association (NSCA), equipment stability is paramount. Never load a budget 3-tier rack from the top down. Always load the bottom tier first to establish a low center of gravity. If you load 50-pound dumbbells on the top tier of an empty rack, the leverage can easily overcome the rear feet, causing the entire rack to tip backward onto your pressing bench.
Spatial Geometry: Positioning Your Rack for the Press
Buying the right rack is only half the battle; positioning it correctly relative to your bench is where the real value is realized. For an optimal bench press and dumbbell press workflow, spatial geometry dictates your efficiency.
- The 24-Inch Rule: Position the front edge of the dumbbell rack exactly 24 inches from the edge of your bench. This provides enough clearance to safely execute the 'knee-cleanup' technique—where you rest the dumbbells on your thighs before kicking them back into the pressing position—without your elbows striking the steel uprights of the rack.
- Angled Tier Orientation: Always face the angled tier of the rack toward your bench. This allows you to read the weight markings and grip the knurling without twisting your wrists, reducing the risk of forearm strain before the set even begins.
- Clearance for Spotter Arms: If you use a power rack or squat stand for your barbell bench press, ensure the dumbbell rack is placed outside the 48-inch footprint of the spotter arms, preventing tripping hazards during emergency barbell dumps.
Hidden Costs and Weld Failure Modes
When analyzing budget breakdowns, it is vital to account for hidden failure modes that plague ultra-cheap, sub-$100 tubular steel racks found on generic e-commerce sites. These racks often utilize 14-gauge or 16-gauge tubular steel with superficial spot welds.
The primary failure mode occurs at the junction where the tier bracket meets the vertical upright. When a user drops a 40-pound dumbbell onto the top tier from a height of just six inches, the dynamic shock load can exceed 150 pounds of localized force. Over 6 to 12 months of heavy pressing cycles, this repetitive shock causes micro-fractures in cheap spot welds, eventually leading to catastrophic tier collapse. Investing an extra $100 in an 11-gauge, continuously welded rack from a reputable brand like Rep or Titan is not just a storage decision; it is an insurance policy against equipment failure and potential injury.
'The value of a dumbbell rack is not measured by how well it holds weights when the gym is empty, but by how well it absorbs the dynamic shock load of a fatigued lifter re-racking 60-pound dumbbells at the end of a brutal pressing superset.' — FitGearPulse Equipment Testing Team
Frequently Asked Questions
Can I use a 2-tier rack for heavy pressing setups?
Yes, but it requires compromise. A 2-tier rack saves roughly $40 and reduces the footprint height, making it ideal for low-ceiling basements. However, it forces you to store heavier dumbbells (40+ lbs) on the bottom tier, requiring a deeper hinge to retrieve them, which can pre-fatigue the lower back before a heavy dumbbell press set. For sets ranging from 15 to 40 pounds, a 2-tier is perfectly adequate.
How do I protect urethane dumbbells on bare steel budget racks?
If you purchase a budget rack without built-in rubber saddles (like certain Titan models), do not rely on bare steel. Purchase a $30 sheet of 4mm thick rubber flooring or cut strips from a standard horse stall mat and affix them to the tiers using heavy-duty double-sided mounting tape. This prevents the urethane from splitting and stops the loud, disruptive metal-on-metal clanging.
What is the ideal rack height for a dumbbell press pickup?
The top tier of your rack should sit between 32 and 36 inches from the floor. This aligns with the natural hip-crease height of most adult lifters, allowing you to deadlift the dumbbells with a neutral spine and seamlessly transition them to your knees for the pressing setup. Racks shorter than 28 inches force excessive knee flexion and lumbar rounding, compromising your pressing foundation.
More gear to consider
All reviews
EZ vs Straight Bar Maintenance & Glutes Workouts with Dumbbells

Loadable Dumbbells vs Finger Dumbbells: Budget Breakdown
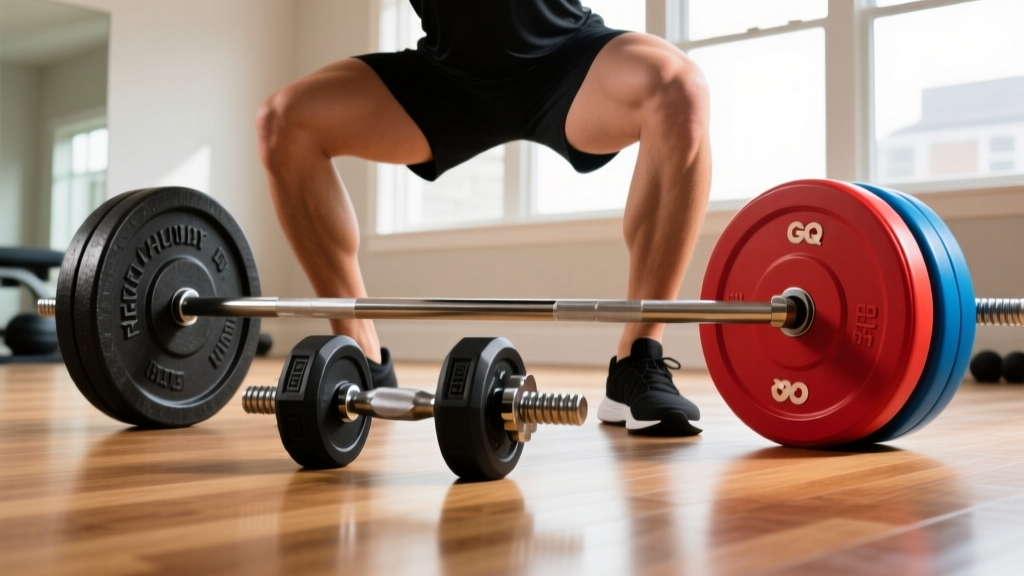
Bumper vs Iron Plates: Gear for Split Squats with One Dumbbell
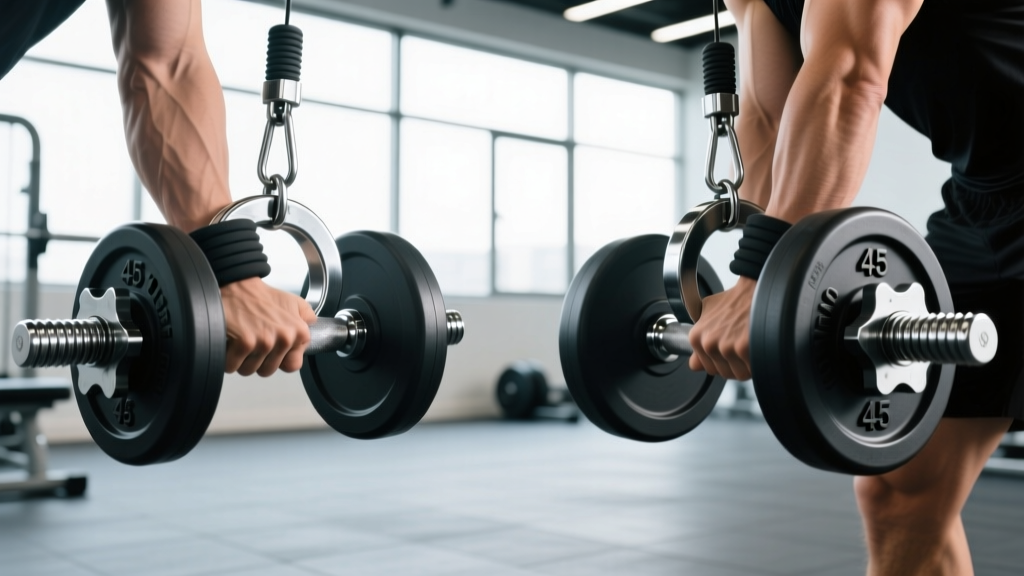
Collar and Clamp Comparison: Safety for Dumbbell Exercises for Lats

Best Heavy-Duty Dumbbell Racks & Row Form GIF Guide
