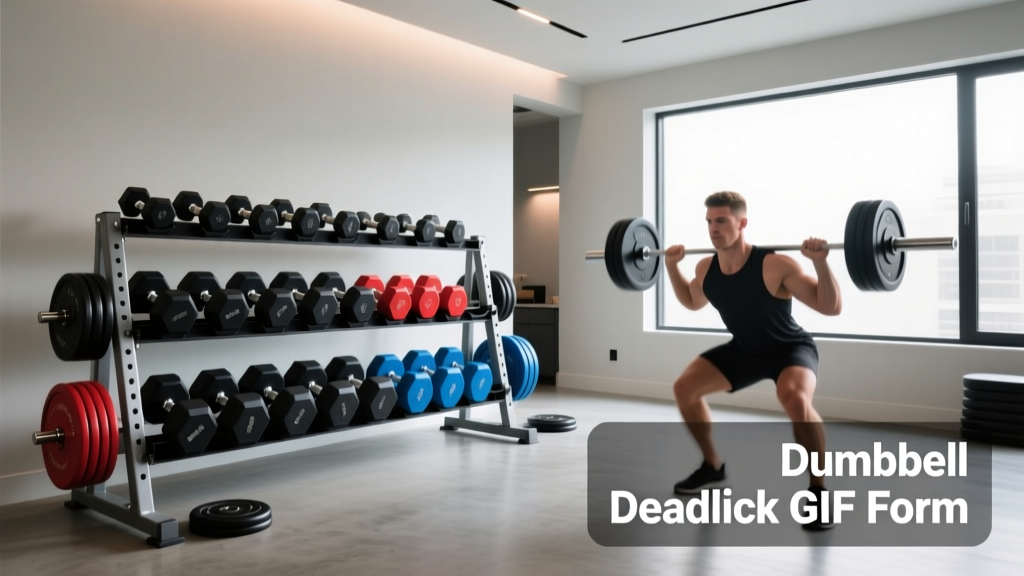
Dumbbell Rack Layouts: Space Design & Dumbbell Deadlift GIF Form
Optimize your gym floor plan with our dumbbell rack layout guide. Compare storage footprints and calculate clearance using form analysis.

The Geometry of Gym Space: Why Rack Placement Matters
Designing a functional home or commercial gym goes far beyond simply purchasing heavy iron. The true bottleneck in most training spaces is not the equipment itself, but the operational footprint required to use it safely. When dealing with free weights, the dumbbell rack is often the heaviest, most cumbersome anchor point in the room. A poorly placed rack creates dead zones, restricts movement paths, and turns a high-performance training area into an obstacle course.
In 2026, with real estate premiums and home gym conversions at an all-time high, spatial efficiency is paramount. According to facility planning guidelines outlined by the National Strength and Conditioning Association (NSCA), equipment placement must account for both the static footprint of the machine and the dynamic envelope of the human body in motion. This means calculating the exact square footage needed not just to store a 100-pound pair of hex dumbbells, but to execute compound movements safely without striking walls, mirrors, or adjacent lifters.
Quick Space Rule of Thumb: Never place a dumbbell rack parallel to a wall with less than 48 inches of clearance. The rack depth (usually 24 inches) plus the user's retrieval and staging area requires a minimum 6-foot operational corridor.Top Tier Dumbbell Storage Solutions for Tight Footprints
Choosing the right rack dictates your entire floor plan. Horizontal 3-tier racks offer superior ergonomics for reading weight stamps and lifting heavy pairs from the bottom tier, but they consume valuable linear wall space. Vertical racks minimize the footprint but can become top-heavy and require strict anchoring protocols. Below is a 2026 comparison of the industry's leading storage solutions, analyzed specifically for spatial efficiency.
| Model | Dimensions (L x W x H) | Floor Footprint | Capacity | Est. Price |
|---|---|---|---|---|
| Rogue 3-Tier Dumbbell Rack | 48' x 23' x 38' | 7.6 sq ft | 10 Pairs (up to 100 lbs) | $525 |
| Rep Fitness 3-Tier Rack | 52' x 24' x 39' | 8.6 sq ft | 10 Pairs (up to 100 lbs) | $429 |
| Titan Fitness Vertical Rack | 24' x 24' x 53' | 4.0 sq ft | 15 Pairs (up to 50 lbs) | $279 |
Vertical vs. Horizontal: Choosing Your Axis
If your gym is located in a narrow space, such as a converted hallway or a single-car garage bay, the Titan Fitness Vertical Rack is a spatial marvel. By utilizing the Z-axis (height) rather than the X-axis (width), you reclaim over 4 square feet of prime floor space compared to horizontal alternatives. However, vertical racks demand rigorous wall-anchoring. When fully loaded, the center of gravity shifts dangerously high, creating a tipping hazard if a user aggressively pulls a pair from the top tier.
Calculating Movement Clearance: The Form Analysis Test
Storing the weights is only 30% of the spatial equation; the remaining 70% is the operational clearance required for the exercises themselves. To accurately map out how much floor space you need in front of your dumbbell rack, you must analyze the biomechanics of your heaviest, most expansive movements.
If you have ever studied a slow-motion dumbbell deadlift gif to correct your hip hinge, you already know that the weights do not travel in a perfectly straight vertical line. During the eccentric and concentric phases of a heavy dumbbell deadlift, the torso angles forward, and the arms drift slightly anteriorly to clear the knees. Furthermore, the dumbbells themselves add 11 to 14 inches of lateral width to the user's natural shoulder span.
'When designing free-weight zones, facility planners must account for implement drift. A user executing a hinge movement with external loads requires a minimum sagittal clearance of 48 inches and a lateral clearance of 36 inches to prevent structural collisions.' — Athletic Business Facility Planning Archives
Therefore, when mapping your layout, draw a 42-inch by 60-inch rectangle extending outward from the front of the dumbbell rack. This is your 'Strike Zone.' No other equipment, benches, or plyo boxes should encroach on this area. By using visual aids like a dumbbell deadlift gif to understand the maximum forward reach and lateral sway of the lifter, you can guarantee that your space optimization doesn't compromise safety.
Step-by-Step Layout Blueprint for a 10x12 Room
Let's apply these spatial principles to a standard 10x12 foot spare room or garage bay. Here is an exact, step-by-step blueprint to maximize utility while maintaining strict safety clearances.
- Establish the Foundation: Lay down 4x6 foot, 3/4-inch thick vulcanized horse stall mats (typically $55 each from agricultural suppliers). Do not use interlocking foam tiles; they compress unevenly under the point-load of a loaded dumbbell rack, causing dangerous wobbles.
- Anchor the Rack: Position your horizontal 3-tier rack against the longest unbroken wall. Locate the 16-inch on-center wall studs and secure the rack's rear stabilizer feet using 3/8-inch x 3-inch lag screws. This prevents the rack from 'walking' forward during heavy weight retrieval.
- Define the Strike Zone: Measure exactly 60 inches outward from the front edge of the rack. Use colored gym tape to mark this boundary on the rubber matting. This is your dedicated deadlift and lunge corridor.
- Place the Adjustable Bench: Store a high-density adjustable FID (Flat/Incline/Decline) bench perpendicular to the rack, at least 36 inches away from the lateral edges. This allows you to grab dumbbells, pivot 90 degrees, and sit without walking across the room.
- Vertical Mirror Placement: Mount shatterproof acrylic gym mirrors on the wall opposite the rack. This allows the lifter to monitor their spinal alignment during the deadlift hinge without needing to turn their head or reposition their feet.
Common Layout Failure Modes and How to Avoid Them
Even with meticulous planning, gym layouts often fail due to overlooked environmental factors. Avoid these common edge cases:
- The Matting Gap Trap: If your rubber mats do not fit perfectly flush against the wall, the dumbbell rack's front feet will rest on the mat while the rear feet rest on the concrete subfloor. This 3/4-inch height discrepancy will warp the rack frame over time, causing dumbbells to roll off the tiers. Solution: Use heavy-duty steel shims under the rear feet to level the frame perfectly.
- Humidity and Knurling Rust: Placing a dumbbell rack directly in front of an uninsulated garage door or a single-pane window exposes the iron to condensation. In 2026, most premium dumbbells feature chrome or Cerakote finishes, but prolonged moisture exposure will still degrade the knurling. Solution: Maintain a minimum 12-inch air gap between the rack and exterior walls to allow for dehumidifier circulation.
- Overhead Clearance Collisions: When utilizing vertical racks in rooms with sloped ceilings or low-hanging HVAC ducts, users often strike the ceiling when cleaning heavy dumbbells to their shoulders. Solution: Always measure the tallest user's overhead reach plus 12 inches before finalizing a vertical rack placement.
Frequently Asked Questions
Can I place my dumbbell rack in the center of the room?
While central placement allows 360-degree access, it destroys the open floor space required for dynamic movements and consumes nearly double the operational footprint. For rooms under 200 square feet, wall-anchored perimeter placement is vastly superior for space optimization.
How do I stop my dumbbells from rolling off a slightly uneven rack?
If your rack sits on an uneven concrete floor, purchase adjustable leveling feet or use steel shim stock. Never rely on the rubber matting to correct a structural slope, as the heavy point-load of 100-pound dumbbells will eventually compress the rubber and recreate the slope.
What is the best lighting setup over a dumbbell rack?
Overhead glare makes reading the stamped weight numbers on black urethane or rubber dumbbells incredibly difficult. Install 4000K (neutral white) LED shop lights positioned 4 feet in front of the rack, angled backward at 45 degrees, to illuminate the weight stamps without shining directly into the lifter's eyes during floor exercises.
More gear to consider
All reviews
Barbell Collar and Clamp Types Comparison: Beyond Dumbbell Romanian Lifts

Dumbbell Flyes Muscles Worked: Bumper vs Iron Plate Care

Olympic vs Standard Plates for the Athlean X Dumbbell Workout PDF

Dumbbell Lat Raise: Beginner's Step-by-Step Form Guide

Cast Iron vs Competition Kettlebells: Bulgarian Split Squats with Dumbbells
