
Dumbbell Curtsy Lunges: Form Fixes & Olympic vs Standard Plate Guide
Troubleshoot dumbbell curtsy lunges form and learn how Olympic vs standard weight plate types impact your home gym setup and unilateral loading.

The dumbbell curtsy lunge is a highly effective unilateral exercise for targeting the gluteus medius, adductor magnus, and vastus lateralis. However, as home gym athletes progress into heavier loads, they frequently encounter two distinct walls: biomechanical breakdowns in form and equipment limitations related to their weight plates. If you are using plate-loaded adjustable dumbbells, the choice between Olympic and standard weight plates fundamentally alters the rotational mechanics, grip clearance, and center of mass during this complex movement.
In this 2026 troubleshooting guide, we break down the most common form errors in the dumbbell curtsy lunge and provide a deep-dive equipment analysis on how upgrading from standard to Olympic plates can salvage your unilateral leg day.
Troubleshooting the 3 Most Common Curtsy Lunge Form Mistakes
Before blaming your equipment, we must rule out user error. The curtsy lunge requires a precise combination of hip flexion, adduction, and internal rotation. Here is how to fix the most frequent breakdowns.
Mistake 1: The 'Tightrope' Cross-Over
The Error: Stepping the rear foot directly behind the front heel, placing both feet on a single imaginary line. This destroys your base of support, forces the front knee into extreme valgus (inward collapse), and shifts the load away from the glutes and onto the medial knee ligaments.
The Fix: Step back and across, but maintain a lateral distance of at least 6 to 8 inches between your feet. Imagine stepping onto parallel train tracks rather than a tightrope. This preserves the hip-width base required to safely load the gluteus medius.
Mistake 2: Torso Dumping and Lumbar Flexion
The Error: Leaning the torso forward beyond 30 degrees to compensate for poor ankle mobility or a lack of core bracing. This turns the movement into a poorly executed single-leg deadlift and places sheer force on the lumbar spine.
The Fix: Maintain a strict 10 to 15-degree forward hinge. Brace your core using the Valsalva maneuver before descending, and keep your gaze fixed on the floor about four feet in front of you to maintain cervical and thoracic alignment.
Mistake 3: Ignoring the Pivot Mechanics
The Error: Keeping the rear foot flat on the ground. As you descend, the rear ankle runs out of dorsiflexion, causing the heel to violently pop up and twisting the knee.
The Fix: Initiate the movement by immediately rising onto the ball of your rear foot. The rear heel should never touch the ground during the eccentric or concentric phases of the lift.
The Progression Plateau: When Adjustable Dumbbells Fail
Most home gym owners start with standard 1-inch spin-lock dumbbell handles. These are excellent for beginners, but once your dumbbell curtsy lunges exceed 40 lbs per hand, standard equipment becomes a liability.
Standard plates are physically wider than their Olympic counterparts. To fit 50 lbs onto a 14-inch standard dumbbell handle, you must stack multiple 10 lb and 5 lb plates. This creates a massive, bulky profile that forces your hands to grip closer to the collars. During a curtsy lunge, as you pivot your back foot and rotate your hips, the weight wants to spin. Because standard spin-lock handles lack rotating sleeves, the rotational torque is transferred directly into your wrists and forearms, leading to premature grip failure before your glutes are fully stimulated.
Weight Plate Types: Olympic vs Standard for Unilateral Loading
Understanding the engineering differences between Olympic and standard weight plates is critical for optimizing your home gym for advanced unilateral movements.
Expert Insight: The Rotational Sleeve Advantage
When performing the dumbbell curtsy lunge, your body undergoes transverse plane rotation. Olympic dumbbell handles feature 2-inch sleeves with built-in needle or bushing bearings. This allows the Olympic plates to spin independently of the handle. This seemingly minor equipment detail neutralizes rotational torque, saving your wrists and allowing you to focus entirely on driving through the front heel.
Comparison Matrix: Olympic vs Standard Plates for Home Gyms
| Feature | Standard Plates (1-inch) | Olympic Plates (2-inch) |
|---|---|---|
| Hole Diameter | 1 inch (25.4 mm) | 2 inches (50.8 mm) |
| Weight Tolerance | +/- 5% to 10% variance | +/- 1% to 2% (Calibrated) |
| Plate Profile (45/25 lb) | Wider, bulky cast iron | Narrower, dense steel/rubber |
| Average Cost (2026) | $1.00 - $1.50 per lb | $2.50 - $4.00 per lb |
| Best Use Case | Light isolation, budget setups | Heavy compounds, unilateral loading |
Deficit Curtsy Lunges: Plate Diameter and Floor Clearance
Advanced lifters often utilize deficit curtsy lunges to increase the stretch on the adductor magnus and gluteus maximus at the bottom of the movement. This is done by standing on a weight plate or a pair of plates while the rear foot drops to the bare floor.
Here is where plate diameter directly impacts your biomechanics:
- Standard 25 lb Cast Iron Plates: Typically measure 11.5 inches in diameter and sit roughly 1.5 inches high. This provides a very shallow deficit, which is ideal for beginners working on ankle mobility and deep hip flexion without overstretching the adductors.
- Olympic 45 lb Bumper Plates: Measure exactly 17.7 inches (450 mm) in diameter and sit roughly 3 to 4 inches high depending on the urethane thickness. This creates a massive deficit. While excellent for advanced hypertrophy, stepping off a 4-inch Olympic bumper plate during the eccentric phase of a curtsy lunge requires immense eccentric strength to prevent the front knee from translating too far forward and taking the brunt of the shear force.
Troubleshooting Tip: If you are transitioning to deficit curtsy lunges, do not immediately jump onto 45 lb Olympic plates. Stack two standard 10 lb plates (which are usually 10 inches in diameter and about 1 inch thick each) to create a stable, 2-inch elevated platform with a wider surface area for your front foot to grip safely.
Summary Checklist for Your Next Leg Day
Use this quick diagnostic checklist to ensure your equipment and form are aligned for maximum glute and quad development:
- Check Your Footwear: Ditch the squishy running shoes. Wear flat-soled shoes (like Converse or barefoot-style training shoes) to ensure the lateral edge of your foot doesn't roll during the cross-over step.
- Audit Your Dumbbell Sleeves: If you are lifting over 40 lbs per hand and feeling wrist pain during the pivot, it is time to retire the standard 1-inch spin-lock handles and invest in 2-inch Olympic dumbbell handles with rotating sleeves.
- Verify Plate Calibration: If using older standard plates, weigh them on a digital floor scale. A '25 lb' standard plate from a budget brand manufactured in 2018 might actually weigh 22 lbs, creating a 6 lb imbalance between your left and right hands that will wreak havoc on your pelvic alignment during a curtsy lunge.
- Film the Eccentric: Set up your phone at a 45-degree rear angle. Watch for the front knee caving inward (valgus) at the very bottom of the hole. If it caves, reduce the weight by 15% and focus on driving the knee outward over the second toe.
Mastering the dumbbell curtsy lunge requires more than just effort; it demands an understanding of how your body interacts with the physics of your equipment. By correcting your step geometry and upgrading to precision Olympic plates with rotational sleeves, you eliminate the friction points holding back your unilateral leg development.
More gear to consider
All reviews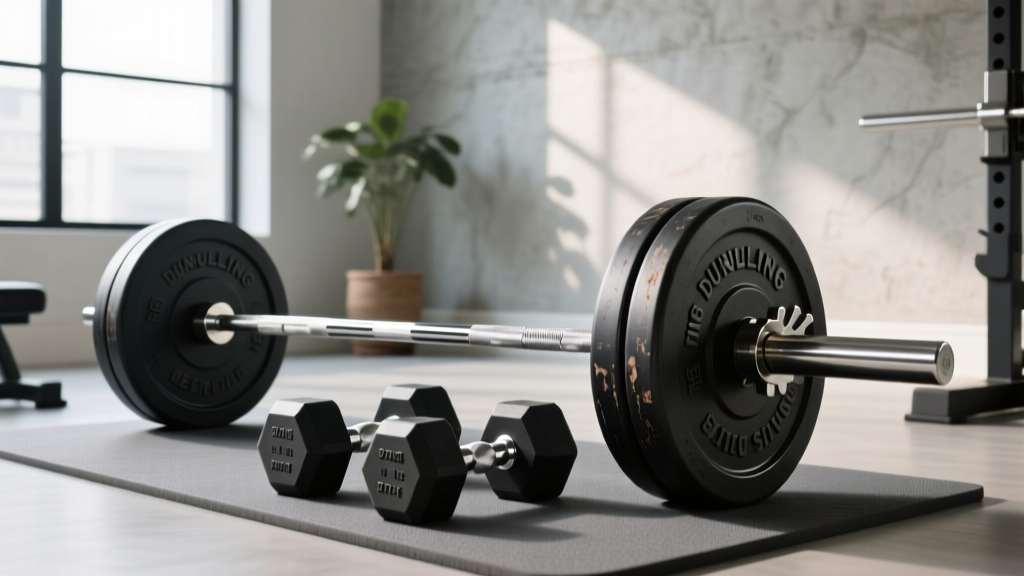
Barbell Knurling & Weight Guide: Seated Dumbbell Rear Delt Fly
Concrete Dumbbell Molds vs Loadable Dumbbells: 2026 Top Picks

What Happens If I Do Dumbbells Everyday? Olympic vs Standard Plates
Cast Iron vs Competition Kettlebells: No Dumbbell Bicep Workout
Cast Iron vs Competition Kettlebells & Dumbbell Shrugs for Back Trends
