
Protect Dumbbell Bench Press Form: Rack Maintenance
Learn how dumbbell rack maintenance and storage layout directly impact your dumbbell bench press form, preventing injury and extending gear life.

The Hidden Link Between Rack Storage and Lifting Biomechanics
Most lifters assume that perfect technique begins the moment their back touches the bench. However, biomechanical experts and strength coaches know that the setup for a heavy set actually begins the second you approach the dumbbell rack. A poorly maintained, incorrectly organized, or degraded storage system forces awkward lifting mechanics before you even initiate the press, pre-fatiguing crucial stabilizers and fundamentally compromising your dumbbell bench press form.
When handling heavy implements—such as 100 lb or 120 lb dumbbells—the initial pickup from the rack dictates the neurological readiness of your central nervous system and the physical state of your erector spinae. According to ergonomic guidelines from the CDC NIOSH, lifting heavy loads from below knee height with an asymmetrical or rounded posture increases lumbar shear force exponentially. If your rack's bottom tier is too low, or if the rails are degraded and snag the dumbbell heads, you are forced into a compromised stoop. By the time you sit on the bench and attempt to kick the weights into position, your core and lower back are already fatigued, leading to an unstable arch and asymmetrical pressing paths.
⚠ The 'Pre-Fatigue' Failure Mode
Improper rack height and sticky, unmaintained rails force you to 'muscle' the dumbbells off the rack. This micro-trauma to the rotator cuff and lumbar spine occurs before the set even begins, making it impossible to maintain the scapular retraction required for safe, heavy pressing.
Tier Height Calibration and the 'Kick-Up' Phase
To protect your joints and maintain optimal pressing mechanics, the spatial arrangement of your dumbbell rack must facilitate a neutral-spine pickup. Commercial and high-end home gym racks generally feature three or four tiers. Let us examine the specific measurements of two industry-standard racks in 2026 and how they affect your setup:
- Rogue 3-Tier Dumbbell Rack: Tier heights sit at approximately 17.5 inches, 28 inches, and 38.5 inches. The 28-inch middle tier is the biomechanical sweet spot for picking up dumbbells in the 70 lb to 100 lb range, allowing for a hip-hinge pickup rather than a deep, knee-compromising squat.
- REP Fitness DB-5000 (4-Tier): With a lower bottom tier designed for lighter neoprene or hex dumbbells, placing heavy urethane bells on the bottom tier forces a deep squat pickup. If you are pressing heavy, always store your working weights on the second or third tier (roughly 24 to 32 inches off the ground) to preserve your energy for the bench.
As noted in the exercise biomechanics databases at ExRx.net, the dumbbell bench press requires immense stabilization from the pectoralis major, anterior deltoids, and triceps, alongside deep core engagement. Wasting ATP and stabilizing capacity on a poorly planned rack pickup directly robs your pressing muscles of their peak output.
Material Degradation: How Rack Rails Destroy Dumbbells
Maintenance is not just about tightening bolts; it is about managing the friction between the dumbbell heads and the rack rails. In 2026, the market is dominated by two primary dumbbell coatings: virgin rubber and cast urethane. Each interacts with steel rack rails differently, and ignoring this interaction leads to catastrophic gear failure.
1. The Rubber Oxidation and Rust Transfer Cycle
Standard rubber dumbbells (often imported and priced between $1.50 and $2.50 per pound) are prone to oxidizing and breaking down when exposed to UV light and ozone. As the rubber degrades, it leaves a sulfurous, oily residue on the rack rails. If the rack is not cleaned, this residue traps moisture against the bare steel of the rack rails, causing micro-rusting. When you later place premium urethane dumbbells on these rusted rails, the abrasive rust acts like sandpaper, scouring the urethane and causing permanent micro-fractures along the edges.
2. Urethane Edge Chipping on Unmaintained Welds
Premium urethane dumbbells (priced between $3.00 and $5.00+ per pound) are incredibly dense and resist bouncing. However, this lack of shock absorption means that if a rack's horizontal rails have rough, unpolished weld seams, dropping a 120 lb urethane dumbbell onto the rack will transfer the kinetic energy directly into the urethane edge, causing it to chip or crack. Proper rack maintenance requires filing down or sanding any rough weld seams on the rails and applying a protective layer of high-density UHMW (Ultra-High-Molecular-Weight) polyethylene tape to the rails.
Step-by-Step Rack Maintenance Protocol
To ensure your equipment supports—not sabotages—your training, implement this quarterly maintenance protocol. This is especially critical for home gyms where temperature fluctuations can cause hardware to expand and contract.
- Hardware Torque Audit: Using a calibrated torque wrench, check all structural bolts. For heavy-duty 11-gauge steel racks like the Rogue or REP models, structural bolts should be torqued to 55-65 ft-lbs. Loose bolts create a 'racking wobble' that forces you to stabilize the rack with one hand while picking up a heavy dumbbell with the other, instantly destroying your symmetrical setup.
- Rail Decontamination: Wipe down all horizontal rails with a degreaser (such as Simple Green) to remove rubber residue and chalk dust. Follow up with a light application of 3-in-One PTFE Dry Lubricant. Never use WD-40 or wet silicones, as these will attract dust and create an abrasive paste that damages dumbbell heads.
- Weld and Gusset Inspection: Inspect the welds where the horizontal rails meet the vertical uprights. Look for 'haloing' (a faint line in the paint), which is the first visual indicator of metal fatigue and micro-cracking. If haloing is present, the rack must be taken out of service and replaced immediately.
- Leveling and Footpad Adjustment: An unlevel rack causes dumbbells to slowly 'creep' or roll toward one end of the rail, creating uneven weight distribution on the rack's feet. Adjust the threaded leveling feet until a machinist's bubble level confirms the rails are perfectly horizontal.
Expert Insight: "The safest heavy dumbbell press is one where the lifter never has to twist their spine to clear the rack. Keep your heavy working weights on the middle tier, and reserve the top tier strictly for lighter warm-up sets or accessories."
2026 Storage Solutions Matrix: Commercial vs. Home Gym
Choosing the right storage solution is a vital part of long-term joint health and equipment longevity. Below is a comparison of top-tier racks available in 2026, analyzed by footprint, capacity, and specific maintenance requirements.
| Rack Model | Tier Config & Capacity | Footprint | Primary Maintenance Focus | Best For |
|---|---|---|---|---|
| Rogue 3-Tier Dumbbell Rack | 3 Tiers / 10 Pairs (up to 120s) | 47" x 30" | Weld inspection & UHMW tape application on rails | Heavy commercial & serious home gyms |
| REP Fitness DB-5000 | 4 Tiers / 11 Pairs (up to 100s) | 49" x 33" | Quarterly bolt torqueing & leveling foot adjustment | High-volume home gyms with varied weight ranges |
| PowerBlock Commercial Stand | Vertical Tier / 1 Set (Adjustables) | 24" x 24" | Selector pin lubrication & cable tension checks | Space-constrained apartments & boutique studios |
| Eleiko Dumbbell Rack (Oak/Steel) | 3 Tiers / 10 Pairs (Premium Urethane) | 52" x 28" | Wood conditioning (oil) & felt pad replacement | Luxury home gyms & high-end wellness clubs |
Organizing for Flow: The 'Weight Progression' Layout
How you arrange the dumbbells on the rack directly impacts your workout efficiency and safety. The Mayo Clinic's guidelines on strength training safety emphasize the importance of controlled, deliberate movements and proper warm-up routines. Your rack layout should facilitate this.
- The 'Left-to-Right' Ascension: Always organize dumbbells from lightest (left) to heaviest (right). This matches the natural reading pattern and allows you to quickly grab warm-up weights without hunting.
- The 'Working Set' Sweet Spot: Place the dumbbells you intend to use for your heaviest working sets directly in the center of the middle tier. This minimizes the lateral walking distance while carrying heavy loads, reducing the risk of tripping or dropping a weight on your foot.
- Clear the Drop Zone: Never store plates, kettlebells, or resistance bands on the floor directly in front of the dumbbell rack. When picking up or returning heavy dumbbells, your peripheral vision is obscured by the weights themselves. A cluttered floor in front of the rack is a prime location for ankle sprains and dropped-toe injuries.
Frequently Asked Questions
Can a poorly maintained rack actually cause shoulder injuries during the bench press?
Yes, indirectly. If the rack rails are sticky or improperly angled, you may have to jerk or twist the dumbbell to free it from the rack. This sudden, uncontrolled jerk can strain the rotator cuff or biceps tendon before you even lie down on the bench. Smooth, well-lubricated rails allow for a controlled, symmetrical pickup.
How often should I tighten the bolts on my dumbbell rack?
For a home gym with moderate use, a bi-annual (every 6 months) torque check is sufficient. For commercial gyms or high-volume home gyms where 100+ lb dumbbells are being dropped onto the rack daily, you must check the hardware every 90 days. The repeated impact vibrations will inevitably loosen zinc-plated hardware over time.
Is it better to store heavy dumbbells on the top or bottom tier?
Neither. The top tier requires overhead reaching, which compromises shoulder stability while holding heavy loads. The bottom tier requires deep bending, which compromises the lower back. The middle tier (roughly 24 to 32 inches from the floor) is the only ergonomically sound location for storing heavy working dumbbells.
Final Thoughts on Longevity and Form
True mastery of the dumbbell bench press form extends far beyond the boundaries of the bench itself. It encompasses the entire ecosystem of your training environment. By investing in a high-quality rack, adhering to a strict maintenance protocol, and thoughtfully organizing your storage layout, you eliminate the hidden variables that cause injury and equipment degradation. Treat your rack with the same respect you treat your working sets, and your gear—and your joints—will last a lifetime.
More gear to consider
All reviews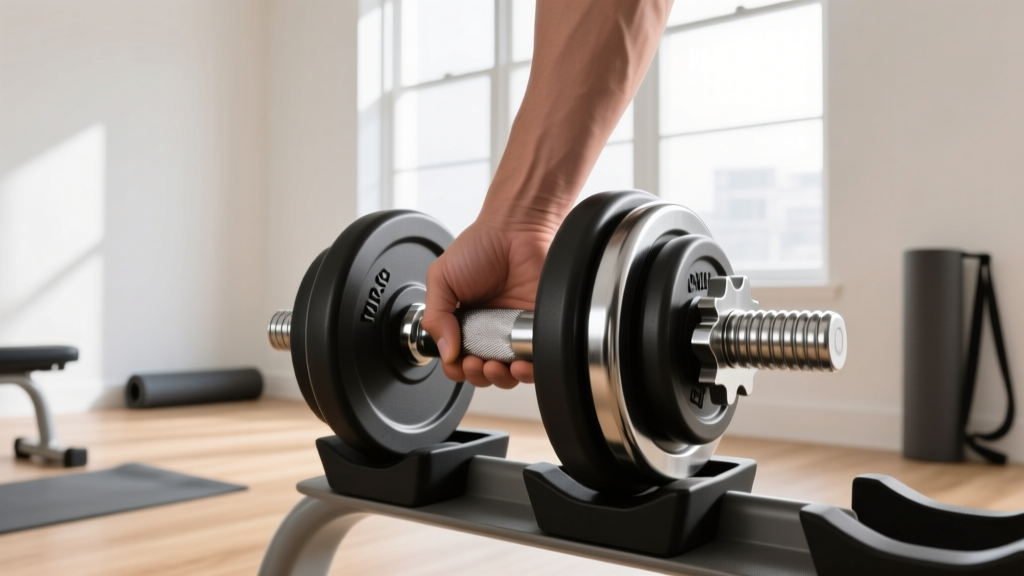
Maintaining Loadable Home Workout Dumbbells (No Bench Setup)
Loadable Dumbbells for Back Fat Exercises: 2026 Market Trends

Bumper vs Iron Plates: A Dumbbell Plot of Cost & Durability
2026 Loadable Dumbbell Trends: Dumbbell Exercises for Quads

Dumbbell Shoulder Press Form: Rubber Hex vs Urethane Dumbbell Review
