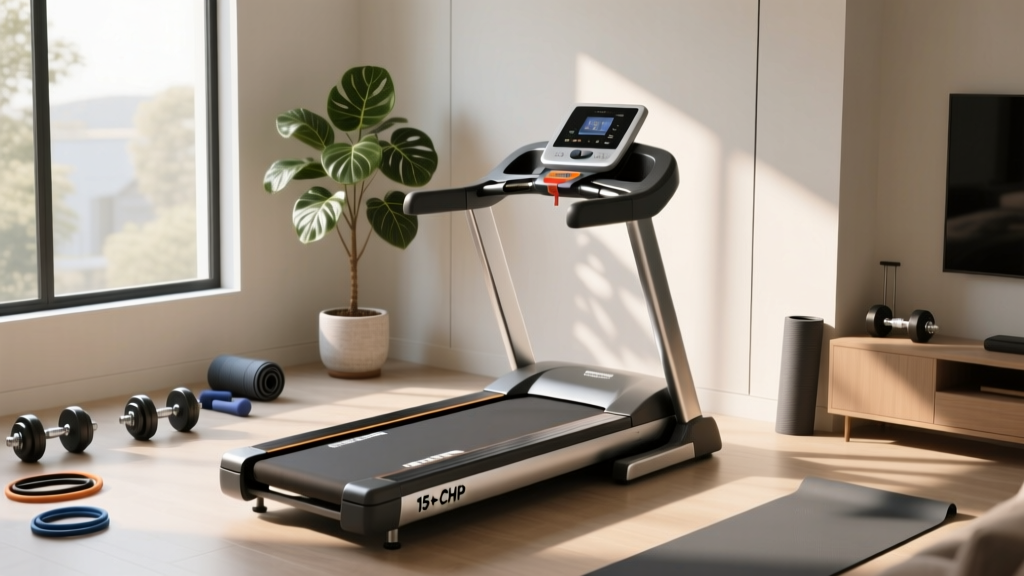
Do Treadmills Work Better With High HP? Setup Guide
Learn how treadmill motor size impacts home gym performance. This complete setup and installation guide covers CHP, electrical needs, and assembly.

Do Treadmills Work Better With High HP? A Complete Motor & Setup Guide
When outfitting a home gym, a common question we hear from beginners is, do treadmills work as effectively in small residential spaces as they do in commercial facilities? The short answer is yes, but only if you correctly match the machine's motor size to your installation environment and user profile. A treadmill is only as good as its setup. Even a premium machine with a massive motor will fail prematurely if installed on an improper electrical circuit or an unlevel surface.
In this comprehensive walkthrough, we will decode treadmill motor specifications, outline the strict electrical requirements for home installation, and provide a step-by-step assembly guide designed to protect your motor from day one.
The Core of the Machine: Decoding CHP vs. Peak HP
Before unboxing your new cardio equipment, you must understand how manufacturers rate treadmill motors. The fitness industry relies on two distinct metrics, and confusing them is the most common mistake buyers make.
- Peak Horsepower (HP): This is the absolute maximum output the motor can achieve for a few seconds before overheating. It is primarily a marketing term and should be ignored when evaluating a machine's longevity.
- Continuous Duty Horsepower (CHP): This is the metric that matters. CHP measures the power the motor can sustain indefinitely during a standard workout without overheating. According to the American Council on Exercise (ACE), you should always base your purchasing and setup decisions on the CHP rating.
Pre-Installation Checklist: Electrical & Spatial Requirements
Do treadmills work safely on standard bedroom circuits? Usually, no. Treadmill motors require a massive surge of current upon startup—often pulling 15 to 20 amps momentarily before settling into a continuous draw of 5 to 10 amps. The National Fire Protection Association (NFPA) outlines strict guidelines for high-draw appliances to prevent electrical fires.
Circuit Requirements by Motor Size
| Motor Size (CHP) | Minimum Circuit | Ideal Circuit | Setup Warning |
|---|---|---|---|
| Under 2.5 CHP | 15-Amp Dedicated | 15-Amp Dedicated | Will trip shared circuits if a TV or AC is running. |
| 2.5 to 3.25 CHP | 15-Amp Dedicated | 20-Amp Dedicated | Startup surge may dim lights on shared 15-amp lines. |
| 3.5 CHP and above | 20-Amp Dedicated | 20-Amp Dedicated | Requires a 20-amp outlet (horizontal neutral prong). |
Step-by-Step Setup: Protecting Your Motor During Assembly
Proper assembly is crucial to ensuring your treadmill's motor operates efficiently. A misaligned deck or over-tightened belt forces the motor to work up to 30% harder, generating excess heat and drastically shortening its lifespan. Consumer Reports frequently notes that poor home assembly is the leading cause of early motor failure.
Step 1: Unboxing and Base Leveling
Place the treadmill base exactly where it will live. Before attaching the uprights, check the floor. If your floor is uneven, the deck will twist. A twisted deck causes the walking belt to track to one side, creating immense lateral friction against the motor drive system.
- Place a carpenter's level across the width of the deck.
- Adjust the four leveling feet at the base of the frame until the bubble is perfectly centered.
- Re-check the level from front to back.
Step 2: The Internal Motor Drive Belt Check
Most setup guides ignore the internal drive belt—the ribbed belt connecting the motor pulley to the front roller. Before you screw on the plastic motor hood, inspect this belt.
- The Deflection Test: Press your thumb into the middle of the internal drive belt. It should deflect (give) about 1/4 to 1/2 inch. If it is guitar-string tight, it will destroy the motor bearings. If it is too loose, it will slip and cause a jerky walking experience.
- Adjustment: Loosen the motor mount bolts slightly, slide the motor to adjust tension, and re-tighten securely.
Step 3: Walking Belt Tension and Lubrication
Once the machine is fully assembled and powered on, test the walking belt. You should be able to lift the edge of the belt in the center of the deck by exactly 2 to 3 inches. If you cannot lift it, the belt is too tight and is strangling the motor. If it lifts more than 4 inches, it will slip underfoot. Finally, apply 1 oz of 100% silicone treadmill lubricant under the belt on both sides to minimize friction.
2026 Market Snapshot: Top Motors & Installation Quirks
To provide actionable context, here is a breakdown of three highly-rated 2026 treadmill models, their motor specs, and specific installation nuances you need to know.
1. Sole F80 (3.5 CHP) - MSRP: $1,199
The Sole F80 features a robust 3.5 CHP motor and a heavy 27 lb flywheel. Setup Quirk: Because of the heavy flywheel and motor assembly, the front end of the base is exceptionally heavy. When folding the deck up for the first time, ensure the hydraulic release latch is fully engaged. If the deck slams down during setup, it can crack the motor housing mount. Requires a dedicated 20-amp circuit.
2. Horizon 7.0 (3.0 CHP) - MSRP: $999
A fantastic mid-tier option with a reliable 3.0 CHP motor. Setup Quirk: The upright console mast uses a quick-lock pin system. Ensure the internal wiring harness is not pinched between the mast and the base before tightening the bolts. A pinched wire can cause intermittent power loss to the console, which users often misdiagnose as a motor control board failure.
3. NordicTrack T Series 10 (3.25 CHP) - MSRP: $899
Known for its interactive programming, the T Series 10 utilizes a 3.25 CHP motor. Setup Quirk: This model is highly sensitive to Wi-Fi router proximity during the initial firmware update. If the update fails midway, the machine's incline motor may not calibrate correctly, causing the main drive motor to compensate on an unintended incline. Always complete the setup near your router.
Post-Installation Troubleshooting: Signs of Motor Strain
Even with a perfect setup, environmental factors can change. Here is how to identify if your treadmill motor is struggling post-installation, and how to fix it without calling a technician.
Troubleshooting Matrix
| Symptom | Probable Cause | Immediate Fix |
|---|---|---|
| Machine stops abruptly after 15 mins | Thermal shutoff due to overheating | Clean motor hood vents with a vacuum; check belt lubrication. |
| Burning rubber smell | Walking belt friction or misalignment | Re-center the belt using the rear roller adjustment bolts; apply silicone. |
| Belt hesitates or jerks on foot strike | Loose internal drive belt or worn motor brushes | Remove motor hood and tighten the internal ribbed drive belt. |
| Breaker trips immediately on startup | Shared circuit or failed motor capacitor | Move to a dedicated 20-amp circuit; test capacitor with a multimeter. |
Final Thoughts on Home Treadmill Installation
So, do treadmills work well in a home environment? Absolutely, provided you respect the physics and electrical demands of the machine. By prioritizing Continuous Duty Horsepower over marketing gimmicks, ensuring your home's electrical infrastructure can handle the startup surge, and taking the time to level and lubricate the deck during assembly, you will ensure your cardio equipment operates smoothly for years. Treat the setup process with the same dedication you plan to bring to your workouts, and your treadmill will reward you with relentless, reliable performance.
More gear to consider
All reviews
Walking Pad vs Sole: How to Lubricate Sole Treadmill Belts

Walking Pad Showdown: Best for a Treadmill Walking Workout Plan

ProForm Performance 400c Treadmill vs Elliptical: Budget Analysis
SB Fitness Curved Treadmill vs Folding Models (2026)

Under Desk Treadmills vs Sole Fitness Treadmills: Office Review
