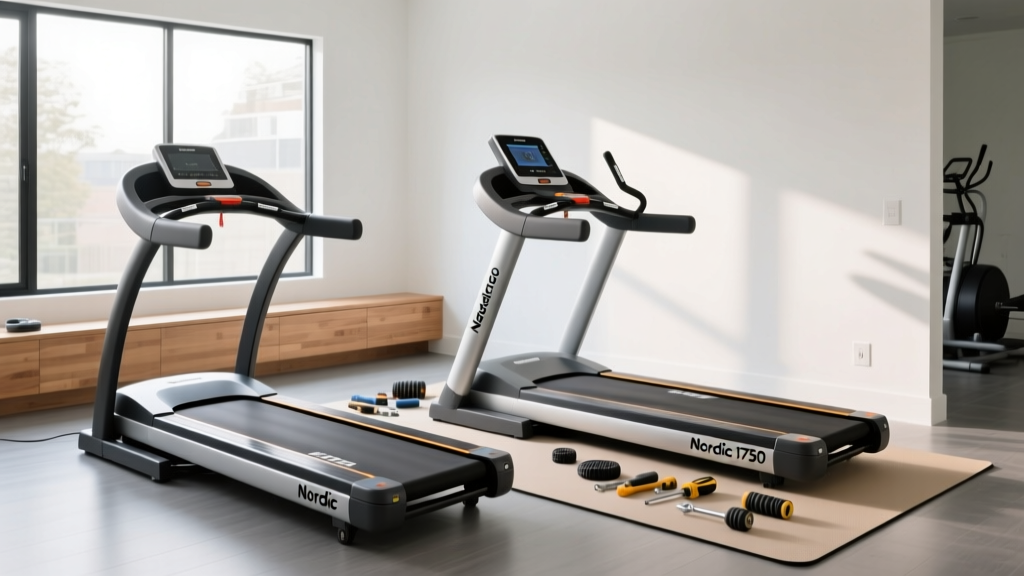
Setup Walkthrough: Curved Manual vs Nordic 1750 Treadmill Install
Compare the complete setup and installation of a curved manual treadmill vs the Nordic 1750 treadmill. Expert walkthroughs, spatial needs, and wiring tips.

The Ultimate Home Gym Installation Showdown: Curved Manual vs. Motorized
Choosing between a curved manual treadmill and a premium motorized model is one of the most debated topics in cardio equipment. But while most buyers obsess over running mechanics and interactive programming, they completely overlook the logistical nightmare of getting the machine into their home and properly calibrated. In 2026, home gym builds require precise spatial planning, electrical foresight, and mechanical patience.
In this complete setup and installation walkthrough, we are comparing the unboxing, assembly, and calibration of a top-tier curved manual deck (like the AssaultRunner Elite) against the flagship motorized Nordic 1750 treadmill (officially the NordicTrack Commercial 1750). Whether you are bolting together a self-powered slat belt or wiring a 3.5 CHP motor, this guide will save you from costly installation failures.
Phase 1: Spatial Planning and Electrical Prerequisites
Before the delivery truck arrives, you must prepare the installation zone. The physical footprint and electrical demands of these two machine types are vastly different.
Spatial Footprint and Ceiling Clearance
The Nordic 1750 treadmill measures roughly 80 inches long by 38 inches wide. However, the critical metric is ceiling height. Because the NordicTrack features a 15% power incline, the front of the deck raises by nearly 12 inches. If you are a 6-foot-tall runner, you need a minimum ceiling height of 8 feet to avoid clipping your head at maximum incline.
Conversely, a curved manual treadmill measures approximately 69 inches long by 33 inches wide. Because the curve is fixed and relies entirely on user biomechanics, there is no motorized incline. Your ceiling only needs to accommodate your height plus a 3-inch vertical bounce factor.
💡 Pro-Tip on Rear Clearance: The Consumer Product Safety Commission (CPSC) and Mayo Clinic home gym guidelines strongly recommend at least 3 feet of clear space behind a motorized treadmill to prevent severe friction burns in the event of a fall. Curved manual treadmills, however, stop the moment you stop running. This drastically reduces the rear-ejection risk, allowing you to place a curved treadmill just 12 to 18 inches from a wall.The Electrical Reality Check
This is where most motorized treadmill installations fail. The Nordic 1750 treadmill requires a dedicated 15-amp, 120V electrical circuit. The Edge Case: If you plug the Nordic 1750 into a shared circuit with a space heater, window AC unit, or even a high-draw vacuum, the voltage drop during startup will starve the Motor Control Board (MCB). Replacing a fried MCB in 2026 costs upwards of $280 and often voids the manufacturer warranty. Furthermore, never use an extension cord or a GFCI outlet; the startup surge can trip the GFCI, abruptly halting the belt and creating a massive fall hazard.
A curved manual treadmill requires zero electrical infrastructure. The console is typically powered by a simple CR2032 coin battery or a small internal dynamo, making room placement entirely unrestricted.
Phase 2: Unboxing and the Heavy Lift
Both machines are heavy, but their weight distribution dictates how you move them.
| Setup Metric | Curved Manual (e.g., AssaultRunner) | Motorized (Nordic 1750 Treadmill) |
|---|---|---|
| Shipping Weight | ~280 lbs (Usually split into 2 boxes) | ~340 lbs (Single massive carton) |
| Required Helpers | 2 people | 2-3 people + Furniture Dolly |
| Primary Assembly Tools | Allen wrenches, 15mm socket | Allen wrenches, Phillips head, 17mm socket |
| Average Setup Time | 45 - 60 Minutes | 2.5 - 3.5 Hours |
The Motorized Challenge: The Nordic 1750 ships in a single, massively long cardboard carton. You will need to cut the box away from the base rather than trying to lift the machine out. Use a furniture dolly to roll the base to its final location before attaching the uprights, as the base alone weighs over 200 lbs.
Phase 3: Step-by-Step Assembly Walkthrough
Curved Manual Treadmill Assembly
- Base Positioning: Lay the curved frame flat on a protective mat. Ensure the slat belt is centered on the track rails.
- Upright Installation: Bolt the left and right steel uprights into the base flanges. Warning: Route the internal console data cable through the center channel before tightening. Pinching this wire between the steel plates is the #1 cause of dead consoles on curved models.
- Handlebar & Console: Attach the front crossbar and mount the Bluetooth console. Connect the single wire harness, secure with the locking clip, and snap the plastic bezel into place.
- Slat Tension Check: Spin the belt by hand. It should glide smoothly without lateral drift. If it feels stiff, apply a light coat of 100% silicone spray to the side guide rails (never use WD-40, which degrades the rubber slats).
Nordic 1750 Treadmill Assembly
- Base & Transport Wheels: Unfold the base and lock the transport wheels. Ensure the incline lift motor is fully lowered to the 0% position before proceeding.
- Uprights & Data Cables: This is a two-person job. One person must support the 80-lb steel upright, while the other carefully threads the delicate data ribbon cable through the mast and connects it to the base harness. Failure Mode: Cross-threading the main upright bolts will strip the frame weld-nuts, rendering the machine unstable at high speeds.
- Console & Hood Mounting: Attach the 14-inch HD pivoting touchscreen. Secure the four mounting bolts in a star pattern to ensure even pressure on the plastic housing. Connect the Wi-Fi antenna cable.
- Safety Key & Belt Alignment: Insert the magnetic safety key. Before stepping on the belt, start the machine at 1.0 MPH and visually inspect the belt tracking.
'The most common installation mistake with premium motorized treadmills is overtightening the console mounting bolts. This cracks the internal LCD bracket, leading to screen flickering during high-impact runs.' — FitGearPulse Senior Technician Note
Phase 4: Calibration and Software Initialization
The setup is not complete until the machine's internal sensors are calibrated to your specific environment.
Motorized Calibration (Nordic 1750)
Once powered on, the Nordic 1750 treadmill will prompt a mandatory calibration sequence. The machine will automatically raise the incline from 0% to 15%, lower it back down, and accelerate the belt from 0 to 12 MPH. Do not stand on the belt during this process. If the belt drifts to the left or right during the speed test, you must use the included Allen wrench to adjust the rear roller bolts. Turn the left rear bolt clockwise by exactly one-quarter turn, let the belt run for 30 seconds, and reassess. Over-tightening the belt to 'fix' a drift will put excessive load on the 3.5 CHP motor, leading to premature belt delamination.
Curved Manual Calibration
Curved treadmills do not require software calibration for speed or incline. However, you must calibrate the console's auto-sleep settings and pair the internal Bluetooth module to your heart rate monitor or third-party training apps like Zwift or TrainingPeaks. Ensure the console firmware is updated via the companion app before your first high-intensity interval session to prevent data-dropouts.
Final Verdict: Which Setup is Right for Your Space?
If you live in an apartment with shared electrical circuits, low ceilings, or limited square footage, the curved manual treadmill is the undisputed champion of easy installation. It requires no dedicated wiring, fits in tighter alcoves, and can be fully assembled in under an hour with basic hand tools.
However, if you have a dedicated home gym space with a 15-amp circuit, 8-foot ceilings, and the desire for automated incline training and interactive digital coaching, the Nordic 1750 treadmill remains the gold standard. Just respect the heavy lifting requirements, protect your Motor Control Board with proper electrical isolation, and take your time routing the internal data cables during assembly. A meticulous setup guarantees a decade of flawless, high-mileage performance.
More gear to consider
All reviews
Air Bike vs Assault Bike & Vikingastryr Treadmill Care

Curved Manual vs Motorized: Gold's Gym Crosswalk 570 Treadmill Guide

ProForm Cadence 4.0 Treadmill Motor Troubleshooting & HP Guide

How Much Is a Treadmill Stress Test? Under Desk Treadmill Review

Stair Climber Home Guide vs Horizon 7.0 AT Treadmill Assembly
