
Barbell Collars Compared & Standing Dumbbell Ab Workout Setup
Compare barbell collar types for safe rack setup, then optimize your home gym floor space for a highly effective standing dumbbell ab workout.

The Anatomy of Barbell Security and Gym Flow
Setting up a functional, safe home gym in 2026 requires more than just buying cast iron; it demands a strategic approach to equipment security and spatial flow. Whether you are loading up for a heavy 400-pound deadlift or transitioning the same floor space into a high-rep dumbbell ab workout standing zone, the integrity of your barbell sleeves and the organization of your rack dictate your success. A slipped collar during a dynamic lift is a catastrophic failure mode, while a poorly organized floor space ruins the biomechanical flow of functional core training.
This complete setup and installation walkthrough will guide you through the exact tolerances of modern barbell collars, how to properly install and store them on your power rack, and how to seamlessly transition your footprint for standing core work.
Sleeve Tolerances: The Hidden Culprit of Collar Slippage
Before comparing clamp types, we must address the mechanical interface: the barbell sleeve. The International Weightlifting Federation (IWF) mandates a 50mm diameter for Olympic sleeves. However, manufacturing variances in the 2026 market mean that budget import barbells often measure between 49.2mm and 49.6mm.
Expert Insight: If you are using premium collars on a budget barbell with a 49.4mm sleeve, the clamping force will fail to engage the nylon insert properly. This results in lateral plate migration during drop sets or asymmetric loading. Always measure your sleeve with digital calipers before investing in high-tolerance lever locks.
Premium manufacturers like Rogue Fitness machine their sleeves to exactly 50.0mm (+/- 0.05mm), ensuring that high-end clamps achieve maximum surface area contact and friction.
Barbell Collar and Clamp Types Compared
The market is saturated with retention devices, but they generally fall into three mechanical categories. Here is a deep dive into their engineering, pricing, and failure modes.
1. Spring Clips (The Budget Baseline)
Constructed from heavy-gauge spring steel, these are the standard $12 to $15 clips found in commercial gyms. While they offer rapid installation, their failure mode is spring fatigue. After roughly six months of daily compression, the steel loses its tensile memory, reducing the clamping force from an initial 150 lbs down to under 40 lbs. They are not recommended for dynamic movements like Olympic lifts or heavy eccentric drops.
2. Aluminum T-Handle Clamps (The Gold Standard)
The Rogue HG 2.0 Collars (priced around $45) represent the pinnacle of threaded clamp engineering. Machined from 6061 aircraft-grade aluminum, they utilize a high-durometer nylon insert that deforms slightly to grip the steel sleeve. The T-handle allows for significant manual torque. The primary edge case for failure here is cross-threading the internal nylon if forced at an angle during installation.
3. Lever and Magnetic Locks (The Speed Solution)
Lever locks, such as the Eleiko Olympic Training Collars ($75+), use a cam-lever mechanism to generate immense clamping force with a simple flip. They are ideal for powerlifting meets where load changes must occur in under 15 seconds. Magnetic collars (like the Krieger or Lock-Jaw Pro) use neodymium magnets to snap onto the sleeve, but they can be knocked off if plates collide violently during a missed lift.
2026 Comparison Matrix: Collar Specifications
| Collar Type | Model Example | Avg. Price | Sleeve Tolerance | Dynamic Security Rating |
|---|---|---|---|---|
| Spring Clip | Generic Commercial | $12 - $18 | 49.0mm - 50.5mm | Low (Fatigue Risk) |
| Threaded Clamp | Rogue HG 2.0 | $45 - $50 | 49.8mm - 50.2mm | Very High |
| Cam-Lever Lock | Eleiko Training | $75 - $85 | 49.9mm - 50.1mm | High |
| Magnetic Snap | Lock-Jaw Pro | $30 - $40 | 49.5mm - 50.5mm | Moderate (Impact Risk) |
Complete Installation & Rack Storage Walkthrough
Proper installation is just as critical as the hardware itself. Follow this step-by-step protocol to ensure zero lateral plate migration.
- Clean the Sleeve: Wipe the barbell sleeve with a microfiber cloth and a light application of 3-in-One oil. Chalk dust and oxidized zinc act as lubricants, reducing the friction coefficient of the nylon insert.
- Load and Seat: Slide your bumper or cast-iron plates flush against the inner collar. Push the clamp onto the sleeve until the nylon insert makes full contact with the outer plate.
- Apply Torque: For T-handle clamps, rotate the handle clockwise until you feel a distinct 'hard stop'. Do not use a wrench or excessive body weight to over-tighten, as this will strip the nylon threading.
- The 1/8th Inch Gap Rule: Leave exactly 1/8th of an inch between the outer plate and the collar. This allows the clamp to squeeze the plates inward rather than acting as a spacer that allows internal rattling.
- Rack Storage Setup: Install magnetic collar holders on the rear uprights of your power rack, at chest height. This prevents you from leaving collars on the floor, which is a major tripping hazard when transitioning to floor-based exercises.
Transitioning the Space: Standing Dumbbell Ab Workout Setup
Once your barbell is safely secured and the collars are magnetically docked on the rack uprights, the surrounding 8x8 foot footprint becomes the arena for functional core training. If your goal is a comprehensive dumbbell ab workout, standing variations must form the foundation of your routine. Unlike supine crunches, standing core exercises train the abdominal wall to resist gravity, rotational forces, and lateral flexion in real-time.
According to biomechanical research published in the National Center for Biotechnology Information (NCBI), standing anti-rotation and lateral flexion exercises elicit significantly higher electromyographic (EMG) activation in the obliques and transverse abdominis compared to traditional floor-based isolation movements.
Space Optimization and Equipment Selection
To set up this station, clear a 6x6 foot rubber-matted area directly in front of your power rack. You will need a pair of medium-weight neoprene or urethane dumbbells (typically 15 to 35 lbs for most intermediate lifters). The neoprene coating is crucial here, as it prevents damage to your flooring during dynamic movements and provides a sweat-resistant grip.
The Standing Core Tri-Set Execution
- Dumbbell Halos: Hold a single dumbbell vertically by the top bell. Rotate it in a tight circle around your head. This forces the deep core stabilizers to resist cervical and thoracic extension. Setup tip: Keep your feet shoulder-width apart and brace as if anticipating a punch to the gut.
- Standing Woodchoppers: Grip one dumbbell with both hands. Start at the top right shoulder and chop diagonally down to the left hip, pivoting the lead foot. This trains the transverse plane, mimicking athletic movements like swinging a bat or throwing a punch.
- Single-Arm Farmer's Carry with Lateral Reach: Hold a heavy dumbbell in one hand. Walk 20 yards while actively resisting the urge to lean sideways (lateral flexion). Every 5 steps, pause and reach the free hand overhead to challenge the anti-lateral flexion mechanics.
Equipment Maintenance & Safety Protocols
To maintain your 2026 home gym setup, implement a bi-weekly maintenance schedule. Inspect the nylon inserts on your aluminum clamps for deep grooving; if the insert is compressed beyond 2mm, it will no longer grip a 50mm sleeve securely and must be replaced. For your dumbbells, wipe down the neoprene or urethane coating with a mild, non-bleach antibacterial solution to prevent the breakdown of the rubberized exterior caused by acidic sweat.
By mastering the micro-mechanics of barbell security and intelligently designing your spatial flow, you create a gym environment that is as safe for heavy axial loading as it is effective for functional, standing core development.
More gear to consider
All reviews
Power Rack vs Squat Rack vs Stand: Trap Workout Dumbbells Guide

Replacing Barbell Curls With Dumbbells: A Beginner's Step-by-Step Guide

EZ Curl Bar vs Straight Bar & the Lateral Raise with Dumbbells

Dumbbell Shoulder Press for Mass: Rubber Hex vs Urethane Care
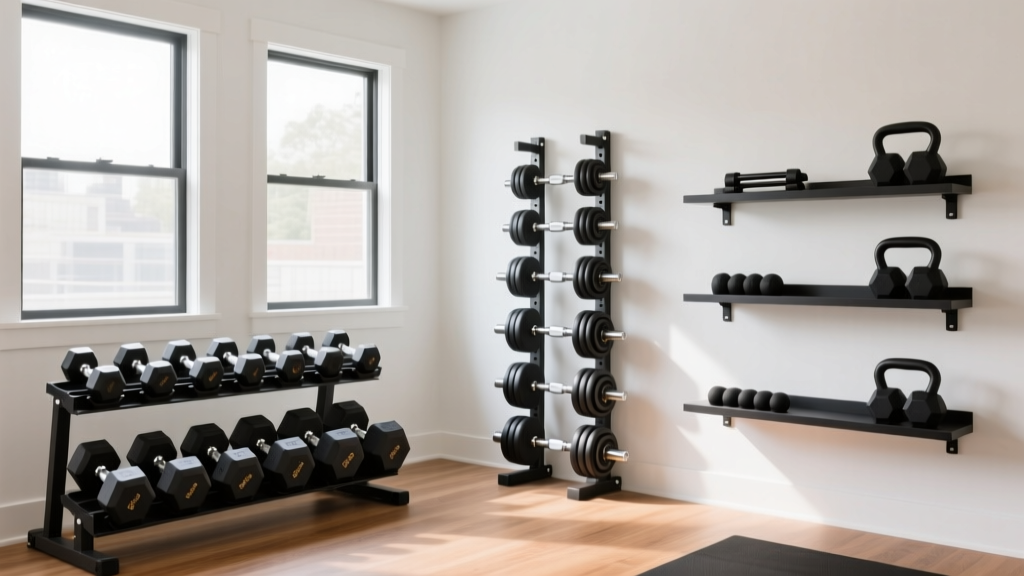
Storage Layouts for Different Types of Dumbbell Workouts
