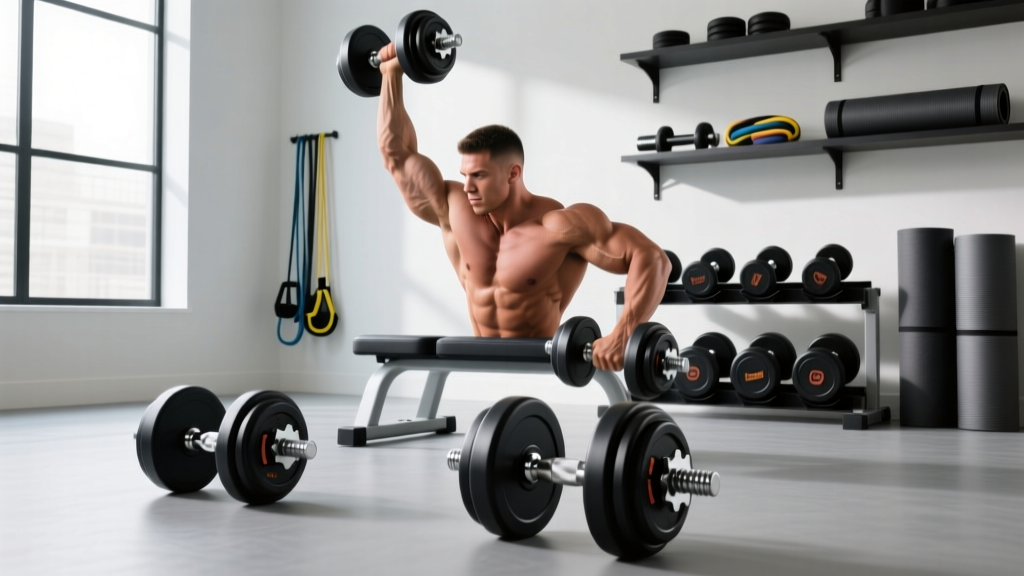
Bowflex Dumbbell Stuck? Fix It & Setup Olympic vs Standard Plates
Fix a Bowflex dumbbell stuck dial and master your free weight setup with our complete installation walkthrough for Olympic vs standard weight plates.

The 2026 Home Gym Free Weight Ecosystem
Building a comprehensive, fail-proof home gym requires mastering multiple free weight modalities. While adjustable dumbbells offer incredible space efficiency, mechanical failures can halt your training. Simultaneously, transitioning to or integrating a traditional barbell setup demands a deep understanding of plate metallurgy and rack installation. This complete setup and installation walkthrough addresses one of the most common adjustable weight failures—the dreaded jammed dial—and pivots into a masterclass on selecting, racking, and loading Olympic versus standard weight plates.
Emergency Protocol: Fixing a Bowflex Dumbbell Stuck Dial
The Bowflex SelectTech 552 and 1090 models are staples in home gyms, but their internal selector mechanisms are highly sensitive to impact and debris. When users search for a bowflex dumbbell stuck solution, they are usually facing one of two failure modes: a bent internal selector rod from dropping the weight, or debris lodged in the base cradle preventing the dial from rotating.
Step-by-Step SelectTech Teardown and Repair
Before attempting a teardown, ensure the dumbbell is resting flat on a level surface. According to equipment teardowns by Garage Gym Reviews, the internal mechanics rely on precise alignment of magnetic pins and metal guide rods.
- Remove the Base Cradle: Clear any visible debris, chalk dust, or small pebbles from the plastic cradle. A simple vacuum can resolve 20% of stuck dial issues caused by cradle obstruction.
- Disassemble the End Cap: Using a T10 Torx screwdriver, remove the 14 screws securing the outer plastic housing. Carefully lift the shell to expose the weight stack.
- Inspect the Selector Rod: Locate the metal selector rod (often part #100104 for the 552 model). If the dumbbell was dropped, this rod bends slightly, causing the dial to bind. If bent, you must order a replacement rod from Nautilus customer support (typically $18 to $25).
- Realign the Weight Plates: Ensure all internal cast-iron plates are perfectly flush. A single misaligned plate will block the magnetic pin from engaging.
- Test and Reassemble: Before screwing the housing back on, turn the dial from 5 to 50 lbs. The mechanism should click smoothly. Re-tighten the T10 screws to 2.5 Nm to avoid cracking the ABS plastic shell.
The Core Debate: Olympic vs Standard Weight Plates
Once your adjustable gear is functioning, or if you are expanding into heavy compound lifts, you must choose between standard and Olympic weight plates. This decision dictates your entire barbell infrastructure, rack compatibility, and long-term lifting ceiling.
Standard Plates: The Budget-Friendly Entry Point
Standard plates feature a 1-inch (25mm) center hole and are designed for lightweight, entry-level barbells. Typically cast from lower-grade iron, these plates are adequate for beginners lifting under 200 lbs. However, standard sleeves lack the rotational mechanics required for Olympic lifts, and the bars themselves often suffer from severe 'whip' (bending) under heavy loads.
Olympic Plates: The Professional Standard
Olympic plates feature a 2-inch (50mm) center hole, conforming to the strict dimensions set by the International Weightlifting Federation (IWF). Olympic barbells utilize rotating sleeves with bushings or bearings, reducing torque on the wrists during cleans and snatches. Furthermore, high-end Olympic calibrated steel plates offer extreme weight accuracy, essential for competitive powerlifters and weightlifters.
Comparison Matrix: Olympic vs Standard Specifications
| Specification | Standard Plates | Olympic Plates (IWF Spec) |
|---|---|---|
| Center Hole Diameter | 1 inch (25mm) | 2 inches (50.4mm) |
| Weight Tolerance | +/- 3% to 5% | +/- 15 grams (Calibrated) |
| Max Load Capacity | ~250 lbs per bar | 1,500+ lbs (IPF Rated) |
| Material Composition | Basic Cast Iron | Machined Steel / Virgin Rubber |
| Drop Tolerance | Low (Prone to cracking) | High (Bumper plates survive 8ft drops) |
| Avg. Cost per lb (2026) | $1.10 - $1.50 | $2.50 - $4.50+ |
Complete Installation Walkthrough: Racking and Loading
Selecting your plates is only half the battle. Properly installing your plate storage and loading your barbell is critical for safety and equipment longevity. Improperly anchored plate trees are a leading cause of home gym accidents.
Step 1: Anchoring the Plate Tree or A-Frame Rack
Never rely on the base weight of a loaded plate tree to keep it upright. You must anchor your storage rack to the floor.
- Concrete Floors: Use a hammer drill with a 1/2-inch masonry bit to drill 3-inch deep holes through the rack's base flanges. Insert 3/8-inch stainless steel wedge anchors and torque them to 80 Nm using a calibrated torque wrench.
- Wood Subfloors: Locate the floor joists using a stud finder. Secure the rack using 3/8-inch structural lag screws (minimum 3 inches long) directly into the joists. Never anchor heavy plate storage solely to plywood or OSB subflooring.
Step 2: Organizing the Weight Horns
Organize your Olympic plates by weight and material to optimize workflow and protect the equipment. According to equipment guidelines from Rogue Fitness, calibrated steel plates should be stored on dedicated, lined horns to prevent edge chipping, while rubber bumper plates can be stored on standard steel pegs. Always place the heaviest plates (45lb/20kg) on the lowest horns to maintain a low center of gravity on the rack.
Step 3: The Proper Barbell Loading Sequence
When setting up for a heavy squat or deadlift session, the order in which you load your Olympic plates matters for barbell whip and sleeve stress.
- Base Layer: Slide the largest diameter plates (45lb/20kg bumpers or steel plates) onto the sleeve first. This positions the heaviest mass closest to the barbell collar, minimizing sleeve bend and rotational inertia.
- Secondary Layers: Add 25lb, 10lb, and 5lb plates sequentially outward.
- Securing the Collar: Always use competition-grade spring collars or machined aluminum lock-jaw collars. For Olympic weightlifting (snatches, clean and jerks), clamp the collar tightly against the innermost plate to prevent lateral shifting mid-air, which can cause catastrophic barbell imbalance.
Expert Maintenance Frameworks
To ensure your free weight station remains operational through 2026 and beyond, implement a bi-annual maintenance schedule. Wipe down Olympic barbell sleeves with a brass wire brush and apply a light coat of 3-in-One oil to prevent oxidation and ensure smooth plate loading. For your adjustable dumbbells, use compressed air monthly to blow out chalk dust from the SelectTech cradle, drastically reducing the chances of experiencing a bowflex dumbbell stuck mechanism again. By respecting the mechanical tolerances of your adjustable gear and the structural physics of your iron plates, you build a home gym that is as resilient as it is effective.
More gear to consider
All reviews
Olympic Barbell Knurling Guide & Dumbbell Rear Shoulder Fly Pairings

Bumper vs Iron Plates: Beyond a Basic Arm Workout with Dumbbells

Upper Body Dumbbell Workout Women: Loadable Dumbbell Maintenance Guide

Best Neoprene Dumbbells for the Bent Over Dumbbell Rear Delt Fly

NordicTrack Dumbbell vs Loadable Plates: Longevity & Care