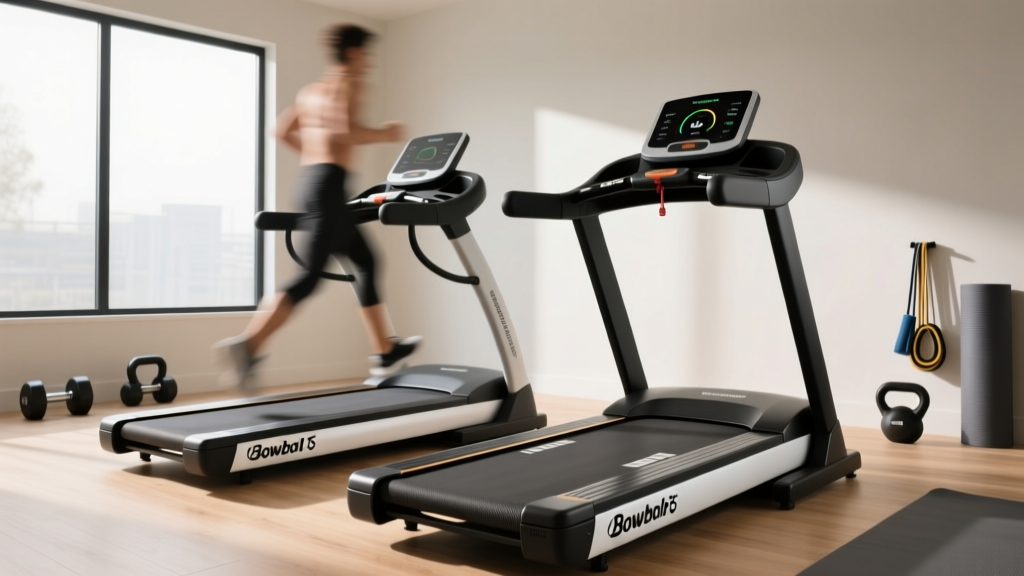
Bowflex T6 Treadmill Reviews: Curved vs Motorized Setup
Read our Bowflex T6 treadmill reviews and setup walkthrough. We compare curved manual vs motorized treadmill installation, specs, and assembly tips.

When outfitting a home gym in 2026, the debate between a curved manual treadmill and a traditional motorized model extends far beyond workout mechanics. It begins the moment the delivery truck pulls into your driveway. While browsing bowflex t6 treadmill reviews, most buyers hyper-focus on the 2.75 CHP motor, folding hinge, and console telemetry. However, the physical installation, spatial footprint, and calibration of a motorized unit like the Bowflex T6 present a vastly different logistical challenge compared to assembling a heavy-duty curved manual treadmill like the AssaultRunner Elite or TrueForm Runner.
This complete setup and installation walkthrough breaks down the architectural differences, pre-installation requirements, and step-by-step assembly protocols for both cardio machine categories. Whether you are bolting together a motorized chassis or tensioning a polyurethane slat belt, precision during setup dictates the lifespan of your equipment.
The Core Differences: Motorized Architecture vs. Curved Manual
Before unboxing, it is critical to understand why the setup processes diverge. A motorized treadmill relies on a continuous PVC belt driven by a front-roller motor, requiring electrical integration, incline actuator calibration, and electronic belt tracking. A curved manual treadmill utilizes a non-motorized, concave track of individual rubber slats guided by ball bearings and magnetic resistance. There are no wires to route, but the mechanical tolerances for frame alignment are significantly tighter.
| Setup Metric | Bowflex T6 (Motorized) | AssaultRunner Elite (Curved Manual) |
|---|---|---|
| Boxed Weight | ~165 lbs | ~295 lbs |
| Power Requirement | 120V Dedicated 15A Circuit | None (Magnetic console battery) |
| Primary Assembly Tools | Included Allen wrenches, Phillips | 17mm socket wrench, rubber mallet |
| Average Assembly Time | 45 - 60 minutes (2 people) | 90 - 120 minutes (3 people) |
| Floor Mat Requirement | 3/8-inch EVA/Rubber | 1/2-inch High-Density Rubber |
Pre-Installation: Space, Power, and Flooring
Do not attempt to assemble either machine on bare hardwood or luxury vinyl plank (LVP) without proper sub-flooring protection. The point-load impact of a curved treadmill's slats can dent LVP over time, while motorized treadmill vibration can cause micro-abrasions.
Electrical Warning for Motorized Units: The Bowflex T6 and similar motorized treadmills require a dedicated 15-amp circuit. Plugging a motorized treadmill into a shared circuit with a space heater or air conditioner will cause voltage drops, leading to premature motor controller failure and voided warranties. Always use a UL-listed surge suppressor rated for at least 4000 joules.Motorized Setup Walkthrough: Assembling the Bowflex T6
Motorized treadmill assembly is primarily an exercise in cable management and upright stabilization. The most common failure point during setup is pinching the console data cable between the metal uprights.
Step 1: Base and Upright Positioning
- Position the folded deck base on your mat. Use a block of wood to temporarily support the rear of the deck to prevent it from scraping the floor.
- Feed the console cable through the left upright tube. Pro Tip: Tape the connector to the outside of the tube to prevent it from falling inside the hollow steel frame.
- Bolt the uprights to the base using the provided M8 x 15mm hex bolts. Do not fully tighten until both sides are threaded to ensure the frame remains square.
Step 2: Console Wiring and Handrail Attachment
Connect the ribbon cable to the console PCB. Ensure the locking tab clicks into place; a loose connection here is the primary cause of 'E1' communication errors on first boot. Attach the handrails, routing the heart rate sensor wires through the designated channels to avoid crimping.
Step 3: Belt Tension and Tracking
Factory belts are intentionally shipped loose to prevent roller deformation during transit. Using the included hex key, turn both rear roller adjustment bolts clockwise exactly 1.5 turns. Plug in the machine, insert the magnetic safety key, and run the belt at 3.0 MPH. If the belt drifts left, tighten the left rear bolt by a quarter-turn and loosen the right by a quarter-turn. Never over-tension a motorized belt, as this creates excessive friction that will burn out the 2.75 CHP motor.
Curved Manual Setup Walkthrough: Slat-Belt Assembly
Curved treadmills eliminate electrical hazards but introduce heavy mechanical lifting and precise bearing alignment. According to biomechanics research highlighted by the Centers for Disease Control and Prevention (CDC), manual treadmills require up to 30% more energy output from the user, meaning the physical frame must withstand significantly higher torsional forces during sprint intervals.
Step 1: Frame Unfolding and Locking
Because the curved chassis is a single welded piece of heavy-gauge steel, it arrives folded. With two assistants, lift the unit by the designated frame points (never by the handlebars) and unfold it until the heavy-duty locking pins click into the receiver holes. Verify the pins are fully seated; a partially engaged pin will shear under the dynamic load of a sprint.
Step 2: Slat Belt Lubrication
Unlike continuous motorized belts that require liquid silicone, the polyurethane slats on a curved treadmill glide on internal ball-bearing tracks. Apply a PTFE (Teflon) dry lubricant to the lateral guide rails. Liquid silicone attracts dust and hair, which will eventually bind the slat bearings and cause a jerky running experience.
Step 3: Leveling the Chassis
Curved treadmills are highly sensitive to uneven floors. If the frame is torqued, the slat belt will track to one side and grind against the side rails. Use a 24-inch carpenter's level across the width of the running surface. Adjust the four threaded leveling feet at the base of the frame until the bubble is perfectly centered.
'The most overlooked step in curved treadmill installation is frame leveling. A 2-degree tilt on your garage floor translates to severe lateral belt drift and premature bearing wear on a manual slat system.'
Safety Protocols and First-Run Calibration
The U.S. Consumer Product Safety Commission (CPSC) consistently reports that treadmill-related injuries peak during the first month of ownership, often due to improper assembly or lack of clearance space. Ensure you maintain a minimum of 24 inches of clearance on both sides and 78 inches behind the machine to allow for safe ejection in the event of a fall.
Testing the Safety Mechanisms
- Motorized (Bowflex T6): Attach the magnetic lanyard to your clothing. Step off the side rails and pull the lanyard. The deck should halt within 2.5 seconds. Test the auto-incline by running a 5-minute warmup program; listen for grinding in the lift actuator, which indicates a misaligned base.
- Curved Manual: Test the magnetic resistance brake. Push the resistance lever to maximum and attempt to push the belt with your hands. It should require substantial force. If the belt spins freely, the magnetic brake caliper needs realignment via the tension cable under the console.
Post-Installation Maintenance Framework
A successful setup is only the beginning. To protect your investment, implement this 2026 maintenance schedule:
- 30 Days: Re-check all M8 and M10 frame bolts. Vibration from initial use will cause micro-settling, loosening hardware by up to a half-turn.
- 90 Days: For motorized units, vacuum beneath the motor hood (unplugged) to remove drywall dust and pet hair that choke the motor fan. For curved units, inspect the slat tension and reapply PTFE dry lube.
- 1 Year: Motorized belts stretch. Expect to perform a secondary belt tensioning. Curved treadmills may require individual slat replacement if high-impact sprinting has caused micro-fractures in the polyurethane.
Expert Verdict: Which Setup Fits Your Home Gym?
If your home gym features standard 120V wiring, limited ceiling height, and you prefer automated incline programming, the motorized setup of the Bowflex T6 offers a streamlined, tech-forward installation. However, if you are building a high-performance garage gym, want to eliminate electrical fire risks, and are willing to invest the extra hour into precise mechanical leveling, a curved manual treadmill provides a superior, zero-maintenance biomechanical experience once the initial heavy lifting is complete.
More gear to consider
All reviews
Air Bike vs Assault Bike Guide: Plus What is Speed 4 on a Treadmill

Home Stair Climber Guide: Deer Run Treadmill Weight Limit Myths

NordicTrack Treadmill Models: 2026 Small-Space Folding Review

How Long to Walk 10 000 Steps on Treadmill: Space & Belt Care

Preparing for a Nuclear Stress Test on Treadmill: 2026 Folding Treadmill for Small Spaces Review
