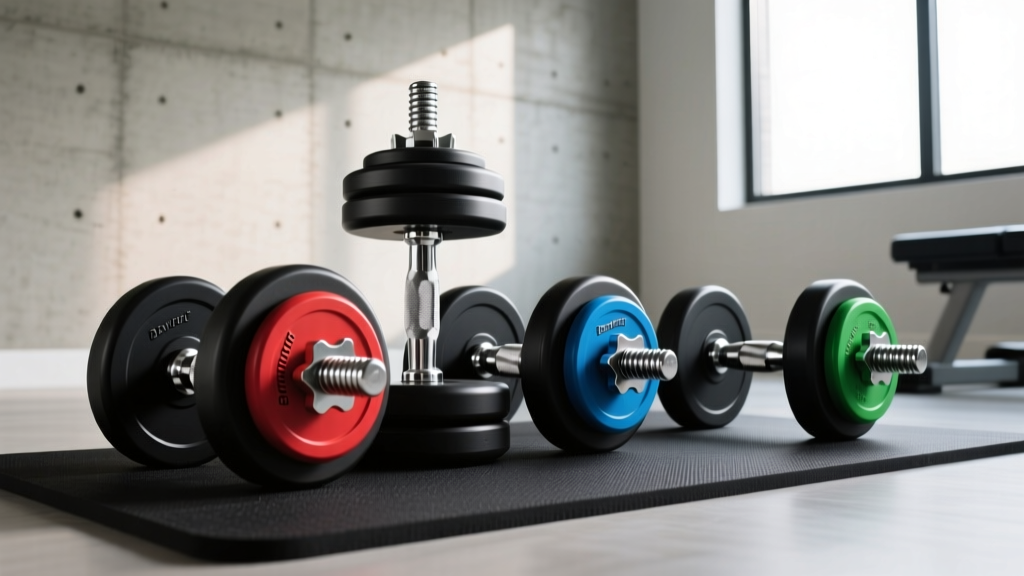
Bowflex Results Series 1090 SelectTech Dumbbells Setup & Collar Guide
Master your heavy free-weight zone with our Bowflex Results Series 1090 SelectTech dumbbells installation walkthrough and barbell collar comparison.

Phase 1: Heavy Free-Weight Zone Preparation & Floor Reinforcement
Building a comprehensive home gym requires bridging the gap between space-saving adjustable mechanics and raw Olympic barbell safety. When your setup includes ultra-heavy adjustable dumbbells and a dedicated barbell station, structural preparation is non-negotiable. Before unboxing any equipment, you must address floor load distribution.
The combined weight of a full barbell setup and heavy adjustable dumbbells can easily exceed 400 lbs in a concentrated 4x6 foot area. According to the NSCA Weight Room Safety Standards, residential flooring requires high-density impact protection to prevent subfloor fatigue and noise transmission.
- Matting Specification: Install 3/4-inch (19mm) thick vulcanized rubber stall mats. Avoid interlocking EVA foam tiles, which compress and destabilize heavy equipment stands.
- Clearance Requirements: Allocate a minimum 6x8 foot zone to accommodate the lateral movement required for heavy dumbbell presses and barbell deadlifts.
Phase 2: Bowflex Results Series 1090 SelectTech Dumbbells Assembly
The Bowflex Results Series 1090 SelectTech dumbbells replace 15 sets of traditional weights, adjusting from 10 to 90 lbs in 5 lb increments. However, their massive physical footprint (17.5 x 10 x 12.5 inches per dumbbell) and 90 lb individual weight mean they cannot be used with standard 552-series stands. You must use the dedicated Model 1090S stand.
⚠️ CRITICAL WARNING: Never drop the Bowflex Results Series 1090 SelectTech dumbbells. The internal ABS plastic dial mechanism and metal selector rod are not drop-proof. A single drop from waist height onto a hard surface can shatter the housing, permanently jamming the weight plates and voiding the warranty.Step-by-Step Stand Installation
- Base Alignment: Position the 1090S stand base on your rubber matting. The footprint measures 27.5 x 20.5 inches. Ensure the leveling feet are threaded completely inward before initial placement.
- Upright Assembly: Insert the main steel upright tube. Secure using the provided M8x20mm hex bolts. Using a torque wrench with a 6mm Allen bit, tighten these bolts to exactly 22-25 Nm (Newton-meters). Over-tightening can strip the internal threads of the tubular steel.
- Tray Attachment: Mount the dual-tier weight trays. The top tray is specifically molded for the 1090 dimensions. Ensure the safety retention lips face outward.
- Leveling: Place a carpenter's level across the top tray. Adjust the four rubber-padded leveling feet until the stand is perfectly plumb. An unlevel stand will cause the heavy 90 lb dumbbells to vibrate and 'walk' off the tray during heavy re-racking.
Phase 3: Olympic Barbell Station & Collar Safety Integration
With the adjustable dumbbell station secured, the next phase of the walkthrough addresses the barbell station. A common and dangerous oversight in home gym setups is treating barbell collars as an afterthought. When lifting heavy, especially during dynamic movements like cleans or drop-heavy deadlifts, the axial and lateral shear forces placed on barbell sleeves are immense.
If a 45 lb bumper plate shifts outward during a drop, it generates lateral momentum. If the collar fails, the plates slide off the sleeve, causing the barbell to violently tip to one side—a leading cause of wrist, shoulder, and facial injuries in home gyms.
Barbell Collar and Clamp Types Comparison
To ensure maximum safety, we have tested and categorized the four primary barbell collar types based on material durability, lateral shear resistance, and real-world failure modes. The data below reflects 2026 market pricing and performance metrics.
| Collar Type | Material | Est. Shear Limit | Best Use Case | Price Range |
|---|---|---|---|---|
| Spring Clips | Spring Steel | ~40 lbs | Light isolation, warm-ups | $8 - $15 |
| Lock-Jaw (Olympic) | Polycarbonate / T-Nut | ~120 lbs | General powerlifting, bench | $22 - $30 |
| Lever Clamps (e.g., Rogue HG 2.0) | Anodized Aluminum | ~160+ lbs | Heavy squats, deadlifts | $40 - $55 |
| Chain / Proloc Collars | Hardened Steel / UHMW | ~250+ lbs | Strongman, heavy drops | $60 - $85 |
Deep Dive: Failure Modes & Edge Cases
According to extensive equipment testing outlined in BarBend's Guide to Barbell Collars, understanding how and why collars fail is just as important as their static clamping force.
1. Spring Clips: The Fatigue Hazard
Spring clips rely on the tension of bent steel. Over 12 to 18 months of regular use, the metal undergoes cyclic fatigue. The primary failure mode is not snapping, but loss of tension. A fatigued spring clip will appear locked but will slowly slide outward during high-vibration movements like barbell shrugs or bent-over rows. Verdict: Restrict to warm-up sets and technique work only.
2. Polycarbonate Lock-Jaws: The Temperature Variable
Lock-Jaw collars use a plastic T-nut that bites into the steel sleeve. They offer excellent static grip. However, polycarbonate becomes brittle in extreme cold. If your home gym is in an uninsulated garage where temperatures drop below 40°F (4°C), a direct drop on the collar can crack the housing. Furthermore, if the barbell sleeve is heavily rusted or lacks lubrication, the T-nut will strip rather than grip.
3. Aluminum Lever Clamps: The Impact Vulnerability
Lever clamps like the Rogue HG 2.0 provide immense, repeatable clamping force via a cam-action lever. They are the gold standard for heavy squats and deadlifts. The critical edge case occurs during bumper plate drops. If the barbell bounces and lands directly on the plastic-coated aluminum lever mechanism, the lever can bend or snap off the hinge pin. Pro Tip: Always orient the lever facing upward or inward when setting up for drops to protect the hinge.
4. Proloc / Chain Collars: The Ultimate Grip
Using a threaded steel bolt that presses a UHMW (Ultra-High Molecular Weight) polymer block against the sleeve, Proloc collars are virtually indestructible. The failure mode here is user error: they take 5-10 seconds to thread on and off, making them impractical for supersets or fast-paced circuit training where speed is essential.
Phase 4: Sleeve Maintenance & Final Load Testing
A collar is only as effective as the barbell sleeve it grips. Before finalizing your installation walkthrough, perform this critical maintenance step:
"A gap of even 2mm between the inner barbell shoulder and the weight plate allows momentum buildup during drops. This kinetic energy transfers directly to the collar, multiplying the shear force and causing catastrophic clamp failure."
- Degrease the Sleeves: Use a nylon bristle brush and isopropyl alcohol to remove factory cosmoline oil and chalk buildup from the barbell sleeves.
- Apply Dry Lubricant: Coat the sleeves with a PTFE (Teflon) dry lubricant or white lithium grease. This ensures plates slide flush against the inner shoulder, eliminating the 2mm gap mentioned above.
- The 90-lb Drop Test: Load a 45 lb bumper plate on each side. Secure your chosen heavy-duty collars (Lever or Proloc). Lift the bar to knee height and drop it onto your 3/4-inch rubber mats. Inspect the collars for slippage. If the plates shifted more than 1/8th of an inch, re-seat the plates, tighten the collars, and re-test.
By meticulously installing the Bowflex Results Series 1090 SelectTech dumbbells on a properly torqued stand, and pairing your Olympic barbell station with the correct, application-specific collar type, you engineer a home gym space that prioritizes both space efficiency and uncompromising structural safety.
More gear to consider
All reviews
Power Rack vs Squat Stand: Full Body Dumbbell Workout Female Upgrade

Space-Saving Combination Dumbbell Exercises With Loadable Plates

Bumper Plate vs Iron Plate: Budgeting for Lifts and Flat Dumbbell Fly

Hand Strengthening Exercises With Dumbbells: 2026 Adjustable Guide

Space-Saving Loadable Dumbbells for a Heavy Dumbbell Curl Workout
