
Rowing Machine Guide & Technique vs ProForm SpaceSaver Treadmill
Master rowing machine technique and buying criteria. We compare top rowers to the ProForm SpaceSaver treadmill for small home gyms in this step-by-step guide.

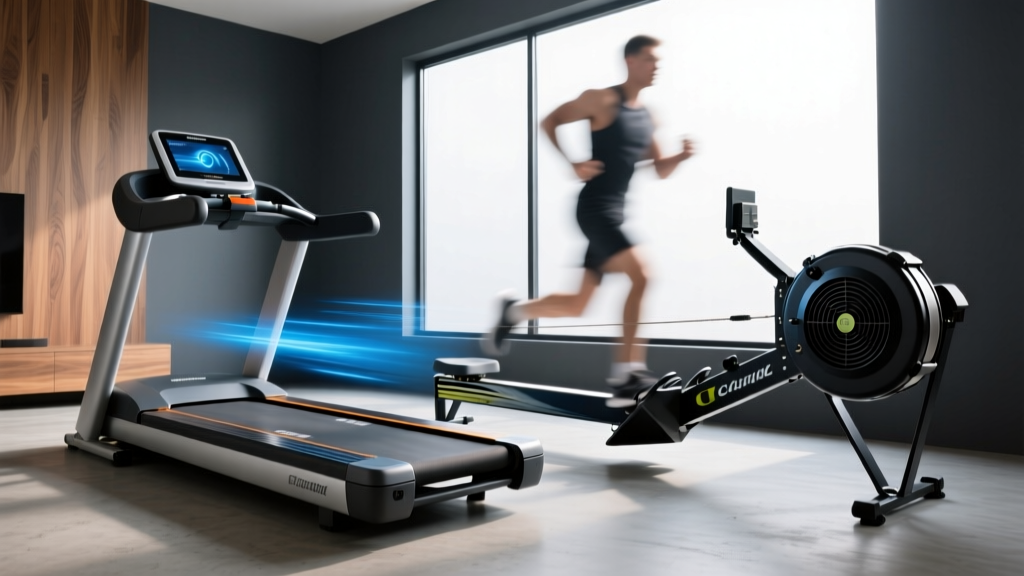
The Small Home Gym Dilemma: Rower vs. ProForm SpaceSaver Treadmill
When outfitting a compact home gym, beginners often face a critical spatial and functional dilemma: should you invest in a folding treadmill or a stowable rowing machine? Many gravitate toward a ProForm SpaceSaver treadmill because the folding deck technology (like the hydraulic folding system on the SpaceSaver 7.5S) allows the unit to collapse into a 28-inch by 32-inch footprint. However, while a space-saving treadmill excels at lower-body cardiovascular conditioning, it completely neglects the upper body and core.
Rowing machines, conversely, engage 86% of the body's musculature per stroke, offering a highly efficient, low-impact alternative that meets the American Heart Association's guidelines for vigorous aerobic activity. Modern rowers can be stored vertically, taking up a mere 2-foot by 2-foot floor square when not in use. This step-by-step guide will walk you through the buying criteria, exact technique mechanics, and how to choose between these two cardio giants for your specific fitness needs.
Decision Matrix: Rowing Machine vs. Space-Saving Treadmill
Before diving into rowing technique, use this data-driven framework to determine which machine aligns with your physiological goals and spatial constraints.
| Feature | Stowable Rowing Machine | ProForm SpaceSaver Treadmill |
|---|---|---|
| Muscle Engagement | 86% (Full Body: Legs, Core, Back, Arms) | 40% (Lower Body: Calves, Quads, Glutes) |
| Joint Impact | Zero-impact (Seated, fluid motion) | High-impact (Running) to Low-impact (Walking) |
| Caloric Burn (150lb user/hr) | 500 - 700 kcal | 300 - 600 kcal (depending on incline/speed) |
| Active Footprint | ~84" L x 24" W | ~70" L x 28" W |
| Stored Footprint | ~24" L x 24" W (Vertical Stand) | ~28" L x 32" W (Folded Deck) |
Step-by-Step Rowing Machine Buying Guide for Beginners
If the full-body engagement and vertical storage of a rower win you over, your next step is selecting the correct resistance type. The resistance mechanism dictates the machine's noise level, maintenance requirements, and overall feel.
1. Air Resistance (The Gold Standard)
Air rowers use a flywheel with fan blades; the harder you pull, the more resistance is generated. They are the standard for competitive rowing and CrossFit. Drawback: They are notoriously loud, producing a distinct 'whoosh' that can disrupt household members. Price Range: $900 - $1,100.
2. Magnetic Resistance (The Quiet Contender)
Magnetic rowers use electromagnets to create drag on a metal flywheel. They are virtually silent and offer precise, digitally adjustable resistance levels. This makes them ideal for apartments or shared living spaces. Price Range: $400 - $1,500.
3. Water Resistance (The Aesthetic Choice)
Water rowers feature a polycarbonate tank filled with water and internal paddles. They replicate the exact sound and feel of a boat gliding through water. Maintenance Note: You must add purification tablets every 6 months to prevent algae growth. Price Range: $800 - $1,400.
4. Hydraulic Resistance (Avoid for Serious Training)
Hydraulic rowers use pistons attached to the handles. While they are incredibly cheap ($150 - $300) and compact, they offer a jerky, unnatural stroke and lack the leg-drive mechanics of true rowing. We advise beginners to skip this category entirely.
Beginner Technique: The 4-Phase Stroke Sequence
According to the biomechanical standards outlined by Concept2's official technique guides, rowing is not an arm exercise; it is a power-transfer sequence. Beginners should aim for a stroke rate of 18 to 22 strokes per minute (spm) while focusing on the 1:2 ratio (the drive takes one second, the recovery takes two seconds).
The Step-by-Step Sequence
- The Catch (Starting Position): Shins are perfectly vertical. Arms are completely straight, shoulders are relaxed, and your torso is hinged forward to the '11 o'clock' position. Your heels may lift slightly.
- The Drive (Power Phase): Initiate the movement by pushing explosively with your legs. Do not pull with your arms yet. Once your legs are nearly straight, hinge your core backward to the '1 o'clock' position. Finally, draw the handle to your lower ribs (sternum).
- The Finish (End Position): Legs are fully extended (but not hyperextended). Core is leaned back slightly at 1 o'clock. The handle is resting lightly against your lower ribs, wrists flat and parallel to the floor.
- The Recovery (Return Phase): Reverse the sequence exactly. Extend your arms fully first. Hinge your torso forward from the hips back to 11 o'clock. Only when the handle clears your knees should you bend your knees and slide back to the Catch.
Common Beginner Failure Modes & How to Fix Them
When transitioning from a treadmill to a rower, beginners often carry over bad postural habits. Watch out for these specific edge cases that lead to injury or inefficient power output:
- Shooting the Slide: This occurs when your hips and seat move backward before your shoulders and the handle. It places immense, dangerous shear force on the lumbar spine. Fix: Ensure your arms remain locked until your legs are 75% extended.
- Over-compressing at the Catch: Sliding too far forward causes your shins to pass the vertical line, forcing your heels to lift excessively and crushing your hip flexors. Fix: Stop the slide the moment your shins reach a 90-degree vertical angle.
- The 'Death Grip': Squeezing the handle tightly leads to premature forearm fatigue (the 'pump'). Fix: Hook your fingers around the handle like a hook; your thumbs should rest lightly on top, not wrap tightly underneath.
Expert Insight: If you experience lower back pain after rowing, 90% of the time it is due to a weak core failing to maintain the 11-to-1 o'clock torso hinge, causing the lumbar spine to round during the Drive phase. Focus on core bracing before increasing your drag factor.
Top 2026 Rowing Machine Picks for Compact Spaces
If you have decided that a rower better suits your full-body conditioning goals compared to a folding treadmill, here are the top tier models for 2026 that prioritize space efficiency without sacrificing biomechanical integrity.
1. Concept2 RowErg (Standard Legs)
Price: $990 | Resistance: Air
The undisputed king of indoor rowing. While it doesn't fold, it separates into two pieces in under 10 seconds using a quick-release frappe pin, making it easy to slide under a bed or stand in a closet. The PM5 monitor is the industry standard for accurate data tracking.
2. Hydrow Wave
Price: $1,495 | Resistance: Electromagnetic
Designed specifically for smaller homes, the Wave is 20% smaller than the original Hydrow. It offers a completely silent magnetic drag system and an immersive 16-inch touchscreen for guided, on-water workouts. It stores vertically with an optional floor anchor.
3. NordicTrack RW900
Price: $1,199 | Resistance: Magnetic/Silent
A fantastic mid-tier option that folds vertically on its base rail. It features a 14-inch pivoting screen for iFIT integration, allowing you to take global rowing classes. The magnetic resistance is exceptionally smooth, though it lacks the infinite dynamic drag of an air flywheel.
Frequently Asked Questions
Can I just buy a ProForm SpaceSaver treadmill instead?
If your primary goal is marathon training, walking pad integration for a standing desk, or if you have severe upper-body joint restrictions that prevent pulling motions, a ProForm SpaceSaver treadmill is an excellent investment. However, for general weight loss, muscular endurance, and maximum caloric burn per minute, the rowing machine provides a vastly superior ROI.
How often should a beginner row?
Start with three 20-minute sessions per week. Focus entirely on maintaining the 1:2 drive-to-recovery ratio and keeping your stroke rate under 22 spm. As your cardiovascular base improves, you can transition to interval training (e.g., 500-meter sprints).
More gear to consider
All reviews
Elliptical vs Treadmill for Home Cardio & Donate Treadmill Pickup

Elliptical vs Treadmill Budget & Silicone Lube for Treadmill Care
When Was the Treadmill Invented? Treadmill vs. Rower History & Guide

Prevent Treadmill Burn: Motor Size & Horsepower Guide

Horizon T101 Treadmills: Belt Maintenance & Lubrication
