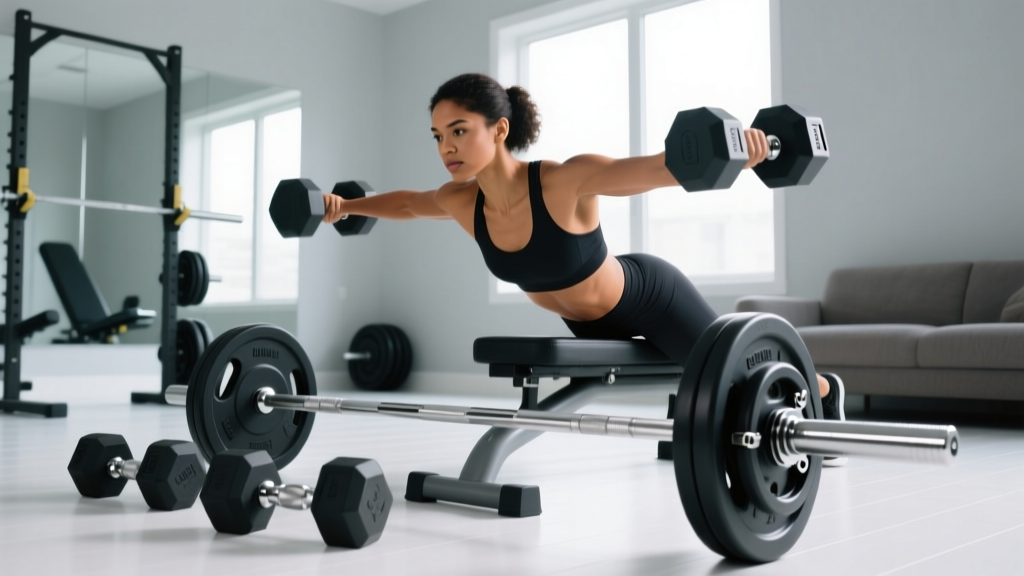
Barbell Rack Setup: Knurling & What Muscles Do Dumbbell Press Work
Master your Olympic barbell setup with our 2026 knurling guide and rack installation walkthrough, plus a biomechanics breakdown of dumbbell pressing.

Phase 1: Unboxing and Inspecting Your Olympic Barbell
Building a elite-tier home gym in 2026 starts with the foundation of your lifting station: the Olympic barbell and power rack. Before you even touch a wrench to assemble your rack, you must understand the implement you will be loading. The standard men's Olympic barbell weighs exactly 20kg (44 lbs), but the engineering beneath the chrome or cerakote finish dictates its performance. When selecting your bar, the two most critical factors are shaft diameter and knurling profile.
Decoding Knurling Profiles
Knurling is the cross-hatched pattern machined into the steel shaft. It is not merely for grip; it is a tactile interface that dictates bar security during heavy compound lifts. There are three primary knurling geometries you will encounter in the current market:
- Volcano Knurling: The gold standard for powerlifting and hybrid training. Machined to create a rim around each microscopic peak, it provides an aggressive grip that 'bites' the skin without tearing calluses. The Rogue Ohio Bar (approx. $315) popularized this profile.
- Mountain Knurling: Sharper and more pointed than volcano. It feels like gripping a cheese grater and is favored by deadlift specialists who need maximum friction for heavy singles, though it shreds hands during high-rep front squats.
- Hill Knurling: A mild, rounded profile designed for high-repetition Olympic weightlifting and WODs. It prevents skin tearing but offers less security for max-effort bench pressing.
Barbell Classification Matrix
| Bar Type | Shaft Diameter | Knurl Style | Center Knurl | 2026 Avg. Price |
|---|---|---|---|---|
| Powerlifting (IPF) | 29mm (Stiff) | Aggressive Volcano | Yes (Wide) | $320 - $380 |
| Weightlifting (IWF) | 28mm (Whippy) | Moderate Volcano | Yes (Narrow) | $800 - $1,200 |
| Multi-Purpose | 28.5mm (Hybrid) | Mild / Moderate | No | $250 - $300 |
Phase 2: Rack Assembly and J-Cup Calibration
With your barbell selected, the next step in our complete setup walkthrough is assembling the power rack. For this guide, we assume a standard 3x3-inch 11-gauge steel upright system (like the Rep Fitness PR-4000 or Rogue R-3). Proper installation is not just about stability; it is a critical safety protocol.
Step-by-Step J-Cup and Spotter Arm Placement
- Set J-Cup Height: Lie on the bench under the empty bar. Your wrists should be perfectly aligned with the bar when your arms are locked out. If you have to 'lift off' with bent elbows, the J-cups are too low, placing dangerous shear force on your rotator cuffs.
- Install Safety Spotter Arms: This is the most miscalibrated component in home gyms. Take a deep breath, expanding your ribcage to simulate a full-inhalation bench press descent. Set the spotter arms exactly 1 inch below your sternum at this expanded position. This allows you to flatten your back and exhale to escape a pinned bar, while still catching the weight before it crushes your ribs.
- Verify Upright Width: Ensure your bench is centered. The distance between the uprights should accommodate a standard grip without your knuckles grazing the steel during the lift-off.
Phase 3: Exercise Selection & Biomechanics (Barbell vs. Dumbbell)
Once your rack is bolted down and your bench is calibrated, you must program your pressing movements. While the barbell bench press is the undisputed king of absolute load and central nervous system (CNS) overload, a complete pressing setup requires dumbbells. When configuring your adjustable bench angles inside the rack, lifters often ask: what muscles do dumbbell press work compared to the barbell?
Targeted Muscle Activation Breakdown
According to biomechanical analyses cataloged by ExRx.net's Exercise Directory, the dumbbell press fundamentally alters the recruitment pattern due to the independent nature of the implements and the increased range of motion (ROM).
| Muscle Group | Barbell Bench Press | Dumbbell Bench Press |
|---|---|---|
| Pectoralis Major (Sternal/Lower) | Primary Mover (High Load) | Primary Mover (Deep Stretch) |
| Pectoralis Major (Clavicular/Upper) | Secondary (unless inclined) | Highly Active (Convergence at top) |
| Anterior Deltoids | High Activation | Moderate to High Activation |
| Triceps Brachii | Maximal Lockout Activation | Reduced (due to convergence arc) |
| Stabilizers (Rotator Cuff / Serratus) | Low to Moderate | Extreme (Prevents medial/lateral drift) |
Expert Insight: The dumbbell press forces the pectoralis major to perform horizontal adduction (bringing the arms across the body's midline) more completely than a fixed barbell. Furthermore, the intense demand placed on the supraspinatus and infraspinatus to stabilize the independent weights makes the dumbbell press an indispensable tool for shoulder health and hypertrophy, provided you have the proper rack clearance to execute the lift safely.
Phase 4: Loading Protocol and First Lift Walkthrough
Your rack is assembled, your barbell's knurling is inspected, and your biomechanical programming is set. Here is how to execute your first loaded session safely.
The Loading Sequence
Always load plates symmetrically to prevent the bar from flipping off the J-cups. In 2026, most premium racks feature sandwich-style J-cups with UHMW plastic liners. Ensure the plastic is facing inward to protect your barbell's chrome or cerakote finish from steel-on-steel gouging.
- Collar Selection: Use calibrated steel competition collars (2.5kg each) for heavy barbell work to prevent plate shift. For dumbbell setups, ensure your adjustable dumbbells (e.g., Nuobell or PowerBlock) are fully locked into the cradle before lifting.
- The Lift-Off: Retract your scapulae (pinch your shoulder blades together and down). Drive your feet into the floor to create leg drive. Unrack the bar by extending your elbows, not by sitting up.
- The Descent: Lower the bar to the lower sternum/xiphoid process at a 45-degree angle. Do not flare your elbows to 90 degrees, as this impinges the AC joint.
Phase 5: Long-Term Knurl and Rack Maintenance
A $350 barbell will rust and degrade within six months if neglected, especially in humid or garage gym environments. The chalk and dead skin that accumulate in the knurling valleys create a moisture trap that accelerates oxidation.
Weekly Maintenance Routine
- Brush the Knurl: Use a stiff nylon or brass wire brush (brass is softer than steel and won't damage the knurl peaks) to scrub out chalk and skin debris.
- Apply Protectant: Wipe the shaft down with a light coat of 3-in-One oil or a specialized barbell wax. Never use WD-40, as it is a solvent that strips existing protective oils and attracts dust.
- Inspect Rack Hardware: Every 90 days, re-check the torque on your rack's primary crossmember bolts. Steel expands and contracts with seasonal temperature shifts, which can loosen hardware over time.
By meticulously selecting your barbell's knurl profile, torque-specifying your rack installation, and understanding the distinct muscular demands of both barbell and dumbbell pressing, you transform a simple equipment purchase into a precision-engineered training environment. For further reading on safe spotting techniques and rack setup standards, consult the educational resources provided by the National Strength and Conditioning Association (NSCA).
More gear to consider
All reviews
EZ Curl Bar vs Straight Bar Longevity: Care Tips & Single Dumbbell Good Morning Alternatives

Dumbbells Drawing Plans: Rubber Hex vs Urethane Rack Layouts
Dumbbell Pectoral Exercises No Bench: Space-Saving Rack Layouts

Power Rack vs Squat Stand & Beginner Arm Workout with Dumbbells
Space Layouts for Hamstring Exercises at Home With Dumbbells