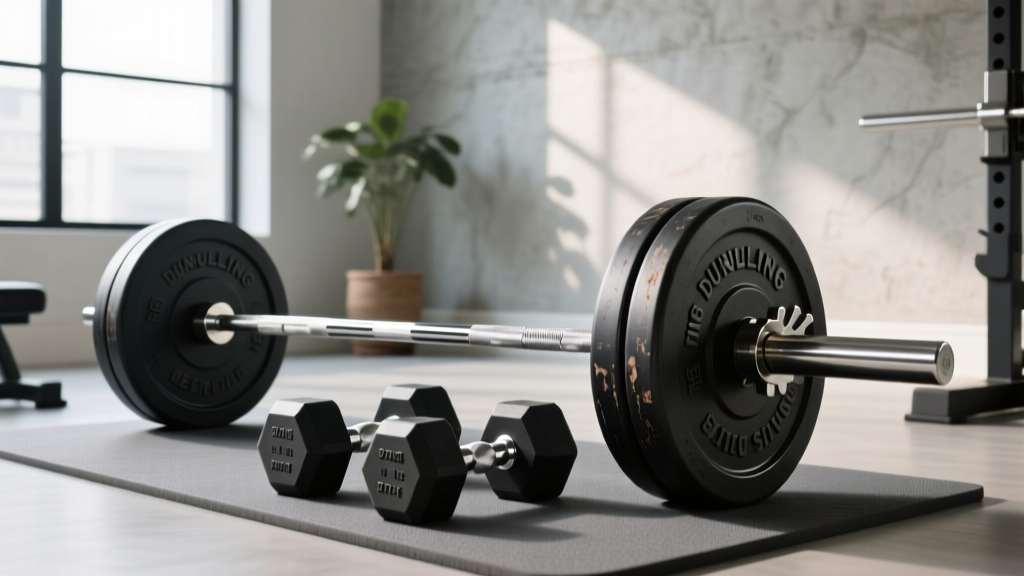
Barbell Knurling & Weight Guide: Seated Dumbbell Rear Delt Fly
Master our beginner Olympic barbell buying guide on weight and knurling, plus how to balance heavy pulls with the seated dumbbell rear delt fly.

The Foundation: Understanding Olympic Barbell Weight and Dimensions
Stepping into a home gym or commercial weight room for the first time can be overwhelming, especially when faced with a rack full of seemingly identical steel bars. However, not all barbells are created equal. When consulting an Olympic barbell buying guide, weight and knurling are the two most critical factors that dictate how the bar feels in your hands and performs under load.
According to the International Weightlifting Federation, standard Olympic barbells adhere to strict dimensional guidelines, but the market offers variations tailored to different lifting disciplines. The standard men's Olympic bar weighs exactly 20kg (44 lbs), features a 28mm to 29mm shaft diameter, and measures 220cm in total length. The women's Olympic bar weighs 15kg (33 lbs) with a thinner 25mm shaft, which is crucial for lifters with smaller hands to achieve a secure hook grip.
Beginner Tip: Tensile Strength MattersWhen evaluating barbell weight capacity, look for the tensile strength rating, measured in PSI (pounds per square inch). A quality beginner-to-intermediate barbell should have a tensile strength of at least 165,000 PSI. For a bar that will never permanently bend under heavy deadlifts, aim for 190,000 PSI or higher, which typically costs between $250 and $320 as of 2026.
Decoding Barbell Knurling: Mountain, Hill, and Volcano
Knurling is the cross-hatched pattern machined into the steel shaft of the barbell. It creates friction between your skin and the metal, preventing the bar from slipping during heavy pulls. For beginners, understanding knurling profiles is the secret to avoiding torn calluses and frustrating grip failures.
| Knurl Type | Profile Shape | Best For | Example Bar |
|---|---|---|---|
| Hill | Shallow peaks, rounded tops | High-rep conditioning, beginners with sensitive hands | Generic import bars |
| Mountain | Sharp, aggressive, deep valleys | Heavy powerlifting, low-rep max effort | Eleiko IPF Power Bar |
| Volcano | Deep valleys with flat, grippy rims | Multipurpose, Olympic lifting, daily training | Rogue Ohio Bar |
The 'Volcano' knurl is widely considered the gold standard for most lifters. It provides immense grip security without acting like a cheese grater on your shins during deadlifts. Additionally, pay attention to the center knurl. Weightlifting bars feature a smooth or lightly knurled center strip to grip the shirt during front squats and cleans, while powerlifting bars often have an aggressive center knurl to bite into the upper back during heavy low-bar squats.
Step-by-Step: Choosing Your First Olympic Barbell
- Define Your Primary Goal: If you are focusing on general fitness and hypertrophy, a multipurpose bar with a volcano knurl and 190k PSI tensile strength is your best investment.
- Check the Coating: Bare steel rusts quickly. Look for hard chrome, zinc, or Cerakote coatings. Stainless steel shafts offer the best corrosion resistance and feel closest to bare steel, though they command a premium price ($350+).
- Inspect the Bushings vs. Bearings: Bushings (bronze or composite) are ideal for slow, heavy strength lifts. Needle bearings are necessary if you plan to perform explosive Olympic lifts like the snatch and clean-and-jerk.
- Verify the Warranty: A reputable manufacturer will offer a lifetime warranty against bending. Avoid bars with only 30-day or 1-year warranties, as they often use low-grade steel that will permanently deform under loads exceeding 300 lbs.
Balancing Heavy Pulls: The Seated Dumbbell Rear Delt Fly
Why are we discussing dumbbells in an Olympic barbell buying guide? Because the equipment you buy dictates your training, and heavy barbell training requires structural balance.
When you invest in a high-quality barbell with aggressive knurling, you will naturally gravitate toward heavy pulling movements: bent-over barbell rows, deadlifts, and Pendlay rows. These exercises are phenomenal for building the latissimus dorsi, rhomboids, and mid-trapezius. However, they often leave the posterior deltoid (rear delt) under-stimulated. Over time, this muscular imbalance—where the lats and mid-back overpower the rear delts and rotator cuff—can lead to internally rotated shoulders and impingement issues.
To bulletproof your shoulders and ensure aesthetic and functional symmetry, you must pair heavy barbell pulling with targeted isolation work. The seated dumbbell rear delt fly is the ultimate corrective exercise for this exact scenario.
Biomechanical Insight: According to exercise databases like ExRx, the posterior deltoid acts primarily in shoulder horizontal abduction. By performing this movement seated, you completely remove the ability to use lower-back momentum (cheating), forcing the rear delt to move the load exclusively.
Step-by-Step Execution Guide
Beginners often make the mistake of grabbing heavy dumbbells and swinging the weight. The rear delt is a small muscle group; it requires precision, not ego-lifting.
- Step 1: The Setup. Sit on the edge of a flat utility bench. Plant your feet firmly on the floor, slightly wider than shoulder-width apart.
- Step 2: The Hinge. Hinge at your hips, leaning your torso forward until your chest is nearly resting on your thighs (roughly a 45-degree angle to the floor). Keep your spine neutral; do not round your lower back.
- Step 3: Weight Selection. For beginners, start with 10 lb to 15 lb dumbbells. If you cannot control the eccentric (lowering) phase for 3 seconds, the weight is too heavy.
- Step 4: The Sweep. Let the dumbbells hang straight down with a slight bend in your elbows. Initiate the movement by sweeping the weights out and up to the sides, leading with your elbows.
- Step 5: The Squeeze. Stop when your upper arms are parallel to the floor. Squeeze the rear delts hard for one full second, then slowly lower the weight back to the starting position over 2-3 seconds.
Programming Barbell Pulls and Rear Delt Isolation
To integrate your new Olympic barbell and your corrective dumbbell work into a cohesive routine, follow this simple volume ratio. For every two heavy barbell pulling sets you perform (e.g., Barbell Rows, Deadlifts), perform one set of direct rear delt isolation.
Sample 'Pull Day' Integration- Barbell Bent-Over Row: 4 sets x 6-8 reps (Utilizing your new barbell's volcano knurl for maximum grip)
- Romanian Deadlift: 3 sets x 8-10 reps
- Seated Dumbbell Rear Delt Fly: 4 sets x 12-15 reps (Focus on the mind-muscle connection and a slow eccentric)
- Face Pulls (Cable): 3 sets x 15-20 reps
Final Thoughts on Gear and Longevity
Buying your first Olympic barbell is a milestone in your fitness journey. By prioritizing a 190k+ PSI tensile strength, a versatile volcano knurl, and a durable coating, you are setting yourself up for decades of safe lifting. However, true expertise in the gym isn't just about moving the heaviest weight possible from point A to point B; it is about understanding the kinetic chain and addressing the weak links that heavy compound movements leave behind. Mastering the seated dumbbell rear delt fly ensures that the shoulders pulling that heavy, knurled steel remain healthy, balanced, and injury-free for years to come.
More gear to consider
All reviews
Leg Curl Alternative with Dumbbells: 2026 Rubber vs Urethane Trends
Dumbbell Challenge Survival: Rack Storage and Maintenance Care

Bowflex 552 Dumbbells and Stand: Complete Setup & Comparison Guide

Space-Saving Racks for Chest and Arm Exercises with Dumbbells
Bumper vs Iron Plate Care for Lower Ab Exercises With Dumbbells
