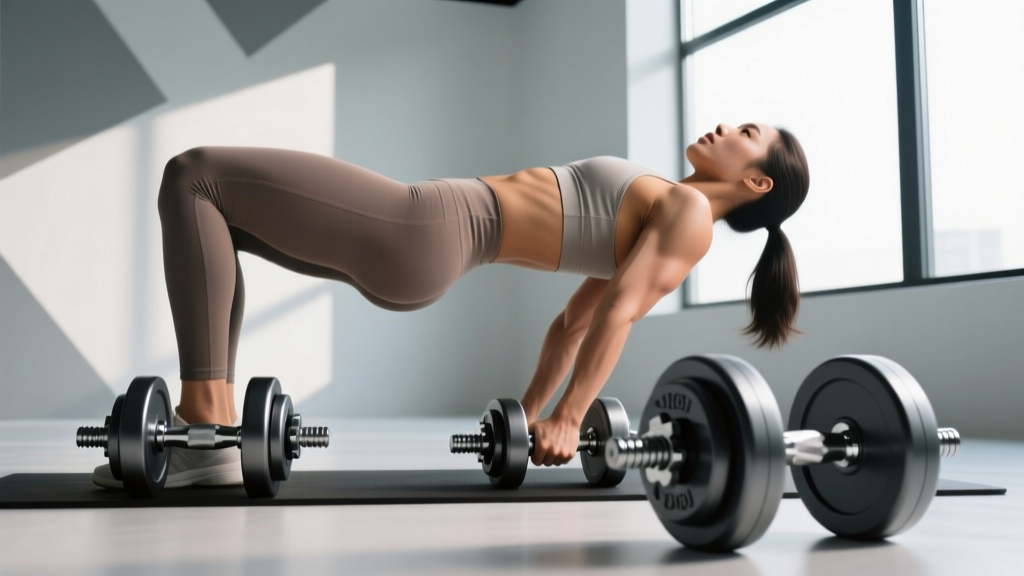
Olympic Barbell Buying Guide: Weight, Knurling & Dumbbell V-Ups Setup
Master your gym setup with our Olympic barbell buying guide covering weight and knurling, plus rack installation tips for safe dumbbell V-ups.

Designing a high-performance home gym in 2026 requires more than just purchasing premium equipment; it demands a strategic approach to spatial zoning, flooring dynamics, and equipment selection. Whether you are loading up a 500-pound deadlift or performing high-repetition core isolation work, your environment must support both extremes. This complete setup and installation walkthrough bridges the gap between heavy axial loading and dynamic floor movements, starting with a deep-dive Olympic barbell buying guide focused on weight tolerance and knurling, and concluding with precise rack installation and floor zoning to safely accommodate exercises like dumbbell V-ups.
The Foundation: Olympic Barbell Weight and Tensile Strength
The barbell is the single most important piece of free weight equipment in your arsenal. When evaluating an Olympic barbell, 'weight' refers not just to the standard 20kg (44lb) or 15kg (33lb) starting mass, but to the tensile strength and yield strength of the steel shaft. Tensile strength, measured in PSI (pounds per square inch), dictates how much load the bar can take before it physically snaps. Yield strength dictates when the bar will permanently bend.
- 165,000 - 180,000 PSI: Budget bars. Prone to permanent deformation if dropped with heavy loads. Avoid for serious home gyms.
- 190,000 - 200,000 PSI: The sweet spot for multi-purpose bars. Excellent for a mix of powerlifting and Olympic lifting.
- 210,000+ PSI: Elite competition bars. Extremely stiff, highly resistant to bending, but often comes with a premium price tag exceeding $800.
For a versatile home gym setup, a 205,000 PSI shaft offers the ideal balance of whip (elasticity) for Olympic cleans and stiffness for heavy squats. According to comprehensive testing by BarBend's barbell engineering experts, shaft diameter also plays a critical role here: 28mm is standard for IWF weightlifting (providing necessary whip), 29mm is the IPF powerlifting standard (maximizing stiffness), and 28.5mm serves as an excellent hybrid compromise.
Decoding Knurling Profiles: Grip vs. Tear
Knurling is the cross-hatched pattern machined into the steel shaft to provide friction. In 2026, manufacturers have refined knurling into three distinct geometric profiles, each drastically altering your lifting experience.
1. Volcano Knurling (The Gold Standard)
Pioneered by premium brands like Rogue Fitness, volcano knurling features a jagged, multi-peaked rim surrounding a shallow crater. This design provides immense surface area for grip without acting like a cheese grater on your shins during deadlifts. The Rogue Ohio Power Bar ($295) utilizes this exact profile, making it arguably the best value-to-performance barbell on the market.
2. Mountain Knurling (Aggressive)
Mountain knurling consists of sharp, pointed peaks with no flattened tops. It is highly aggressive and bites into the skin immediately. While excellent for max-effort deadlifts where grip is the limiting factor, it can cause tearing during high-volume hypertrophy work or dynamic cleans.
3. Hill Knurling (Passive)
Often found on budget Amazon imports, hill knurling features rounded, flattened peaks. It provides minimal grip and is generally not recommended for serious lifters, though it is gentle on the hands for casual pressing movements.
Expert Installation Tip: When mounting your barbell storage on a power rack, always use UHMW (Ultra-High Molecular Weight) plastic-lined J-cups. Bare steel or poorly painted J-cups will strip the knurling off your barbell within months of heavy racking.Rack Installation & Spatial Zoning Walkthrough
Once you have selected your barbell, the next phase of the setup is installing the power rack and zoning your floor space. A common mistake in home gym design is treating the floor as a single uniform surface. To support both heavy barbell drops and spinal-stabilizing core work, you must create distinct zones.
Step 1: Rack Anchoring and Footprint
For a standard 4x3 foot power rack (like the popular Rogue SML-2 Monster Lite Series), you must secure the unit to prevent tipping during failed lifts or aggressive kipping. If bolting to concrete is not an option, you must install rear stabilization feet and a front crossmember. Ensure the rack is positioned at least 12 inches away from any drywall to allow for barbell sleeve clearance and wall-mounted accessory storage.
Step 2: The Drop Zone vs. The Core Zone
Underneath and immediately surrounding the rack, install 3/4-inch (19mm) thick vulcanized rubber mats. This 'Drop Zone' absorbs the kinetic energy of dropped bumper plates, protecting both your concrete subfloor and the barbell's bearings. However, this thick, shock-absorbent rubber is terrible for floor-based core exercises. Performing movements on a soft, compressible surface forces the spine into unstable positions, reducing muscle activation and increasing injury risk. This brings us to the adjacent 'Core Zone'.
Integrating Core Work: Space Planning for Dumbbell V-Ups
The dumbbell V-up is a highly effective, advanced core exercise that targets the rectus abdominis and hip flexors by requiring simultaneous upper and lower body elevation while balancing a load. Unlike a standard bodyweight V-up, holding a pair of 10lb to 25lb hex dumbbells drastically increases the lever arm and resistance.
To safely integrate dumbbell V-ups into your home gym setup, you must account for both flooring density and spatial clearance.
Flooring Density for Spinal Alignment
Your 'Core Zone' should be situated just outside the rack's footprint, utilizing a much firmer surface. High-density EVA foam mats or 1/2-inch thick horse stall mats (which have a higher durometer rating than standard gym flooring) are ideal. The surface must be firm enough to support the pelvis and lower back without sinking, ensuring that the rocking motion of the V-up is controlled by the abdominal wall, not momentum absorbed by a squishy mat.
Clearance and Rack Proximity
A full V-up extension requires roughly 6 to 7 feet of longitudinal space depending on the lifter's height. If your Core Zone is positioned directly in front of the power rack, you must ensure that the dumbbells do not strike the uprights or safety straps at the apex of the movement.
'When programming weighted V-ups inside a confined home gym space, always orient the lifter perpendicular to the rack rather than parallel. This eliminates the risk of a dumbbell striking a steel upright during the eccentric lowering phase, protecting both the equipment and the lifter's wrists.' - Biomechanics and Spatial Planning Guidelines, Eleiko Sport Science
Equipment Matrix: Setup & Usage Profiles
| Equipment / Zone | Specification / Material | Primary Function | Setup Consideration |
|---|---|---|---|
| Powerlifting Barbell | 29mm shaft, 215k PSI, Volcano Knurl | Heavy Squat, Bench, Deadlift | Requires UHMW J-cups to preserve knurling |
| Olympic Weightlifting Bar | 28mm shaft, 190k PSI, Mild Knurl | Snatch, Clean & Jerk | Needs 8x8 ft clearance for bar path whip |
| Rack Drop Zone | 3/4' Vulcanized Rubber (75 Shore A) | Shock absorption for dropped plates | Must be glued at seams to prevent shifting |
| Core Zone (Dumbbell V-Ups) | 1/2' High-Density Firm Matting | Spinal support for weighted core work | Requires 7 ft longitudinal clearance from rack |
| Accessories (Hex Dumbbells) | 10lb - 25lb Urethane Hex | Added resistance for V-ups | Store on low tier to prevent rolling hazards |
Step-by-Step Final Walkthrough Checklist
- Subfloor Prep: Clean and level the concrete. Apply a moisture barrier if in a basement environment to prevent rubber mat degradation.
- Core Zone Layout: Place your high-density firm matting first, ensuring a 7-foot clearance radius for dumbbell V-ups and other full-extension floor work.
- Drop Zone Installation: Lay the 3/4-inch vulcanized rubber mats over the rack footprint, butting them tightly against the Core Zone mats without overlapping.
- Rack Assembly: Assemble the uprights and crossmembers. Use a torque wrench to tighten all Grade 8 hardware to the manufacturer's specified foot-pounds.
- Barbell Placement: Load the barbell onto UHMW-lined J-cups. Apply a light coat of 3-in-One oil to the shaft and sleeve bushings to prevent oxidation.
Frequently Asked Questions
Do I need a center knurl for my home gym barbell?
If you primarily back squat and front squat, a center knurl helps lock the bar against your traps or anterior deltoids. However, if you do high-rep cleans or deadlifts, an aggressive center knurl will tear the skin on your shins and chest. A 'ghost' or mild center knurl is the best compromise for 2026 multi-purpose home gyms.
Can I do dumbbell V-ups on the thick rubber drop mats?
It is not recommended. The 3/4-inch vulcanized rubber is designed to compress under hundreds of pounds of dropped iron. When your body weight presses into it during a V-up, it creates an uneven, sinking surface that compromises pelvic alignment and reduces the effectiveness of the abdominal contraction.
How often should I clean my barbell knurling?
Chalk and dead skin accumulate rapidly in the knurling valleys, turning a volcano profile into a smooth, useless hill profile. Use a stiff nylon brush (never brass or steel, which can damage the zinc or cerakote finish) and a light application of rubbing alcohol once a week to maintain optimal grip friction.
More gear to consider
All reviews
Triceps Kickbacks with Dumbbells: 2026 Neoprene Picks Compared
Beyond Toy Dumbbells: Cast Iron vs Competition Kettlebells
Olympic Barbell Buying Guide: Knurling & Dumbbell Leg Extensions

Space-Saving Delts Workout With Dumbbells: Loadable Plates & Layout

Barbell Collar & Clamp Types Comparison: Lifting to Dumbbell Pilates