Barbell Knurling Guide & Bowflex Dumbbell Workout Plan PDF Setup
Master your home gym setup with our Olympic barbell knurling and weight guide, plus tips to integrate your Bowflex dumbbell workout plan PDF.

Phase 1: Selecting Your Core Implement (The Barbell Deep Dive)
The foundation of any serious 2026 home gym installation begins long before you bolt uprights to the floor. It starts with selecting the right Olympic barbell. Understanding barbell weight tolerances, shaft diameter, and knurling profiles is critical to ensuring your equipment matches your training style. A standard men's Olympic barbell weighs 20kg (44 lbs) and features a 28mm shaft diameter, while women's spec bars weigh 15kg (33 lbs) with a 25mm shaft. However, the true differentiator in modern barbell engineering lies in the tensile strength and the knurling pattern.
Weight, Whip, and Tensile Strength
Tensile strength, measured in PSI (pounds per square inch), dictates how much weight the bar can hold before permanently deforming. For a comprehensive home gym setup, you want a bar with a minimum tensile strength of 190,000 PSI. Bars in the 190k–200k PSI range (like the ubiquitous Rogue Ohio Bar) offer a perfect balance of stiffness for heavy squats and enough 'whip' (flex) for Olympic lifts. In 2026, expect to pay between $295 and $350 for a high-quality, multi-purpose bar in this tier. If you are strictly powerlifting, look for 210k+ PSI bars with 29mm shafts to eliminate whip entirely during heavy bench presses.
Decoding Knurling Profiles
Knurling is the machined pattern on the steel shaft that provides grip. According to BarBend's comprehensive engineering breakdown, there are three primary knurling profiles you will encounter when unboxing your equipment:
- Hill: Smooth and rounded. Common on cheap, entry-level bars. Avoid these for serious training as they require excessive chalk and grip fatigue sets in quickly.
- Mountain: Sharp, pointed peaks. Found on dedicated powerlifting bars (e.g., Eleiko IPF power bars). They provide aggressive grip but will tear calluses during high-volume dynamic movements.
- Volcano: The gold standard for modern multi-purpose bars. The peaks are machined flat, creating a rim that bites into the skin without puncturing it. This provides maximum surface area contact and superior grip without destroying your hands.
| Knurl Profile | Aggressiveness | Ideal Setup Application | 2026 Avg. Price Range |
|---|---|---|---|
| Volcano | Medium-High | Multi-purpose racks, hypertrophy, Oly lifting | $295 - $380 |
| Mountain | Very High | Dedicated powerlifting racks, low-rep maxes | $350 - $500+ |
| Hill | Low | Light commercial, beginner home setups | $150 - $220 |
Phase 2: Rack Installation and Barbell Integration
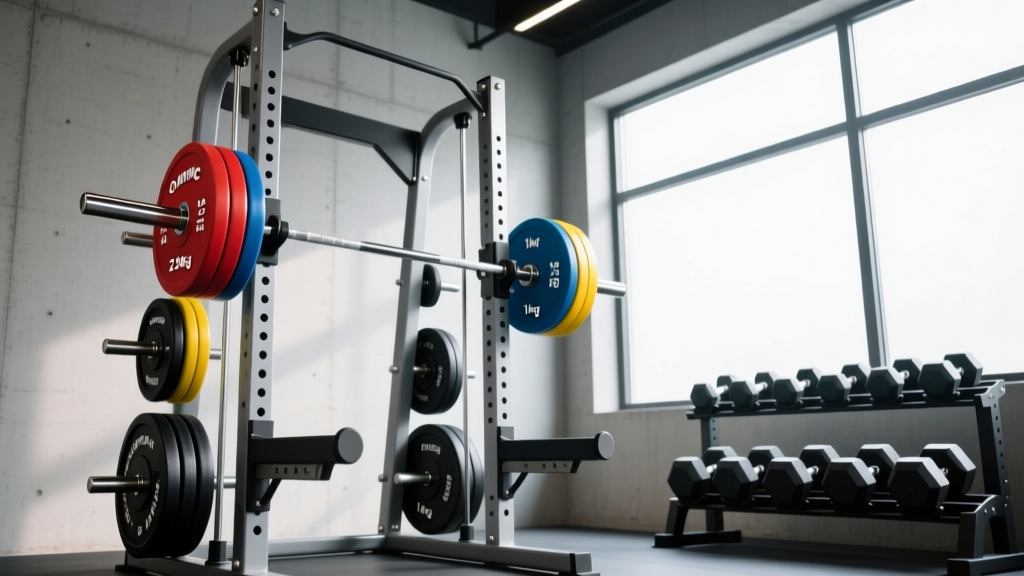
Once you have selected your barbell, the physical installation of your power rack or squat stand must accommodate its specific dimensions. Standard Olympic barbells have a total length of 86.5 inches, with 16.3-inch loadable sleeves. Here is your step-by-step walkthrough for integrating the bar into your rack setup:
- Measure the J-Cup Spacing: Standard power racks are 49 inches wide (outside upright to outside upright). However, if you are using a folding wall-mounted rack or a narrow squat stand, ensure the distance between your J-cups leaves at least 1.5 inches of clearance on each side of the barbell's inner sleeve collar. This accounts for barbell whip and prevents the collars from grinding against the uprights during heavy squats.
- Install UHMW Plastic Liners: Never let bare steel J-cups touch your barbell's knurling or zinc/black oxide finish. Install Ultra-High-Molecular-Weight (UHMW) polyethylene plastic inserts into your J-cups. This protects the knurling from blunt-force wear and reduces noise during reracking.
- Set Safety Spotter Heights: Load the bar with your working weight plates and place it on the J-cups. Set your safety straps or pin-pipes exactly one inch below the bar's resting point at the bottom of your squat or bench press. This ensures you can unrack safely without having to compress the bar's whip to clear the safeties on a failed rep.
Phase 3: Accessory Station Setup & The Bowflex Dumbbell Workout Plan PDF
A complete home gym installation is never just about the barbell and rack. To ensure balanced muscular development, correct bilateral imbalances, and manage joint fatigue, your setup must include an adjustable dumbbell station. This is where integrating a bowflex dumbbell workout plan pdf becomes invaluable for your weekly programming.
While your Olympic barbell handles heavy bilateral compounds (squats, deadlifts, presses), adjustable dumbbells allow for the unilateral isolation work detailed in these structured PDF routines. When mapping out your lifting zone, allocate a 3x3 foot footprint adjacent to your rack for a dumbbell cradle or adjustable bench.
Programming Integration: Download and print your bowflex dumbbell workout plan pdf and laminate it for your gym wall. Use the barbell for your primary A and B block movements (e.g., Barbell Back Squats, Bench Press). Then, transition to the dumbbell station for C and D block accessories outlined in your PDF, such as Bulgarian split squats, single-arm rows, and lateral raises. This hybrid setup maximizes the 2026 adjustable dumbbell weight ranges (typically 5-52.5 lbs per hand) while sparing your central nervous system from excessive barbell volume.According to fitness equipment analysts at Rogue Fitness, pairing a high-whip multi-purpose bar with a set of rapid-adjust dial dumbbells is currently the most space-efficient and biomechanically complete setup for garage gyms under 200 square feet.
Phase 4: Maintenance Walkthrough (Preserving Knurling and Sleeves)
The final step in your setup walkthrough is establishing a maintenance protocol. Dead skin, chalk, and humidity are the enemies of barbell knurling and sleeve bushings. If the valleys of your volcano knurl fill with debris, the bar effectively becomes a smooth 'hill' profile, ruining the grip you paid a premium for.
The 5-Minute Post-Workout Routine
- Brush the Shaft: Keep a stiff nylon or brass wire brush near your rack. (Use brass for bare steel or black oxide bars; use nylon for zinc or chrome finishes to avoid scratching). Brush the knurling in a circular motion to dislodge chalk and skin.
- Wipe the Sleeves: Use a microfiber cloth to wipe down the sleeves where the plates slide. Accumulated chalk here will grind down the bronze bushings or needle bearings inside the sleeve, causing the bar to stop spinning freely during cleans.
- Monthly Lubrication: Once a month, apply a few drops of 3-in-One oil or synthetic bearing oil to the seam where the sleeve meets the shaft. Wipe the shaft down with a lightly oiled rag to prevent oxidation, especially if your gym is in an unclimate-controlled garage.
For a deeper dive into long-term equipment care, refer to this detailed maintenance guide on BarBend, which outlines specific solvent ratios for stripping built-up magnesium carbonate without damaging the bar's protective coating.
Final Installation Checklist
Before you load your first plate, verify the following:
- [ ] Barbell tensile strength matches your primary training modality (190k+ PSI verified).
- [ ] J-cups feature UHMW plastic and are spaced to allow 1.5+ inches of sleeve clearance.
- [ ] Safety spotter arms are calibrated to your specific limb lengths and working ranges.
- [ ] Adjustable dumbbell station is positioned for easy transition, with your bowflex dumbbell workout plan pdf mounted and accessible.
- [ ] Brass/nylon brush and maintenance oil are stored on the rack's accessory pegs.
By meticulously selecting your barbell's knurling profile, properly installing your rack clearances, and integrating structured adjustable dumbbell accessory work, your 2026 home gym setup will rival any commercial facility in both functionality and longevity.
More gear to consider
All reviews
Adjustable Dumbbell Setup: Best Chest Workout Using One Dumbbell
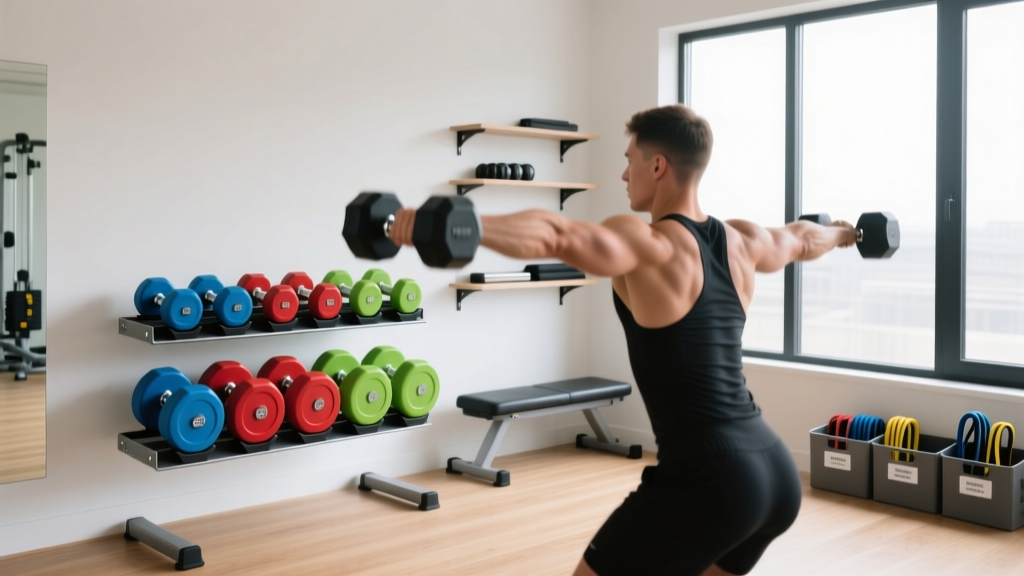
Compact Gym Layouts: Loadable Dumbbells and Dumbbell Reverse Flyes

Space-Saving Combination Dumbbell Exercises With Loadable Plates

Dumbbell Squat Machine vs Loadable Plates: 2026 Value Analysis

Loadable Plates vs Dial: Bowflex Dumbbell Exercises Cost Analysis