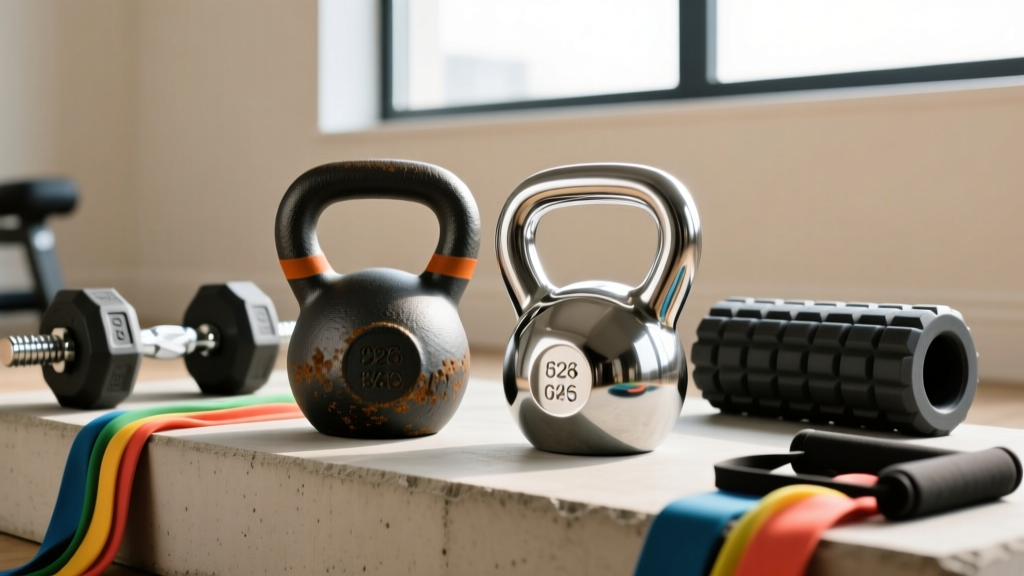
Barbell Knurling for a Bench Press and Dumbbell Workout Routine Setup
Master your home gym setup with our Olympic barbell buying guide. Learn weight specs, knurling types, and installation for hybrid lifting routines.

The Foundation: Selecting the Right Olympic Barbell
Setting up a dedicated home gym requires more than just purchasing raw metal; it demands a deep understanding of how equipment interacts with your specific programming. When building a station designed to support a hybrid bench press and dumbbell workout routine, the Olympic barbell serves as your primary anchor. The transition between heavy, bilateral barbell pressing and unilateral dumbbell isolation work requires a barbell that offers aggressive grip security without tearing your hands during high-volume accessory movements.
As of 2026, the market for Olympic barbells has bifurcated into budget imports and premium, precision-machined shafts. Understanding the nuances of barbell weight tolerances, tensile strength, and knurling profiles is critical before you even unbox the equipment. This complete setup and installation walkthrough will guide you through selecting, inspecting, and physically installing the perfect barbell and rack configuration for your hybrid training station.
Decoding Olympic Barbell Weight and Tensile Strength
The standard men's Olympic barbell weighs exactly 20 kilograms (44.09 pounds), though many domestic manufacturers produce 45-pound imperial equivalents. For serious lifters, the exact weight calibration matters. According to Eleiko's Olympic barbell specifications, premium competition bars are calibrated to within +/- 10 grams of the 20kg mark. Budget bars can fluctuate by up to a pound, which skews progressive overload tracking over a multi-year training cycle.
Tensile Strength and Shaft Whip
Tensile strength, measured in pounds per square inch (PSI), dictates how much load the bar can handle before permanently bending. For a bench press-focused setup, you want a minimum tensile strength of 190,000 PSI. Bars rated at 215,000 PSI or higher (like the Rep Fitness Excalibur or Rogue Ohio Power Bar) offer extreme rigidity. This stiffness is highly desirable for the bench press, as it eliminates the 'whip' or oscillation that can destabilize your pressing path during heavy singles or doubles.
Expert Insight: Avoid Olympic weightlifting bars (typically 28mm shaft, 165k-190k PSI) for dedicated bench press stations. The excessive whip and lack of a center knurl make them suboptimal for heavy, controlled pressing movements.The Knurling Matrix: Volcano, Mountain, and Hill
Knurling is the cross-hatched pattern machined into the steel shaft that provides friction against your skin. According to comprehensive Barbend's knurling analysis, there are three primary geometries you will encounter in 2026:
- Hill: Shallow, rounded peaks. Common on cheap, entry-level bars. It feels smooth and offers inadequate grip for heavy, sweaty bench presses.
- Mountain: Sharp, aggressive peaks that feel like coarse sandpaper. Excellent for deadlifts, but can tear the calluses on your hands during high-rep dumbbell flyes or triceps extensions performed immediately after your barbell work.
- Volcano: The gold standard for hybrid routines. The peaks are cratered at the top, creating a massive surface area of sharp edges that grip the skin aggressively without puncturing it. The Rogue Ohio Bar features a masterclass in volcano knurling.
The Center Knurl Debate
For a dedicated bench press setup, a center knurl is non-negotiable. It prevents the bar from sliding laterally across your shirt or chest during the eccentric lowering phase. However, if your routine incorporates power cleans or front squats, an aggressive center knurl will scrape your clavicles raw. Look for a 'passive' or 'light' center knurl, which provides enough friction to anchor the bar on a bench shirt without acting like a cheese grater on your neck.
2026 Barbell Comparison Matrix
| Barbell Model | Shaft Diameter | Knurl Type | Center Knurl | Est. Price (2026) |
|---|---|---|---|---|
| Rogue Ohio Bar | 28.5mm | Volcano | Yes (Passive) | $225 - $295 |
| Rep Fitness Excalibur | 28.5mm | Volcano | Yes (Aggressive) | $349 - $399 |
| Eleiko Olympic WL | 28.0mm | Mountain | No | $1,100+ |
| American Barbell Cali Bearing | 28.0mm | Hill/Mild Volcano | Yes (Mild) | $285 - $320 |
Complete Installation Walkthrough: Unboxing to Rack Mounting
Once you have selected the ideal barbell, the physical setup of your station dictates the flow and safety of your session. Follow this step-by-step installation protocol to prepare your rack for a seamless bench press and dumbbell workout routine.
Step 1: Unboxing and Acclimation
Olympic barbells are shipped with a heavy coating of cosmoline or light machine oil to prevent oxidation during transit. Do not immediately place the bar on your rack. Unbox the bar in a well-ventilated area and use a microfiber towel and a mild degreaser to strip the factory oil. Allow the bare steel to acclimate to your gym's ambient humidity for 24 hours before applying your own protective coating.
Step 2: Inspecting Bushings and Sleeve Spin
Slide a 45-pound bumper plate onto each sleeve. Spin the sleeve by hand. For a bench press bar, you want bronze or composite bushings, not needle bearings. Bushings provide a slow, controlled spin that prevents the plates from generating excessive rotational momentum when you unrack the bar. If the sleeve grinds or catches, contact the manufacturer immediately; this indicates a machining defect in the bushing housing.
Step 3: J-Cup Alignment and UHMW Protection
Position your flat bench inside the power rack or squat stands. The J-cups should be set at a height where your elbows are slightly bent when the bar is resting in them and your arms are fully extended upward. Typically, this places the J-cups at roughly eye level when you are lying supine on the bench.
Critical Warning: Ensure your J-cups are lined with UHMW (Ultra-High Molecular Weight) polyethylene plastic. Bare metal J-cups will instantly chew through the zinc or black oxide finish of your barbell's knurling and shaft, creating rust points and structural weak spots within weeks.
Spatial Layout for Hybrid Routines
The transition between the barbell bench press and subsequent dumbbell movements (such as incline presses, chest flyes, or skull crushers) is where most home gym setups fail. Walking across a room with 80-pound dumbbells wastes energy and increases injury risk.
Optimal Equipment Positioning
- The Anchor: Place your power rack against a solid wall, ensuring at least 36 inches of clearance on both sides of the sleeves for loading plates.
- The Bench: Center the bench inside the rack. Ensure the head of the bench is exactly aligned with the uprights to allow for safe unracking without straining the rotator cuff.
- Dumbbell Staging: Position a tiered dumbbell rack exactly 3 feet behind the head of the bench. This allows you to stand up, take two steps, grab your dumbbells, and sit on the bench without navigating around loaded barbell sleeves or plate trees.
- Floor Protection: Lay down 3/4-inch thick horse stall mats under the entire footprint. This absorbs the acoustic shock of dropping heavy dumbbells after a set to failure, protecting both your concrete slab and the cast iron of the weights.
Long-Term Maintenance Protocol
Even the most expensive Olympic barbell will degrade if neglected. The chalk, sweat, and dead skin that accumulate in the knurling valleys act as a sponge for moisture, leading to rapid oxidation. To maintain the aggressive grip required for your pressing movements, implement a bi-weekly maintenance routine.
Use a stiff nylon brush (never brass or stainless steel, which can damage softer zinc and oxide finishes) to scrub the knurling while rotating the shaft. Follow this by applying a few drops of 3-in-One oil or a dedicated barbell maintenance fluid to a rag, wiping down the entire shaft, and letting it sit overnight. This simple 10-minute process ensures your equipment remains safe, hygienic, and structurally sound for decades of heavy hybrid training.
More gear to consider
All reviews
V Shape Body Workout at Home with Dumbbells: 2026 Setup Guide

Dumbbell vs Barbell Curls: Best Neoprene Dumbbells for Home Use

Squat Rack vs Power Rack: Mistakes & Dumbbell Cardio Workout Fixes

Barbell Knurling Guide vs Flat Bench Chest Press with Dumbbells
Space Optimization: Loadable Plates and Wrist Curls with Dumbbells