
Best Barbell Collars for Squats & Dumbbell Side Shoulder Raise
Compare barbell collar and clamp types to secure your plates. Learn step-by-step how to choose the right clamp for heavy lifts and isolation routines.

The Foundation of Free Weight Safety
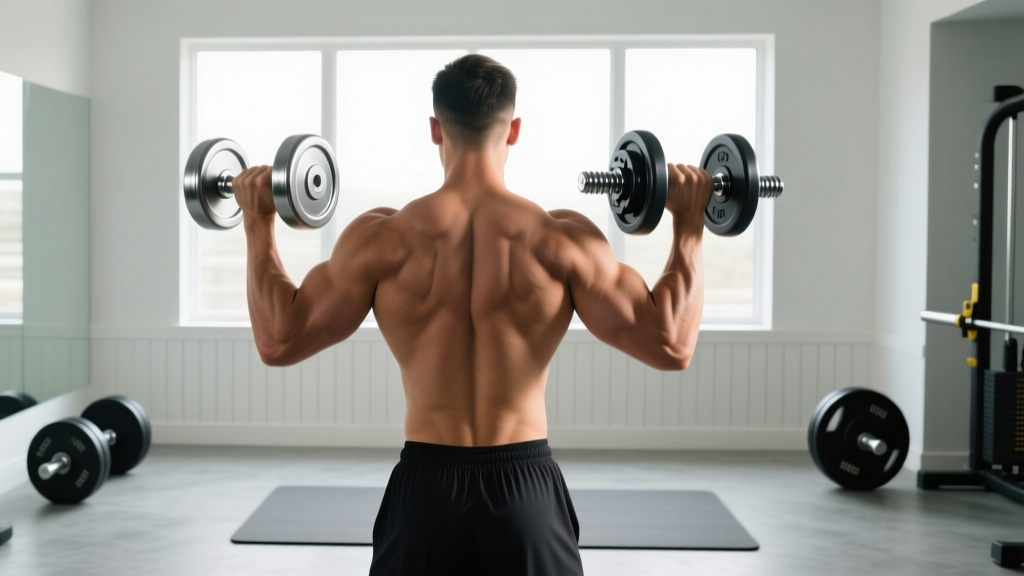
When designing a beginner-friendly free weight routine, you will encounter a wide spectrum of equipment, each with its own safety profile. You might start your upper-body day with isolation movements like the dumbbell side shoulder raise using fixed hex dumbbells. In that scenario, safety is dictated by your grip strength, the knurling quality, and the internal welding of the dumbbell head. However, the moment you transition to a barbell for compound lifts like squats, deadlifts, or overhead presses, the safety paradigm shifts entirely. The unsung hero of barbell training—and your primary fail-safe against catastrophic plate migration—is the barbell collar.
As of 2026, the fitness equipment market is flooded with collar variations, ranging from $2 wire springs to $90 precision-machined aluminum clamps. For a beginner, this variety can be overwhelming. Choosing the wrong collar doesn't just mean your plates might rattle; it can lead to asymmetric loading mid-lift, barbell whip instability, and severe injury. This step-by-step guide will walk you through the exact mechanics, materials, and use-cases for every major barbell collar and clamp type on the market.
⚠️ Beginner Safety Warning: Never perform dynamic barbell movements (like cleans, snatches, or even vigorous hip thrusts) without properly secured collars. The kinetic energy generated during the deceleration phase of a lift can easily overcome the friction of an unsecured sleeve, causing plates to slide outward and altering the bar's center of gravity in milliseconds.Step 1: Understand Your Barbell Sleeve Anatomy
Before purchasing any collar, you must verify your barbell's sleeve diameter. This is the most common mistake beginners make when upgrading their home gym.
- Standard Sleeves (1-inch / 25mm): Typically found on budget, entry-level barbells. The sleeves are smooth and lack the knurling or grooves found on professional bars.
- Olympic Sleeves (2-inch / 50mm): The industry standard for commercial gyms and serious home setups. These sleeves feature a machined surface, and many high-end bars include a subtle groove or knurled ring specifically designed to increase friction for collars.
The collar types compared below are designed for 50mm Olympic sleeves, as this is the standard you should be investing in for long-term progression.
Step 2: Compare the 4 Main Collar Types
1. Spring Clips (The False Economy)
Spring clips are the wire loops you see scattered across the floor of almost every commercial gym. They rely on the tensile strength of spring steel to clamp down on the sleeve.
- Average Cost: $3 - $8 per pair
- Material: Galvanized spring steel
- The Verdict: Avoid these for any lift over 135 lbs. Spring clips suffer from metal fatigue over time. As the steel loses its tensile memory, the clamping force degrades. Furthermore, they offer zero lateral stability if the barbell is dropped from a height, making them a liability for Olympic weightlifting or heavy deadlift drops.
2. Lock-Jaw Style Collars (The Polymer Workhorse)
Lock-Jaw collars utilize a heavy-duty nylon or glass-filled polymer body with a thermoplastic polyurethane (TPU) inner pad. You slide them onto the sleeve and snap the lever shut, creating a massive amount of inward compression.
- Average Cost: $15 - $25 per pair
- Material: Glass-filled nylon with TPU grip pad
- The Verdict: This is the best entry-level collar for 90% of beginners. They are incredibly secure for general powerlifting and bodybuilding. However, the plastic housing can crack if subjected to extreme temperature fluctuations in an unheated garage gym, and the TPU pad can compress and lose grip over years of heavy abuse.
3. Aluminum Competition Collars (The Gold Standard)
If you watch professional weightlifting or powerlifting meets, you will see CNC-machined aluminum collars. Models like the Rogue HG 2.0 Collars use a dual-locking mechanism: a primary lever to clamp the collar to the sleeve, and a secondary set-screw or secondary latch to lock the primary lever in place.
- Average Cost: $40 - $55 per pair
- Material: CNC-machined aircraft-grade aluminum
- The Verdict: The ultimate investment for serious lifters. They weigh exactly 2.5 kg (5.5 lbs) each, meaning they are factored into competition math. They will not crack, they will not warp, and they provide absolute zero-slip security even when a 500 lb deadlift is dropped onto a platform.
4. Lever-Action Clamps (The Heavy-Duty Specialist)
Lever-action clamps, such as those produced by Eleiko, use a mechanical cam-lever system encased in a steel or heavy aluminum housing. When you push the lever down, it drives a steel plate directly into the barbell sleeve with thousands of pounds of clamping force.
- Average Cost: $75 - $110 per pair
- Material: Hardened steel and precision aluminum
- The Verdict: Overkill for the average beginner, but mandatory for elite strongman athletes and commercial facilities where equipment is subjected to violent, repetitive impacts. They are heavier, bulkier, and more expensive, but virtually indestructible.
Step 3: The Ultimate Collar Comparison Matrix
Use this matrix to cross-reference your budget, lifting style, and security needs.
| Collar Type | Avg. Price (Pair) | Clamping Force | Drop-Rated? | Best For |
|---|---|---|---|---|
| Spring Clips | $5 | Low (Degrades) | No | Light warm-ups, accessory work |
| Lock-Jaw Polymer | $20 | High | Yes (Moderate) | General fitness, home gyms, bodybuilding |
| Aluminum HG | $45 | Extreme | Yes (Heavy) | Olympic lifting, heavy powerlifting |
| Lever-Action Clamp | $90+ | Maximum | Yes (Extreme) | Strongman, commercial gyms, elite lifting |
Step 4: How to Properly Secure Your Plates (Step-by-Step)
Having a $50 pair of aluminum collars is useless if you apply them incorrectly. Follow this exact protocol every time you load the bar.
- Load Flush: Ensure your heaviest plates (usually cast iron or steel) are loaded first, sitting completely flush against the inner sleeve lip. If you are using bumper plates, ensure they are stacked tightly with no gaps.
- Clear the Debris: Wipe the barbell sleeve with a microfiber cloth. Chalk dust and sweat create a lubricating layer that can reduce collar friction by up to 40%.
- Slide and Seat: Slide the collar onto the sleeve until it makes physical contact with the outermost plate. Do not leave a gap between the plate and the collar.
- Engage the Lock: Snap the lever shut. For aluminum collars, engage the secondary safety latch or tighten the set-screw using the provided hex key.
- The Shake Test: Grab the outer edge of the collar and attempt to twist it laterally. If the collar rotates independently of the barbell sleeve, it is not tight enough. Re-adjust and lock again.
Troubleshooting Edge Cases & Failure Modes
Even with the right equipment, you may encounter specific issues. Here is how to troubleshoot them like a pro:
- Problem: My Lock-Jaw collar is slipping on my new barbell.
Solution: Many modern barbells feature a highly polished chrome or ceramic coating on the sleeves to prevent rust. This polish reduces friction. Scuff the very edge of the sleeve lightly with 400-grit sandpaper where the collar sits, or switch to an aluminum collar with a set-screw that bites into the metal. - Problem: The lever on my aluminum collar is too stiff to close.
Solution: This is actually a good sign—it means the tolerances are tight. Apply a single drop of 3-in-One oil or silicone lubricant to the hinge pin of the collar. Never use WD-40, as it attracts dust and will eventually gum up the hinge mechanism. - Problem: My plates are still rattling during deadlifts.
Solution: You are likely using calibrated steel plates with a wide manufacturing tolerance. Insert a thin rubber change plate (0.5 lb or 1 lb) between the collar and the large steel plate. The rubber acts as a compressible gasket, taking up the slack and eliminating the rattle.
Frequently Asked Questions
Do I need collars for the dumbbell side shoulder raise?
No. The dumbbell side shoulder raise utilizes independent dumbbells, which rely on internal welding (for fixed dumbbells) or mechanical dials/pins (for adjustable dumbbells like Nuobell or PowerBlock). However, understanding how locking mechanisms work on barbells helps you appreciate the importance of regularly inspecting the locking pins on your adjustable dumbbells to ensure they haven't worn down.
Can I use a 50mm Olympic collar on a 25mm standard bar?
No, and you should not try to improvise by wrapping tape around the standard sleeve. The tolerance gap is too large, and the collar will slide off under load. Always buy collars that match your sleeve diameter exactly.
How often should I replace my barbell collars?
Spring clips should be replaced every 6 to 12 months due to metal fatigue. Polymer Lock-Jaw collars typically last 3 to 5 years before the TPU pad compresses. High-quality aluminum and steel lever clamps are generally considered "buy it for life" (BIFL) equipment and will easily outlast your barbell.
Expert Takeaway: Treat your barbell collars with the same respect as your lifting belt or wrist wraps. They are critical safety equipment. Upgrading from cheap spring clips to a reliable polymer or aluminum collar is one of the highest-ROI safety investments you can make in your home gym.
More gear to consider
All reviews
2026 Adjustable Dumbbell Review & Dumbbell Jump Squat Test
Two Hand Single Dumbbell Curl: Standard vs Olympic Plate Mistakes

Top Adjustable Dumbbell & Kettle Dumbbell Reviews for 2026

Best Loadable Dumbbells for Workouts for Legs With Dumbbells (2026)

Top Loadable Dumbbells for Proper Incline Dumbbell Press Form
