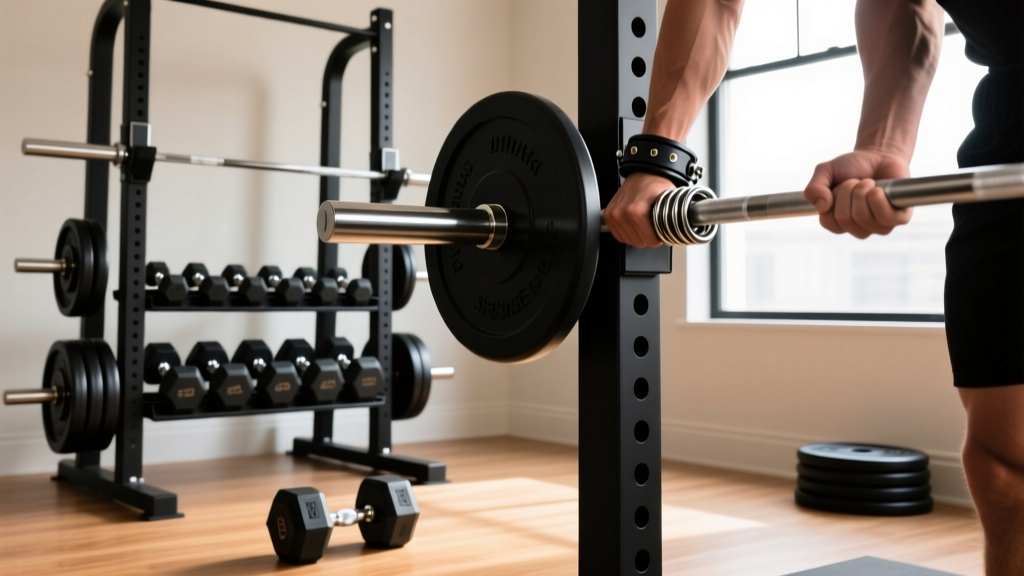
Barbell Collar Types Comparison & Dumbbell Shoulder Row
Compare barbell collar and clamp types for safe lifting, and master the dumbbell shoulder row with our beginner-friendly step-by-step form guide.

The Twin Pillars of Free Weight Training: Equipment Security and Exercise Form
Whether you are outfitting a new garage gym or refining your lifting technique, two foundational elements dictate your progress and safety: how you secure your heavy loads and how you execute targeted isolation movements. In this comprehensive beginner's guide, we bridge the gap between hardware and biomechanics. We will conduct a deep-dive barbell collar and clamp types comparison to ensure your Olympic sleeves are locked down, and then transition into a step-by-step masterclass on the dumbbell shoulder row, a critical movement for building capped deltoids and upper-back thickness.
💡 Beginner's Insight: Never assume your weights are secure. A loose 45lb plate shifting mid-lift alters the bar's center of gravity, creating a dangerous torque that can lead to severe wrist or lower back injuries. Similarly, using adjustable dumbbells with compromised internal clamps during a shoulder row can result in catastrophic weight drops.Step-by-Step Guide: Mastering the Dumbbell Shoulder Row
The dumbbell shoulder row (often categorized alongside the upright row or high pull) is a highly effective compound-isolation hybrid. It primarily targets the lateral deltoids and the upper trapezius, with secondary engagement of the biceps brachii and forearm flexors. According to the ExRx biomechanics database, maintaining proper scapular elevation and elbow tracking is vital to prevent shoulder impingement.
Step 1: Equipment Check and Internal Clamps
If you are using adjustable dumbbells (such as the Nuobell 80lb or PowerBlock Elite), you must verify the internal clamping mechanism. For dial-adjust models, ensure the pin is fully seated into the weight stack groove. A partially engaged pin acts as a faulty internal collar and will drop the remaining plates onto your feet during the eccentric phase of the row.
Step 2: Stance and Grip
- Stance: Stand with feet shoulder-width apart, knees slightly bent (15-degree flexion) to absorb momentum.
- Grip: Hold the dumbbells in front of your thighs. Use a neutral grip (palms facing each other) or a slight pronated grip (palms facing your body). A neutral grip drastically reduces the risk of rotator cuff impingement compared to a strict overhand grip.
Step 3: The Concentric Pull
Initiate the movement by driving your elbows up and out to the sides. Lead with the elbows, not the hands. Pull the dumbbells vertically along your torso until they reach the height of your lower chest or upper abdomen. Your elbows should be at or slightly above shoulder level at the peak of the contraction.
Step 4: The Eccentric Descent
Lower the weights slowly over a 2-to-3-second count. Resist gravity and maintain tension on the lateral deltoids. Do not let the dumbbells rest completely against your thighs between reps; keep a soft bend in the elbows to maintain continuous time-under-tension.
Barbell Collar and Clamp Types Comparison
While the dumbbell shoulder row relies on internal adjustable mechanisms or fixed hex heads, your barbell work (squats, deadlifts, overhead presses) requires external collars. The market is flooded with options, but they are not created equal. Below is an expert breakdown of the four primary barbell collar categories available in 2026.
1. Traditional Spring Collars
Price Range: $5 - $12 per pair
Material: Chrome-plated or coated steel wire
Best For: Light warm-ups, commercial gym general use.
The Reality: Spring collars rely on metal tension. They are notoriously difficult to squeeze, pinch the skin, and suffer from metal fatigue at the hinge point after roughly 500 drops. They provide virtually zero axial clamping force during dynamic movements like power cleans.
2. Nylon / Lock-Jaw Clamps
Price Range: $30 - $45 per pair
Material: Glass-reinforced nylon with TPU padding
Best For: CrossFit, high-volume home gyms, Olympic lifting.
The Reality: The Rogue Lock-Jaw Collars set the industry standard here. They snap shut with a satisfying click and use a reinforced nylon body that won't scratch your barbell sleeves. They offer excellent lateral grip but can become brittle if left in freezing outdoor gym environments over multiple winters.
3. Aluminum Lever-Action Collars
Price Range: $45 - $75 per pair
Material: CNC-machined T6 Aluminum
Best For: Powerlifting, heavy static lifts, quick plate changes.
The Reality: Models like the OSO Pro Clamps or Rogue HG 2.0 Aluminum Collars use a cam-lever system to apply massive inward pressure. They are virtually indestructible and grip the 50mm Olympic sleeve with over 300 lbs of clamping force. The only drawback is the metal-on-metal contact, which can leave minor scuff marks on the bar's zinc or chrome finish over time.
4. IWF Competition Collars
Price Range: $110 - $150 per pair
Material: Precision-machined steel/aluminum with rubber inserts
Best For: Competitive weightlifters, serious enthusiasts.
The Reality: According to the International Weightlifting Federation equipment regulations, competition collars must weigh exactly 2.5 kilograms each. Brands like Eleiko manufacture these to exacting tolerances. They lock via a threaded screw mechanism, providing the ultimate security for heavy snatches and clean-and-jerks where the bar experiences extreme whip and vibration.
Comparison Matrix: Which Collar Fits Your Home Gym?
| Collar Type | Avg. Cost (Pair) | Clamping Force | Weight per Collar | Drop-Rated? |
|---|---|---|---|---|
| Spring Collar | $8 | Very Low | ~0.2 lbs | No |
| Nylon Lock-Jaw | $35 | High | ~0.6 lbs | Yes |
| Aluminum Lever | $60 | Very High | ~0.8 lbs | Yes |
| Competition (Eleiko) | $130 | Maximum | 2.5 kg (5.5 lbs) | Yes |
Step-by-Step: Loading and Securing Your Barbell Safely
- Load the Heaviest Plates First: Always slide the largest diameter plates (45lb/20kg) closest to the barbell shoulder. This lowers the center of mass and reduces sleeve leverage.
- Wipe the Sleeve: Use a microfiber cloth to remove chalk dust and metal shavings. Chalk buildup acts as a lubricant under pressure, causing aluminum collars to slip during heavy deadlifts.
- Push Plates Flush: Physically push the plates together with your hands before applying the collar. Eliminate the "gap" that causes plates to crash against each other.
- Apply the Collar: Slide the collar flush against the outermost plate. If using a lever-action clamp, pull the lever to the fully locked position (past the 90-degree center point) to engage the cam.
- The Shake Test: Grab the outermost plate and attempt to wiggle it laterally. If there is more than 1mm of play, re-seat the collar.
Troubleshooting Edge Cases and Common Mistakes
Edge Case: Oversized or Undersized Sleeves
Not all Olympic barbells are created equal. While the standard is 50mm, cheaper import barbells can measure 49.2mm, while worn-out commercial gym bars can stretch to 50.5mm. If your nylon clamps are sliding off during hip thrusts, your barbell sleeve is likely undersized. Switch to an aluminum lever collar with an adjustable tension bolt to compensate for the variance.
Mistake: Flaring the Wrists on the Dumbbell Shoulder Row
Beginners often curl their wrists inward at the top of the shoulder row, shifting the tension away from the lateral deltoids and onto the fragile wrist extensors. Keep your wrists stacked directly over your elbows throughout the entire range of motion. Imagine your hands are just hooks holding the weight.
Frequently Asked Questions (FAQ)
Do I need collars for my dumbbell shoulder row?
External collars are only for barbells. However, if you are using plate-loaded dumbbell handles (like the Rogue Loadable Dumbbell Handles), you absolutely must use micro-collars or spring clamps to secure the plates, as the short sleeve length leaves zero room for error during the dynamic pulling motion of a shoulder row.
Can I use aluminum collars for CrossFit WODs?
While aluminum lever collars provide immense clamping force, the lever mechanism can occasionally pop open if the barbell is dropped violently from overhead and lands directly on the lever. For high-rep Olympic lifting WODs, glass-reinforced nylon Lock-Jaw collars are the safer, more reliable choice.
How often should I replace my spring collars?
If you are still using traditional spring collars, replace them every 6 to 12 months. The metal fatigue is invisible to the naked eye, and a snapped spring collar during a heavy bench press or squat can lead to an uneven bar dump and catastrophic injury.
More gear to consider
All reviews
Bumper vs Iron Plates & Back Exercises with Dumbbells for Women

Dumbbell Flyes Muscles Worked: Bumper vs Iron Plate Care

Space-Saving Supported Dumbbell Row: Loadable Dumbbell Guide
Olympic Barbell Knurling & Weight Guide: Dumbbell Box Setups

Back Workout Routine Dumbbells: Neoprene Mistakes to Avoid
