
Barbell Collar Types & Setup for a Dumbbell Lateral Raise Drop Set
Compare barbell collar types and master the installation walkthrough to secure your rack for heavy lifts and a demanding dumbbell lateral raise drop set.

The Anatomy of a Safe Multi-Station Setup
Setting up a high-density home gym requires more than just bolting power rack uprights to the floor; it demands a meticulous approach to the micro-hardware that keeps you safe. When you are running complex supersets in a confined space—such as pairing heavy barbell overhead presses with a grueling dumbbell lateral raise drop set—your equipment must be secured rapidly and flawlessly. A poorly secured barbell resting on the floor or in low J-cups inches away from your dumbbell drop zone is a severe liability. If a dropped dumbbell strikes an uncollared barbell sleeve, the kinetic transfer can cause iron plates to slide off, creating a catastrophic tripping hazard mid-set.
This complete setup and installation walkthrough breaks down the technical specifications of modern barbell collars, compares their failure modes, and provides a step-by-step protocol for integrating them into a high-intensity multi-station layout.
Barbell Collar and Clamp Types: A Technical Comparison
Not all collars are engineered equally. The market is saturated with options ranging from $10 spring clips to $90 competition-grade lever clamps. Understanding the material science and clamping force of each is critical for equipment longevity and lifter safety. According to extensive testing by Garage Gym Reviews, the primary differentiator between collars is the lateral clamping force (measured in pounds) and the sleeve compatibility (standard 25mm vs. Olympic 50mm).
| Collar Type | Clamping Force | Weight (Pair) | Avg Price | Material & Mechanism |
|---|---|---|---|---|
| Standard Spring Clip | ~15 - 25 lbs | 0.2 lbs | $10 - $15 | Chrome steel spring tension |
| TPU Lock-Jaw | ~150 lbs | 0.6 lbs | $25 - $35 | Thermoplastic polyurethane snap-fit |
| Aluminum Screw Clamp (e.g., HG-2) | ~250+ lbs | 2.5 lbs | $40 - $60 | Machined aluminum with steel bolt |
| Competition Lever Clamp (e.g., Eleiko) | ~300+ lbs | 1.8 lbs | $80 - $110 | Forged aluminum quick-release lever |
Failure Modes and Edge Cases
- Spring Clips: Prone to metal fatigue. After 6-12 months of heavy use, the spring tension degrades, leading to slippage on chrome or knurled sleeves during dynamic movements like cleans or snatches.
- TPU Lock-Jaws: While excellent for grip, TPU polymers can suffer from 'memory stretch' if left clamped on a barbell in a hot garage gym for weeks, eventually losing their snap-fit rigidity.
- Aluminum Screw Clamps: The primary failure mode is cross-threading the steel bolt into the aluminum housing, which strips the threads and renders the collar useless.
Step-by-Step Installation Walkthrough
Proper installation is just as important as the hardware itself. Follow this protocol to ensure maximum clamping force and sleeve protection.
Step 1: Sleeve Preparation and Debris Clearance
Before sliding any collar onto the barbell, wipe the sleeve with a microfiber cloth and a light application of 3-in-One oil or barbell-specific cleaner. Chalk dust, iron oxidation, and sweat residue create a micro-layer of friction that can trick TPU collars into seating improperly. Never apply heavy grease, as this will cause spring clips and lever clamps to slide off under load.
Step 2: Flush Seating Technique
Push the collar entirely flush against the outer face of the bumper or iron plate. Pro-Tip: If using an aluminum screw clamp, do not tighten the bolt while the collar is hovering 2 millimeters off the plate. The lateral pressure must be applied directly against the plate face, not the sleeve itself, to prevent the collar from spinning during the lift.
Step 3: Engaging and Torquing the Mechanism
For screw clamps, tighten the bolt until you feel distinct resistance, then apply an additional quarter-turn. For lever clamps (like those detailed in BarBend's equipment guides), pull the lever down until it locks parallel to the sleeve. You should hear a definitive mechanical 'click' and feel the barbell sleeve compress slightly against the inner ring.
Stress-Testing the Setup: The Transition Protocol
Let's apply this hardware to a real-world, high-density training scenario. Imagine you are executing a shoulder-focused superset: heavy barbell push presses followed immediately by a dumbbell lateral raise drop set. According to ACE Fitness methodologies, a drop set requires you to perform an exercise to failure, immediately reduce the weight by 20-30%, and continue to failure again, repeating this 3-4 times without rest. This creates a chaotic environment where multiple pairs of dumbbells are rapidly picked up, exhausted, and dropped onto the floor or a mat.
Designing the Safe Drop Zone
- The Barbell Resting Position: After your push presses, the loaded barbell (e.g., 225 lbs with bumper plates) is placed on the floor or low J-cups to your non-dominant side. You must use Aluminum Screw Clamps or Lever Clamps here. If a 35 lb dumbbell from your drop set accidentally rolls into or strikes the barbell sleeve, a spring clip will fail, sending a 45 lb iron plate sliding across the floor.
- Clearance Metrics: Maintain a strict 24-inch lateral clearance between the resting barbell sleeves and the edge of your dumbbell drop mat.
- Rapid Collar Removal: If your workout requires you to strip the barbell immediately after the drop set for a partner, lever clamps offer a 1-second removal time, whereas screw clamps require 10-15 seconds of unthreading. Factor this into your rest-period programming.
Maintenance and Longevity Guidelines
To ensure your collars maintain their rated clamping force over years of use, implement the following maintenance schedule:
- Monthly: Inspect TPU Lock-Jaws for micro-fractures along the hinge line. If the plastic shows stress whitening, replace them immediately. The cost of a new $30 pair is negligible compared to the medical cost of a crushed foot.
- Quarterly: Apply a single drop of lightweight machine oil to the threading of aluminum screw clamps. Wipe away excess to prevent chalk buildup in the threads, which acts like sandpaper and degrades the aluminum housing.
- Annually: Check the tension of spring clips by attempting to compress them by hand. If they yield with minimal pressure, recycle them and upgrade to a polymer or aluminum alternative.
Final Verdict on Gym Safety Hardware
Securing your barbell is not an afterthought; it is the foundational step of any complex lifting station. Whether you are grinding through a heavy 5x5 squat program or navigating the metabolic chaos of a dumbbell lateral raise drop set in a tight home gym space, matching the right collar to the right movement is non-negotiable. Invest in machined aluminum or high-grade TPU collars, master the flush-seating installation technique, and maintain strict spatial awareness in your drop zones. Your hardware should work as hard as you do, silently and securely, rep after rep.
More gear to consider
All reviews
Budget Racks for Shoulder Exercises With Dumbbells for Women
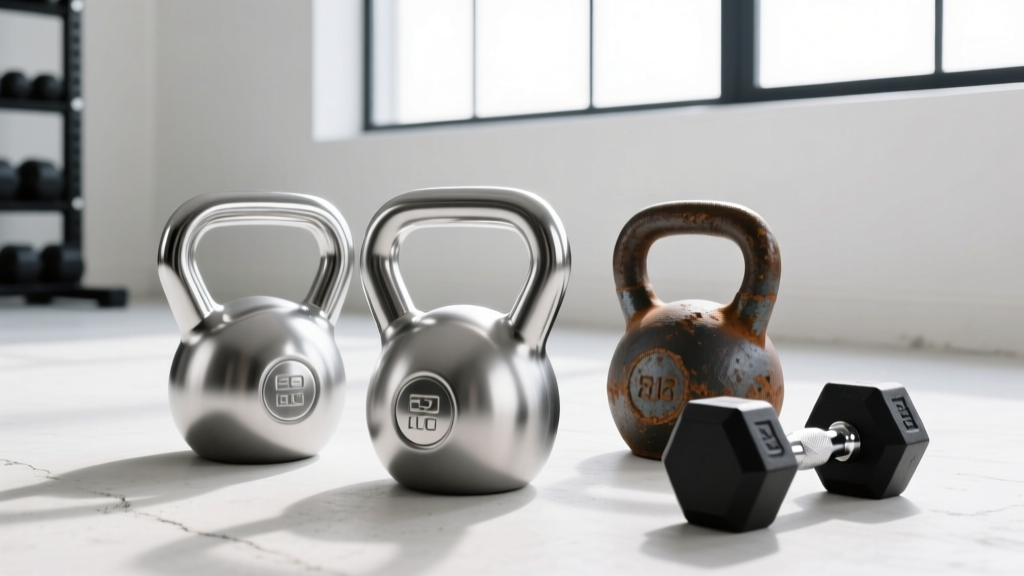
Beyond the Black and White Dumbbell Icon: Kettlebell Value Guide

Cast Iron vs Competition Kettlebells & 60lbs Dumbbell Space Layouts

EZ Bar vs Straight Bar: Value for a Whole Body Workout with Dumbbells

EZ Curl Bar vs Straight Bar: Budget & Dumbbell Single Leg Step Up
