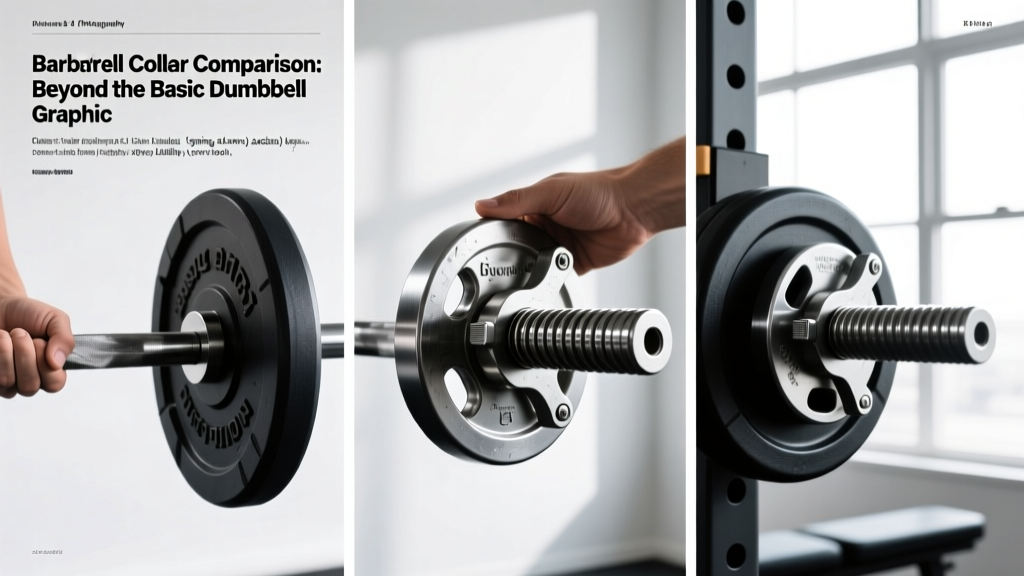
Barbell Collar Comparison: Beyond the Basic Dumbbell Graphic
Troubleshoot barbell collar failures and compare clamp types. Learn why relying on a basic dumbbell graphic isn't enough for Olympic bar safety.

The Overlooked Safety Link in Your Home Gym
When planning a home gym layout, many lifters start by searching for a comprehensive dumbbell graphic to map out their adjustable weight tree, rack footprint, or neoprene dumbbell tier. While visual space planning is essential for organizing your free weights, the most critical safety oversight in the weight room isn't spatial—it is mechanical. Specifically, it is the improper selection, application, and maintenance of barbell collars.
A barbell collar is the only thing standing between a successful lift and a catastrophic plate shift. When plates shift during a heavy back squat or a dynamic Olympic clean, the asymmetrical weight distribution causes severe bar whip, potentially leading to torn rotator cuffs, spinal injuries, or dropped loads. In 2026, the market is flooded with collar variants, yet most lifters still rely on cheap spring clips that fail under lateral loads. This troubleshooting guide breaks down barbell collar types, highlights common failure modes, and provides actionable maintenance protocols to keep your sleeve hardware secure.
⚠️ SAFETY WARNING: According to the International Weightlifting Federation (IWF) Technical Rules, collars are mandatory in competition and must weigh exactly 2.5 kg each. While your home gym doesn't require calibrated competition collars, using inadequate clamps for dynamic movements (snatches, cleans, jerks) violates basic biomechanical safety standards.Barbell Collar Types: The Troubleshooting Matrix
Not all collars are created equal. The clamping mechanism dictates how well the collar withstands the harmonic vibrations and lateral forces generated by barbell whip. Below is a comparative matrix of the four primary collar types available on the market today.
| Collar Type | Model Example | Avg. Price (2026) | Lateral Clamping Force | Common Failure Mode |
|---|---|---|---|---|
| Spring Clip | Generic Wire Clips | $8 - $12 / pair | < 20 lbs | Metal fatigue; walks off sleeve during drops |
| Lock-Jaw (Plastic) | Lock-Jaw Pro Olympic | $25 - $30 / pair | ~ 60 lbs | Nylon teeth strip if over-torqued |
| Aluminum Clamp | Rogue HG-200 | $40 - $55 / pair | 120+ lbs | Thumb-screw threads cross or strip |
| Lever / Cam | Eleiko Olympic Collars | $85 - $100 / pair | 200+ lbs | Cam tension loosens if sleeve is chalky |
For a deeper dive into specific brand performance and durability testing, BarBend's Expert Barbell Collar Roundup provides extensive drop-test data on these models.
Critical Mistakes and Real-World Troubleshooting
Mistake 1: Using Spring Clips for Dynamic Movements
The Error: Lifters frequently use $10 spring clips for power cleans, snatches, or even heavy bench presses to save time.
The Physics: When a barbell is dropped from overhead, the steel shaft bends and rapidly oscillates (bar whip). This harmonic vibration creates lateral kinetic energy that literally 'walks' the spring clip outward off the sleeve.
The Fix: Reserve spring clips exclusively for static, slow-tempo movements like bicep curls or lateral raises. For any movement where the bar leaves the shoulders or is dropped to the floor, upgrade to an aluminum clamp or lever collar. The dual-screw mechanism of the Rogue HG-200 physically bites into the steel sleeve, preventing lateral migration regardless of bar whip.
Mistake 2: Ignoring Sleeve Chalk and Oxidation
The Error: Applying a lever or lock-jaw collar directly over a sleeve caked in lifting chalk, sweat, and zinc oxidation.
The Physics: Chalk acts as a dry lubricant between the smooth inner diameter of a plastic collar and the steel sleeve. A Lock-Jaw Pro that normally provides 60 lbs of clamping force will slip at less than 20 lbs of lateral pressure if the sleeve is coated in chalk dust.
The Fix: Keep a dedicated microfiber towel near your lifting platform. Wipe the outer 4 inches of the barbell sleeve before applying collars. If you use liquid chalk, be aware that the resin residue creates a sticky film that can cause plastic collars to bind and crack upon removal.
Mistake 3: Over-Torquing Plastic Lock-Jaws
The Error: Forcing the locking tab of a nylon collar past its natural stopping point to get a 'tighter' grip.
The Physics: Nylon collars rely on precisely molded teeth to grip the sleeve. Over-torquing bends the nylon teeth, causing micro-fractures. Over a 6-month period, these teeth will sheer off completely, rendering the collar useless.
The Fix: Listen for the click. Once the locking tab engages the final audible click, stop. If the collar still slides laterally after the final click, the internal nylon ring has worn down and the collar must be replaced. Do not attempt to tighten it further.
Understanding Tolerances: Why Your Collar Slips
Not all Olympic barbell sleeves are exactly 50.0mm. Manufacturing tolerances mean a premium Eleiko barbell might measure 50.1mm, while a budget import bar might measure 49.7mm.
If you are using a rigid aluminum collar machined to exactly 50.0mm, it will scratch the finish of a 50.1mm sleeve and rattle loosely on a 49.7mm sleeve. This is why premium aluminum collars feature an internal Delrin or UHMW plastic liner—the liner compresses to bridge the tolerance gap between the steel collar and the steel sleeve.
Troubleshooting Sleeve Scratches: If your aluminum clamps are leaving deep gouges on your barbell sleeves, check the internal liner. If the plastic liner has worn through to the metal housing, discard the collar immediately. Continuing to use it will destroy your barbell's zinc or chrome finish, leading to rapid rusting.
Step-by-Step Barbell Sleeve Maintenance Protocol
Collar failure is often a symptom of poor barbell maintenance. The Rogue Fitness Barbell Maintenance Guide emphasizes that sleeve health directly impacts collar grip. Follow this monthly protocol to ensure optimal collar adhesion:
- Brush the Sleeves: Use a nylon or brass wire brush to scrub the grooves of the sleeve. Never use a stainless steel brush, as it is harder than the zinc coating and will strip the anti-corrosive layer right off the bar.
- Degrease: Spray a rag with isopropyl alcohol (70% or higher) and wipe down the sleeve to remove factory oils, chalk residue, and skin sebum. Do not spray alcohol directly onto the bar, as it can seep into the bushing/bearing assembly and degrade the internal grease.
- Lubricate (Sparingly): Apply exactly two drops of 3-IN-ONE oil or food-grade mineral oil to the sleeve. Wipe off all excess. The sleeve should feel smooth to the touch, not wet. A wet sleeve will cause lever collars to slip instantly.
- Inspect the End Caps: Ensure the sleeve end caps are flush. If an end cap is protruding even 1mm due to a loose retaining pin, it will prevent flush-mount collars (like the Lock-Jaw) from seating properly, creating a dangerous lateral gap.
Summary: Match the Collar to the Movement
While a well-designed dumbbell graphic can help you perfectly organize your adjustable dumbbells and hex racks, securing your Olympic barbell requires a nuanced understanding of mechanical tolerances and lateral forces. Stop treating barbell collars as an afterthought. Audit your current hardware: throw away the bent spring clips, check your nylon lock-jaws for stripped teeth, and invest in a pair of thrust-bearing aluminum clamps for your heavy compound lifts. Your barbell, your plates, and your central nervous system will thank you.
More gear to consider
All reviews
Best Loadable Dumbbells for the Dumbbell Inclined Bench Press (2026)

2026 Rack Market: Storage for Curling 100 Pound Dumbbells
Cast Iron vs Competition Kettlebells: Dumbbell Pullover Alternatives

Neoprene Dumbbells for Home Use: Dumbbell Floor Press for Triceps

EZ Curl Bar vs Straight Bar Care and One Dumbbell Front Raises Tips
