Chest Station Setup: Barbell Clamps & Dumbbell Fly for Upper Chest
Master your chest station setup. We compare barbell collar types for safe incline pressing and detail the dumbbell fly for upper chest execution.

The Ultimate Chest Station: Bridging Heavy Presses and Isolation
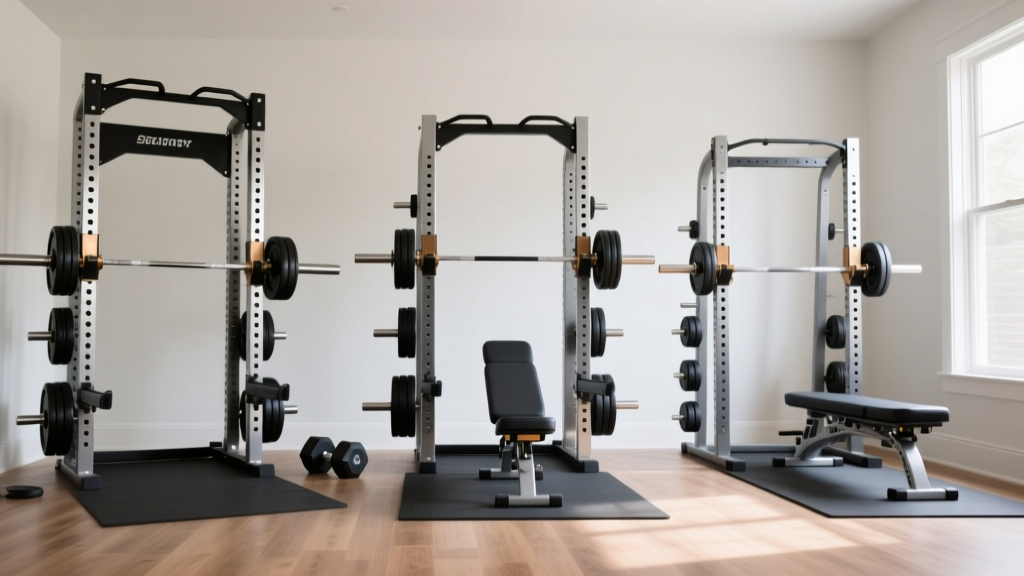
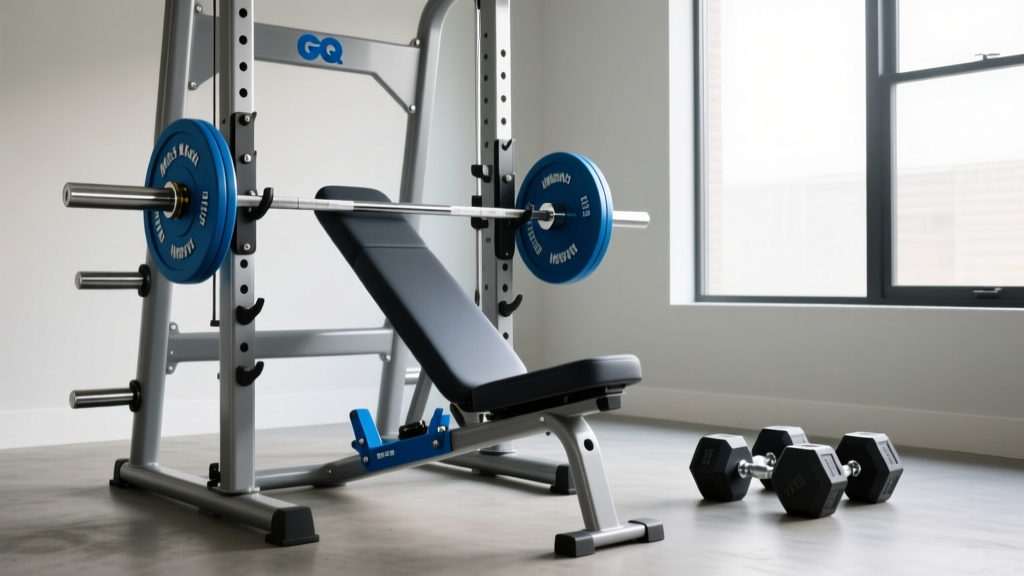
Building a comprehensive chest station requires more than just an adjustable bench and a barbell. It demands a meticulous approach to equipment setup, safety hardware, and biomechanical positioning. In 2026, the standard for a complete chest day involves seamlessly transitioning from heavy, rack-supported compound movements to precise isolation work. This walkthrough covers the complete installation of your bench and rack, provides an in-depth barbell collar and clamp types comparison to ensure your incline presses are secure, and details the optimal setup for the dumbbell fly for upper chest development.
Phase 1: Rack and Bench Installation Walkthrough
Before loading plates, your foundation must be dialed in. For this setup, we are utilizing a standard 90-inch power rack (such as the REP PR-4000V2) paired with an adjustable FID (Flat/Incline/Decline) bench like the Rogue RM-3.
- Positioning the Bench: Slide the FID bench directly into the center of the rack. Ensure the rear stabilizer bar rests flush against the uprights to prevent lateral shifting during heavy presses.
- Setting J-Cup Heights: For incline pressing, set the J-cups at height 17 (approximately 43 inches from the floor). The barbell should clear your wrists by exactly 2 inches when your arms are fully extended.
- Adjusting the Back Pad: Set the incline to 30 degrees. While many lifters default to 45 degrees, biomechanical analysis shows that a 30-degree angle optimally targets the clavicular (upper) pectoral fibers while minimizing anterior deltoid takeover.
- Securing the Hinges: Use a 19mm socket wrench to tighten the bench hinge bolts. Over time, repetitive loading causes these to loosen, creating a dangerous wobble at the apex of a press.
Phase 2: Barbell Collar and Clamp Types Comparison
When pressing on an incline, gravity exerts a lateral force on the weight plates, pushing them down the Olympic sleeve toward the collar. If your collar fails, the plates slide off, causing an immediate and catastrophic barbell flip. Standard spring clips are entirely insufficient for steep inclines. Below is a comprehensive comparison of modern barbell collar types to keep your setup secure.
| Collar Type | Example Model (2026) | Est. Price | Lateral Holding Force | Incline Safety Rating |
|---|---|---|---|---|
| Spring Clip | Rogue HG 2.0 Spring | $14 / pair | ~40 lbs | Poor (Slips on 30°+) |
| Lever-Lock (Jaw) | Lock-Jaw Pro | $32 / pair | ~150 lbs | Excellent |
| Screw-Down / Spin-Lock | Proloc Spin-Lock | $28 / pair | 200+ lbs | Maximum |
| IWF Competition | Eleiko Training Collar | $85 / pair | N/A (Calibrated 2.5kg) | Excellent |
Deep Dive: Why Incline Pressing Demands Locking Clamps
For heavy incline barbell bench presses, the Rogue Aluminum Collars or lever-lock variants like the Lock-Jaw Pro are mandatory. According to the ExRx kinesiology database, the incline bench press alters the line of pull, meaning any asymmetric plate shift will instantly torque the barbell out of your hands. Lever-lock collars utilize a hardened polycarbonate jaw that bites directly into the 50mm Olympic sleeve, providing over 150 lbs of lateral resistance. Avoid traditional spring clips entirely when the bench is elevated past 15 degrees.
Phase 3: Transitioning to Isolation - The Dumbbell Fly for Upper Chest
Once your heavy barbell work is complete, strip the bar and transition to isolation. While barbells are superior for mechanical tension, the dumbbell fly for upper chest is the gold standard for targeting the clavicular pectoral fibers through a deep, loaded stretch without the triceps becoming the limiting factor.
Expert Biomechanics Tip: Keep the bench at a strict 30-degree incline for the fly. A 45-degree angle shifts the primary load to the anterior deltoids, defeating the purpose of the upper-chest isolation.
Step-by-Step Execution Walkthrough
- The Pickup: Rest the dumbbells on your knees. Kick them back one at a time as you roll onto the 30-degree incline bench, finishing with a neutral grip (palms facing each other).
- Scapular Retraction: Pinch your shoulder blades together and drive them into the bench pad. This creates a stable shelf and protects the rotator cuff.
- The Descent: Maintain a slight, fixed bend in your elbows (about 15-20 degrees). Lower the weights in a wide arc until you feel a deep stretch in the upper pecs. Do not go past the point where your shoulders roll forward off the pad.
- The Contraction: Squeeze the dumbbells back up along the same arc, imagining you are hugging a large barrel. Stop just short of the dumbbells clinking together at the top to maintain constant tension on the clavicular pectoral fibers.
Phase 4: Equipment Maintenance and Safety Checks
A chest station is only as safe as its maintenance schedule. To ensure your setup remains reliable through 2026 and beyond, implement the following monthly checklist:
- Collar Degradation: Inspect the rubber O-rings on your lever-lock and aluminum collars. If the rubber is flattened or cracked, the collar will slide on chalky sleeves. Replace O-rings annually.
- Bench Pad Integrity: Check the vinyl stitching on the FID bench. Sweat and friction cause micro-tears that eventually expose the high-density foam, compromising your grip during the dumbbell fly for upper chest.
- Rack Hardware: Use a torque wrench to verify that all rack crossmembers and upright bolts are tightened to the manufacturer's specifications (usually between 60-80 ft-lbs for 5/8" hardware).
By meticulously installing your rack, utilizing the correct locking collars for incline angles, and executing precise isolation movements, you transform a basic gym corner into a professional-grade hypertrophy station. Respecting the hardware and the biomechanics is the true secret to long-term chest development.
More gear to consider
All reviews
Bumper vs Iron Plates: Gym Layouts & Dumbbell Deltoid Fly Space
Loadable Dumbbells for Back Fat Exercises: 2026 Market Trends

Dumbbell for Strength Training vs Barbell: Knurling Mistakes

Brachialis Workout Dumbbells & Barbell Knurling: Top Buying Mistakes

Budget Dumbbell Racks for the Single-Leg RDL With Dumbbell